
The Talbot's shirt was a misses size medium, so I also needed to take it in.

I used a strip of Kate Spain's Fandango to encase the raw edge. To start with, I cut the strips to 1.5" x WOF. One strip was enough for both edges of the cardigan. Next I cut the strip in half so that I had 2 strips at 1.5" x 22". I then folded one long edge of each strip in (wrong sides together) by 1/4" so that my strips measured 1.25" wide.

Next I pressed these seams towards my printed fabric. Then I folded the fabric strips to the inside of the shirt and pressed again.
To finish off the ends of the fabric strips, I unfolded all of my pressing and folded the top and bottom raw edges of the strips inward. After the top and bottom were pressed nicely, I folded my strips back up to encase all of my raw edges.
I pinned my fabric strips down and sewed close to the edge.

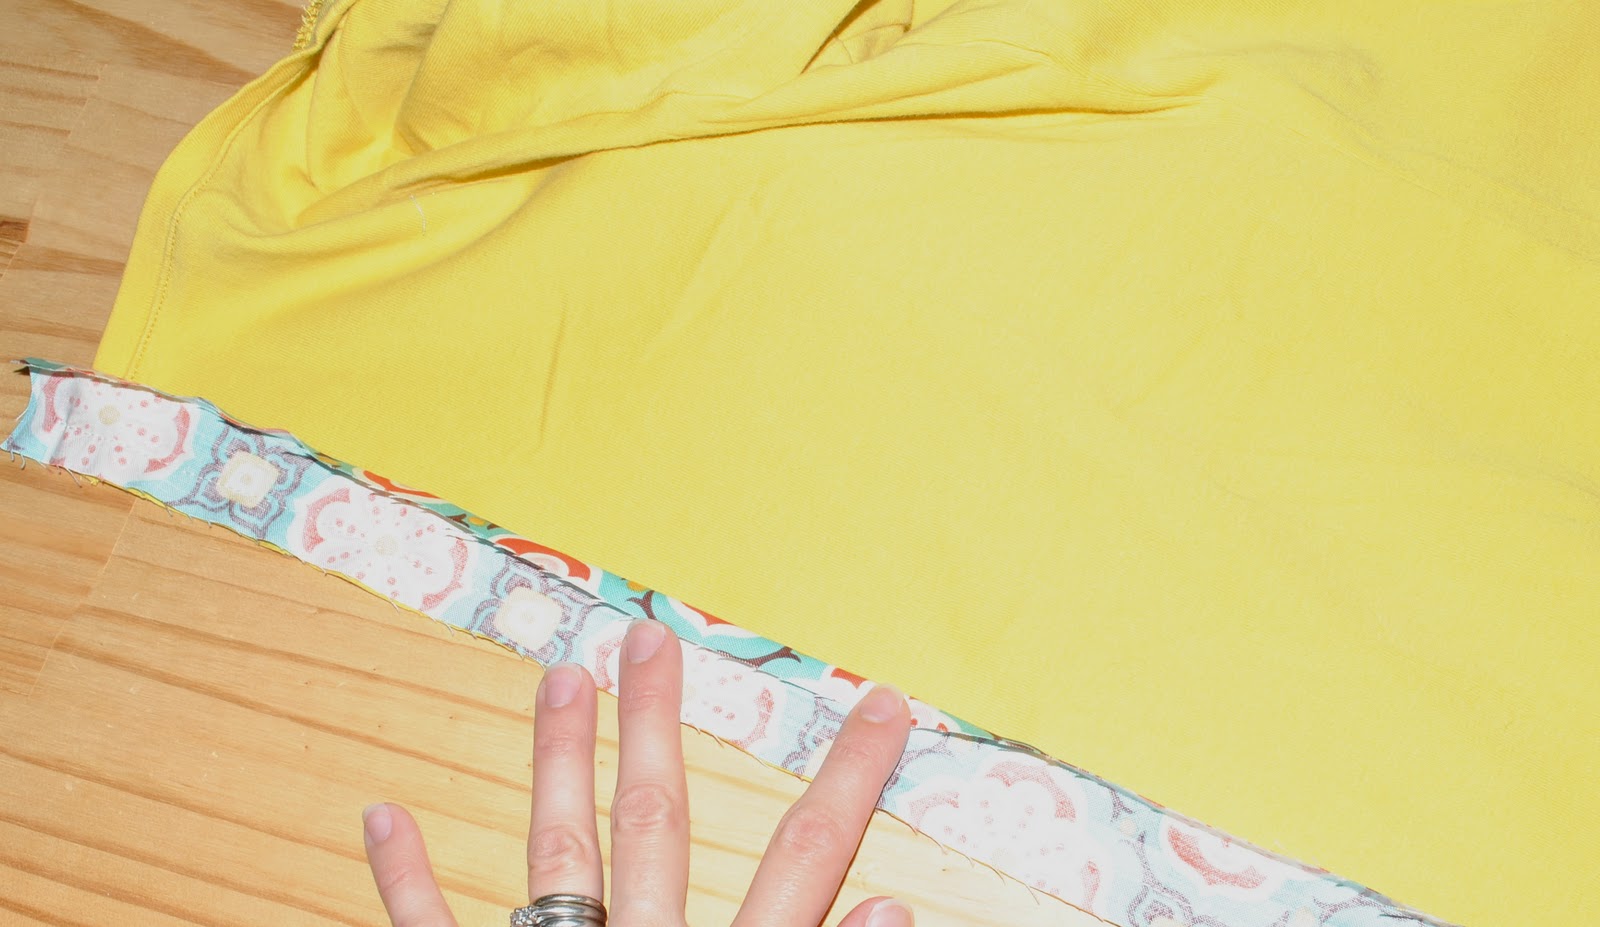
In the photo above, I am stitching my fabric strip down with the INSIDE of my cardigan facing up. On the outside of the cardigan, you should just see 1 line of stitching on each side, about a 1/2" in from the edge.
Once my shirt was a cardigan, I needed to take in the sides. I chose to use another shirt as a pattern, so I headed up to my closet and found a sweater that I liked the fit on. I cut the side seams of the cardigan starting at the hem and going all of the way up the sleeve.Then I laid the new cardigan flat and put my "pattern" shirt on top.

I drew a chalk line around my pattern, checked to see that the sides looked approximately even, pinned along the chalk line and sewed my side seams back up.

To finish it off, I added a hook and eye closure under the bust.


I used the same process to convert the pink sweater to a cardigan, but I used a larger seam allowance because I was worried about the sweater unraveling.
I linked up this project over at Quilt Story. Check them out!
6 comments:
I love it! I am going to give this a try. I have a question ~ how often do you change your rotary blade? Mine seem to go dull really fast.......
That's a fantastic change. I'd never have thought to do that.
Looks awesome!
Hello,
love all these ideas and the recipes sound great, too. thanks for sharing
Love this! Great work!
http://just2chilli.blogspot.com/
So cute! Love the idea and it turned out great, very creative! Thanks for linking up, we'll see you next week!
Post a Comment