If you follow me on instagram, you've seen the project that consumed my January. Let me explain a little bit about the event:
One of my husband's coworkers organizes an event every January called Fun a Day. It's not a Pittsburgh thing, in fact it was started in Philly. Here's the blurb that I found on the Fun A Day Philadelphia facebook page:
The premise is simple: pick a project (take a photograph, make the bed, draw a picture, bake a cake, etc), do it every day in January, then show your work the following month in a big group show. Check out our website, www.artclash.com, for inspiration and info on other shows around the world!
And the Flickr set from our exhibition!
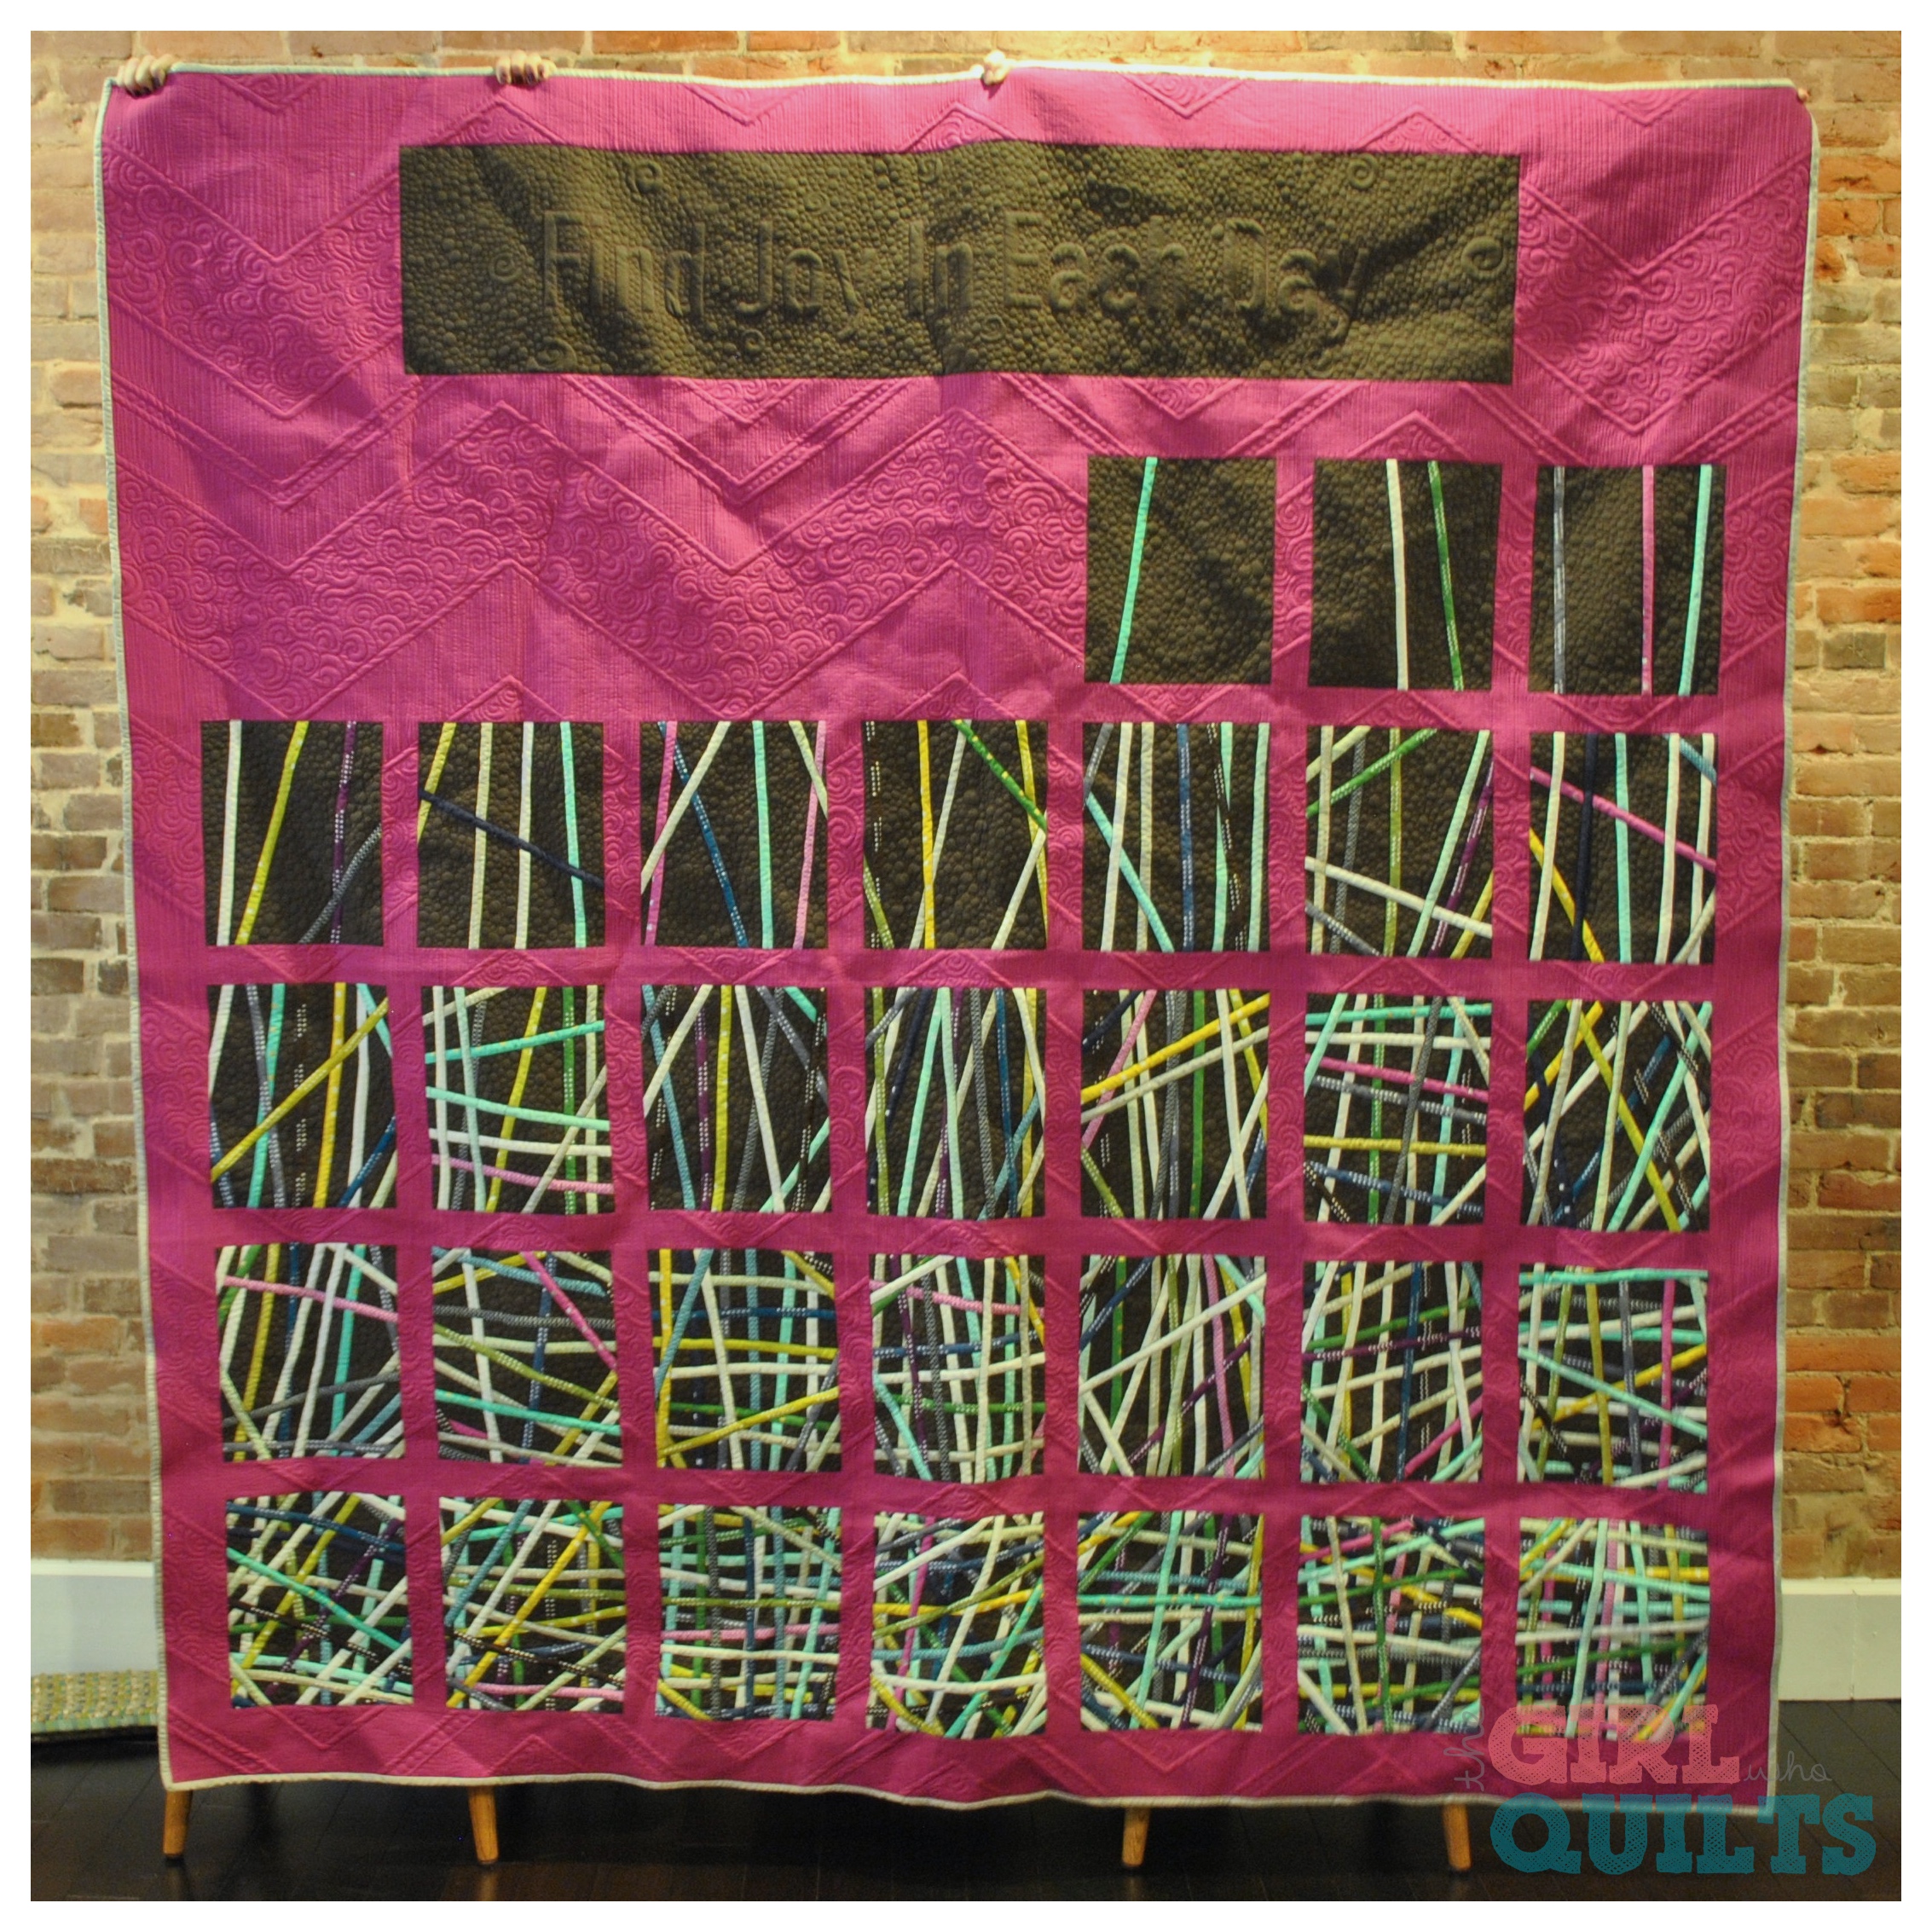
For my project I wanted to create a quilt by making one block a day. I got the idea to chronicle the days by starting with a blank block and adding 1 "stick", or hashmark, for each day. I have to admit, I got to day 10 and started to wonder what I'd gotten myself into! I was worried about running out of space before day 31, or worse, running out of interest. I couldn't think of a cohesive way to change the design after I'd put in 10 days, though, so I pushed forward. By the end I was enjoying the time I spent on the block of the day, even when they took me 2+ hours. I'd become pretty efficient at cutting and piecing, and it was fun to watch the pile of sticks grow!
I only had a week to finish the top, quilt it, and bind it for the exhibit here. I could have displayed the top unfinished, but I had a design in my head, and I didn't think it would translate well without all of the pieces! To help with the time crunch, I was piecing the rows as I finished each block. I worked out all of the math and bought the background fabric when I was about half way through with the project, and I spent one day cutting and piecing all of the sashing and borders. It really helped to stay on top of such a big project!
While I was piecing the top I was also thinking about how to quilt it.
I racked my brain for several days over how to quilt the background of this quilt. I didn't want to accentuate the grid pattern, but I also didn't want to "settle" for an all over paisley or something. I flipped through some books for inspiration when I found a zig zag quilt. Realizing that it would take a decent chunk of time to mark out, I tried to find something else. My brain just kept jumping back to that zig zag, though!
I started marking the design with Frixion highlighters but had to "erase" them because I measured wrong. The markings turned white on the quilt, and didn't come out in the wash! Luckily I did my second set of marking with chalk pencil, but I'm still bummed to see the original marks on the quilt.
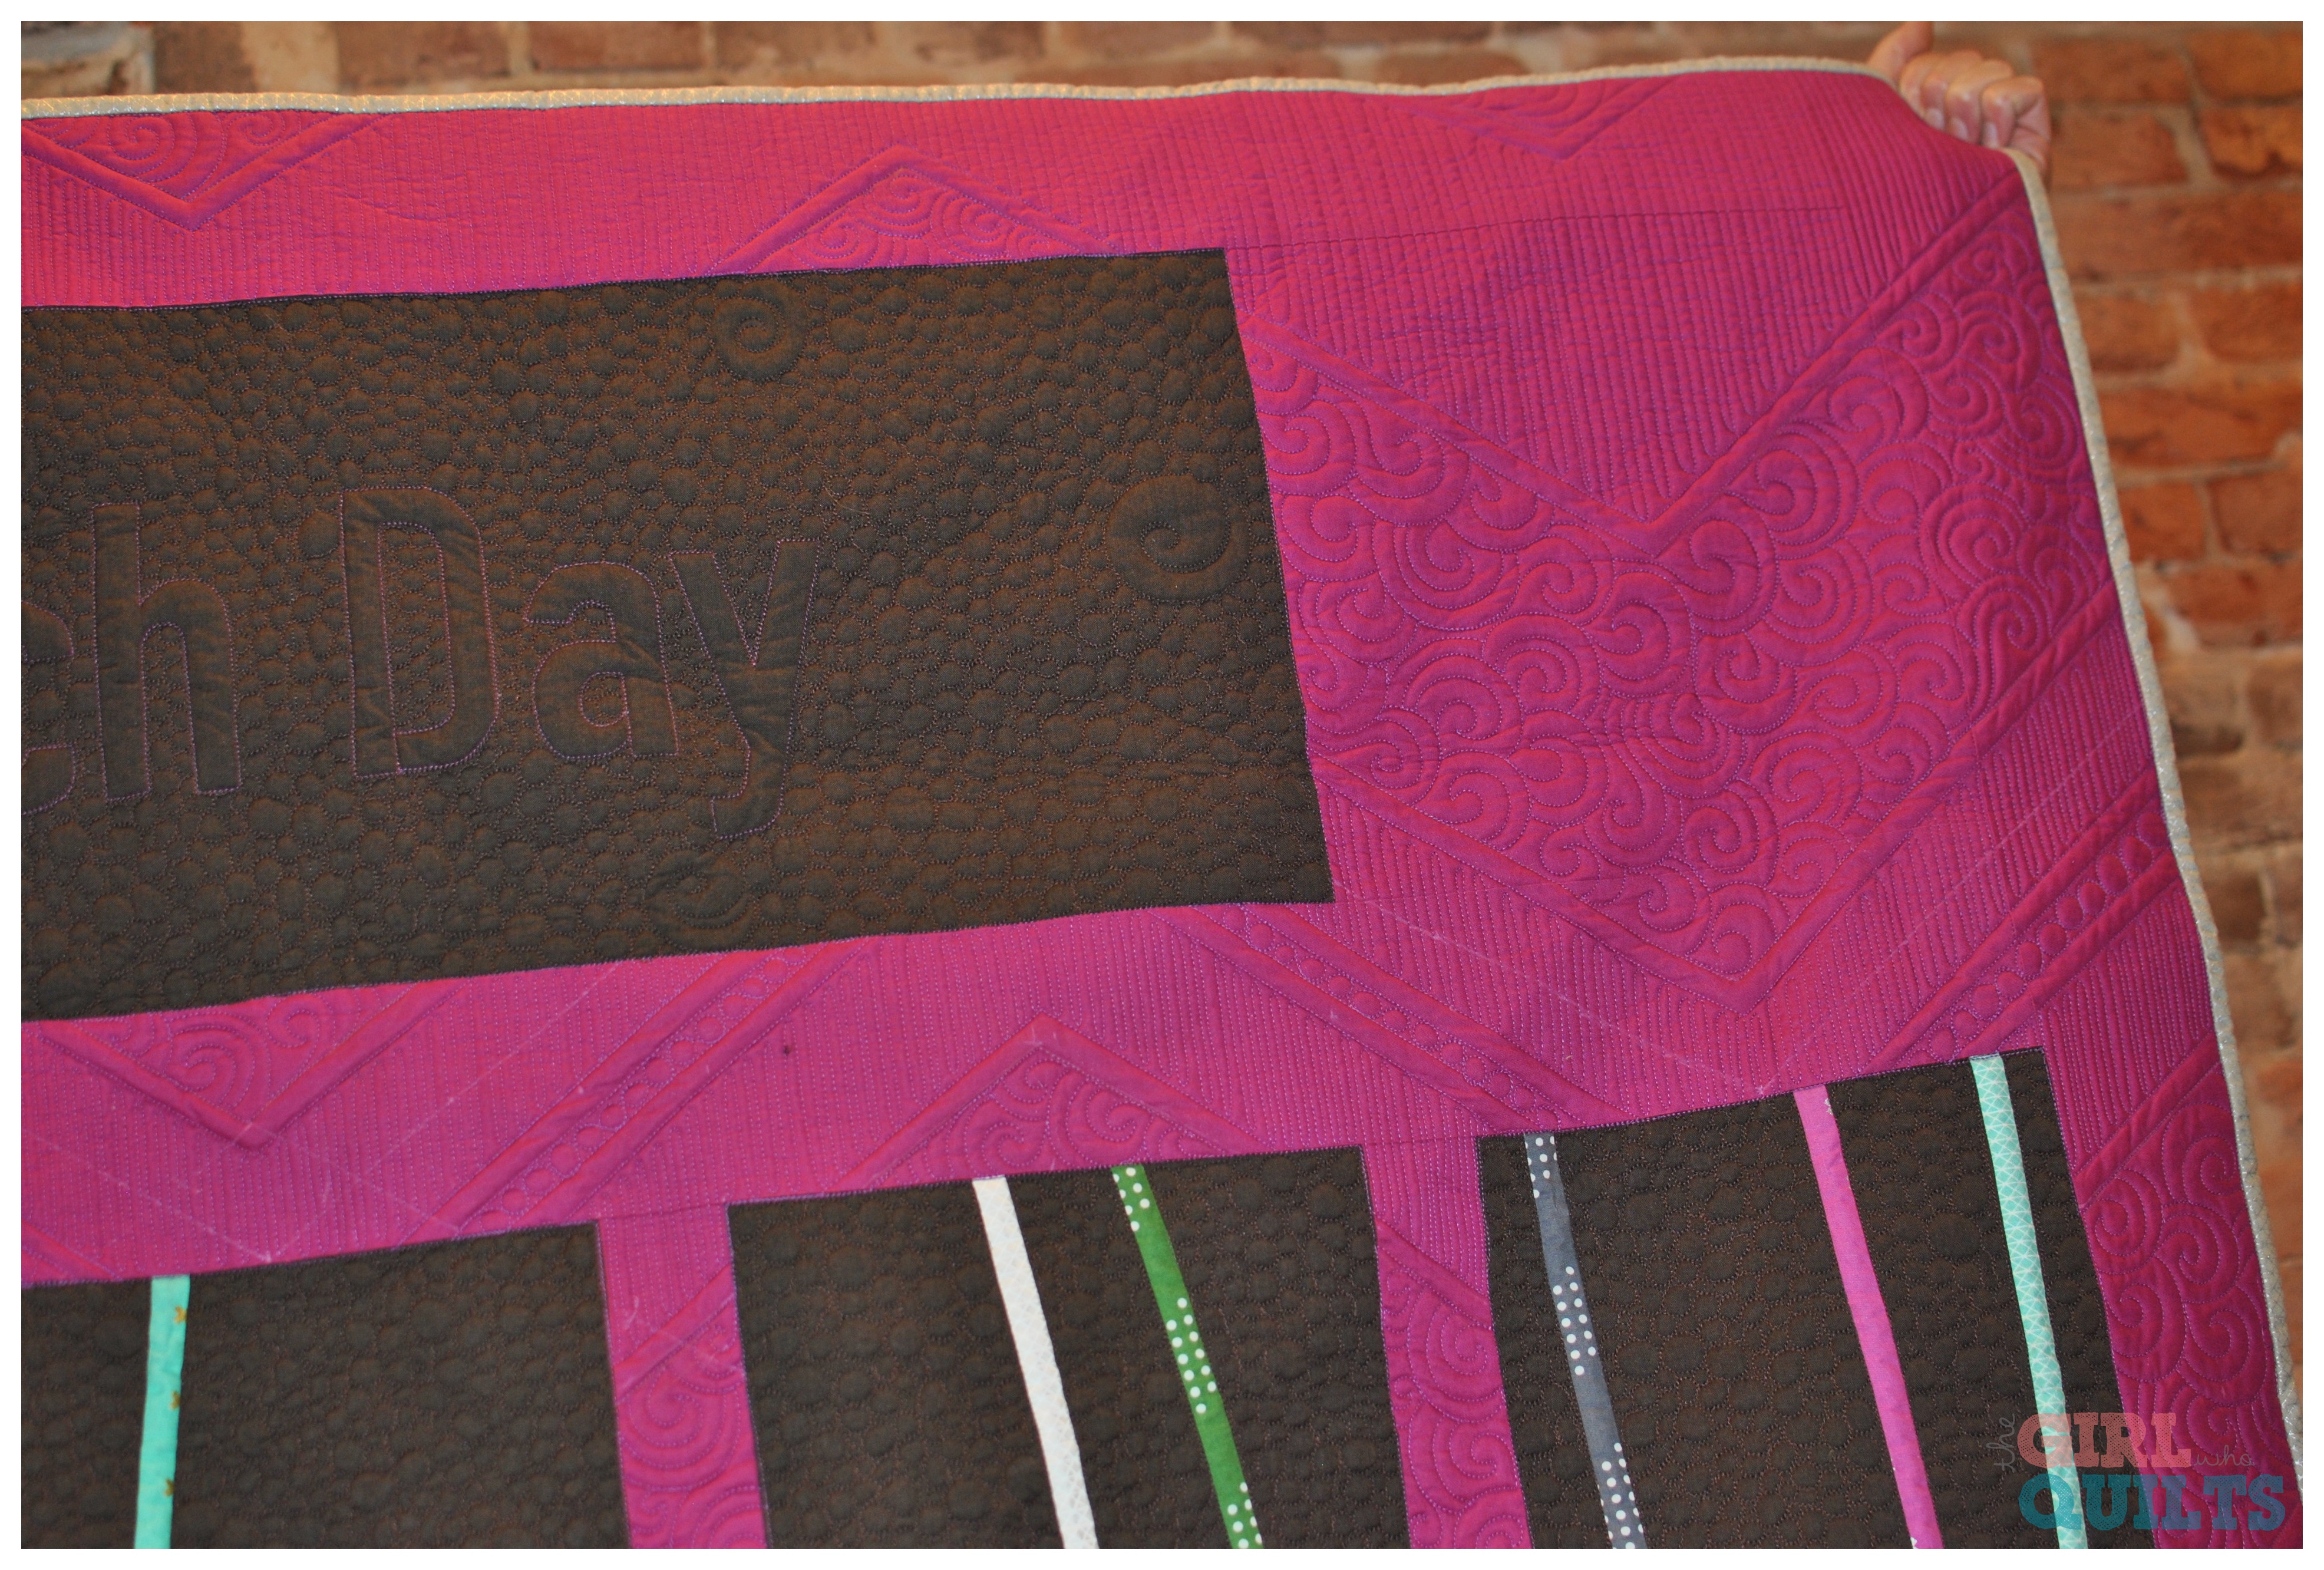
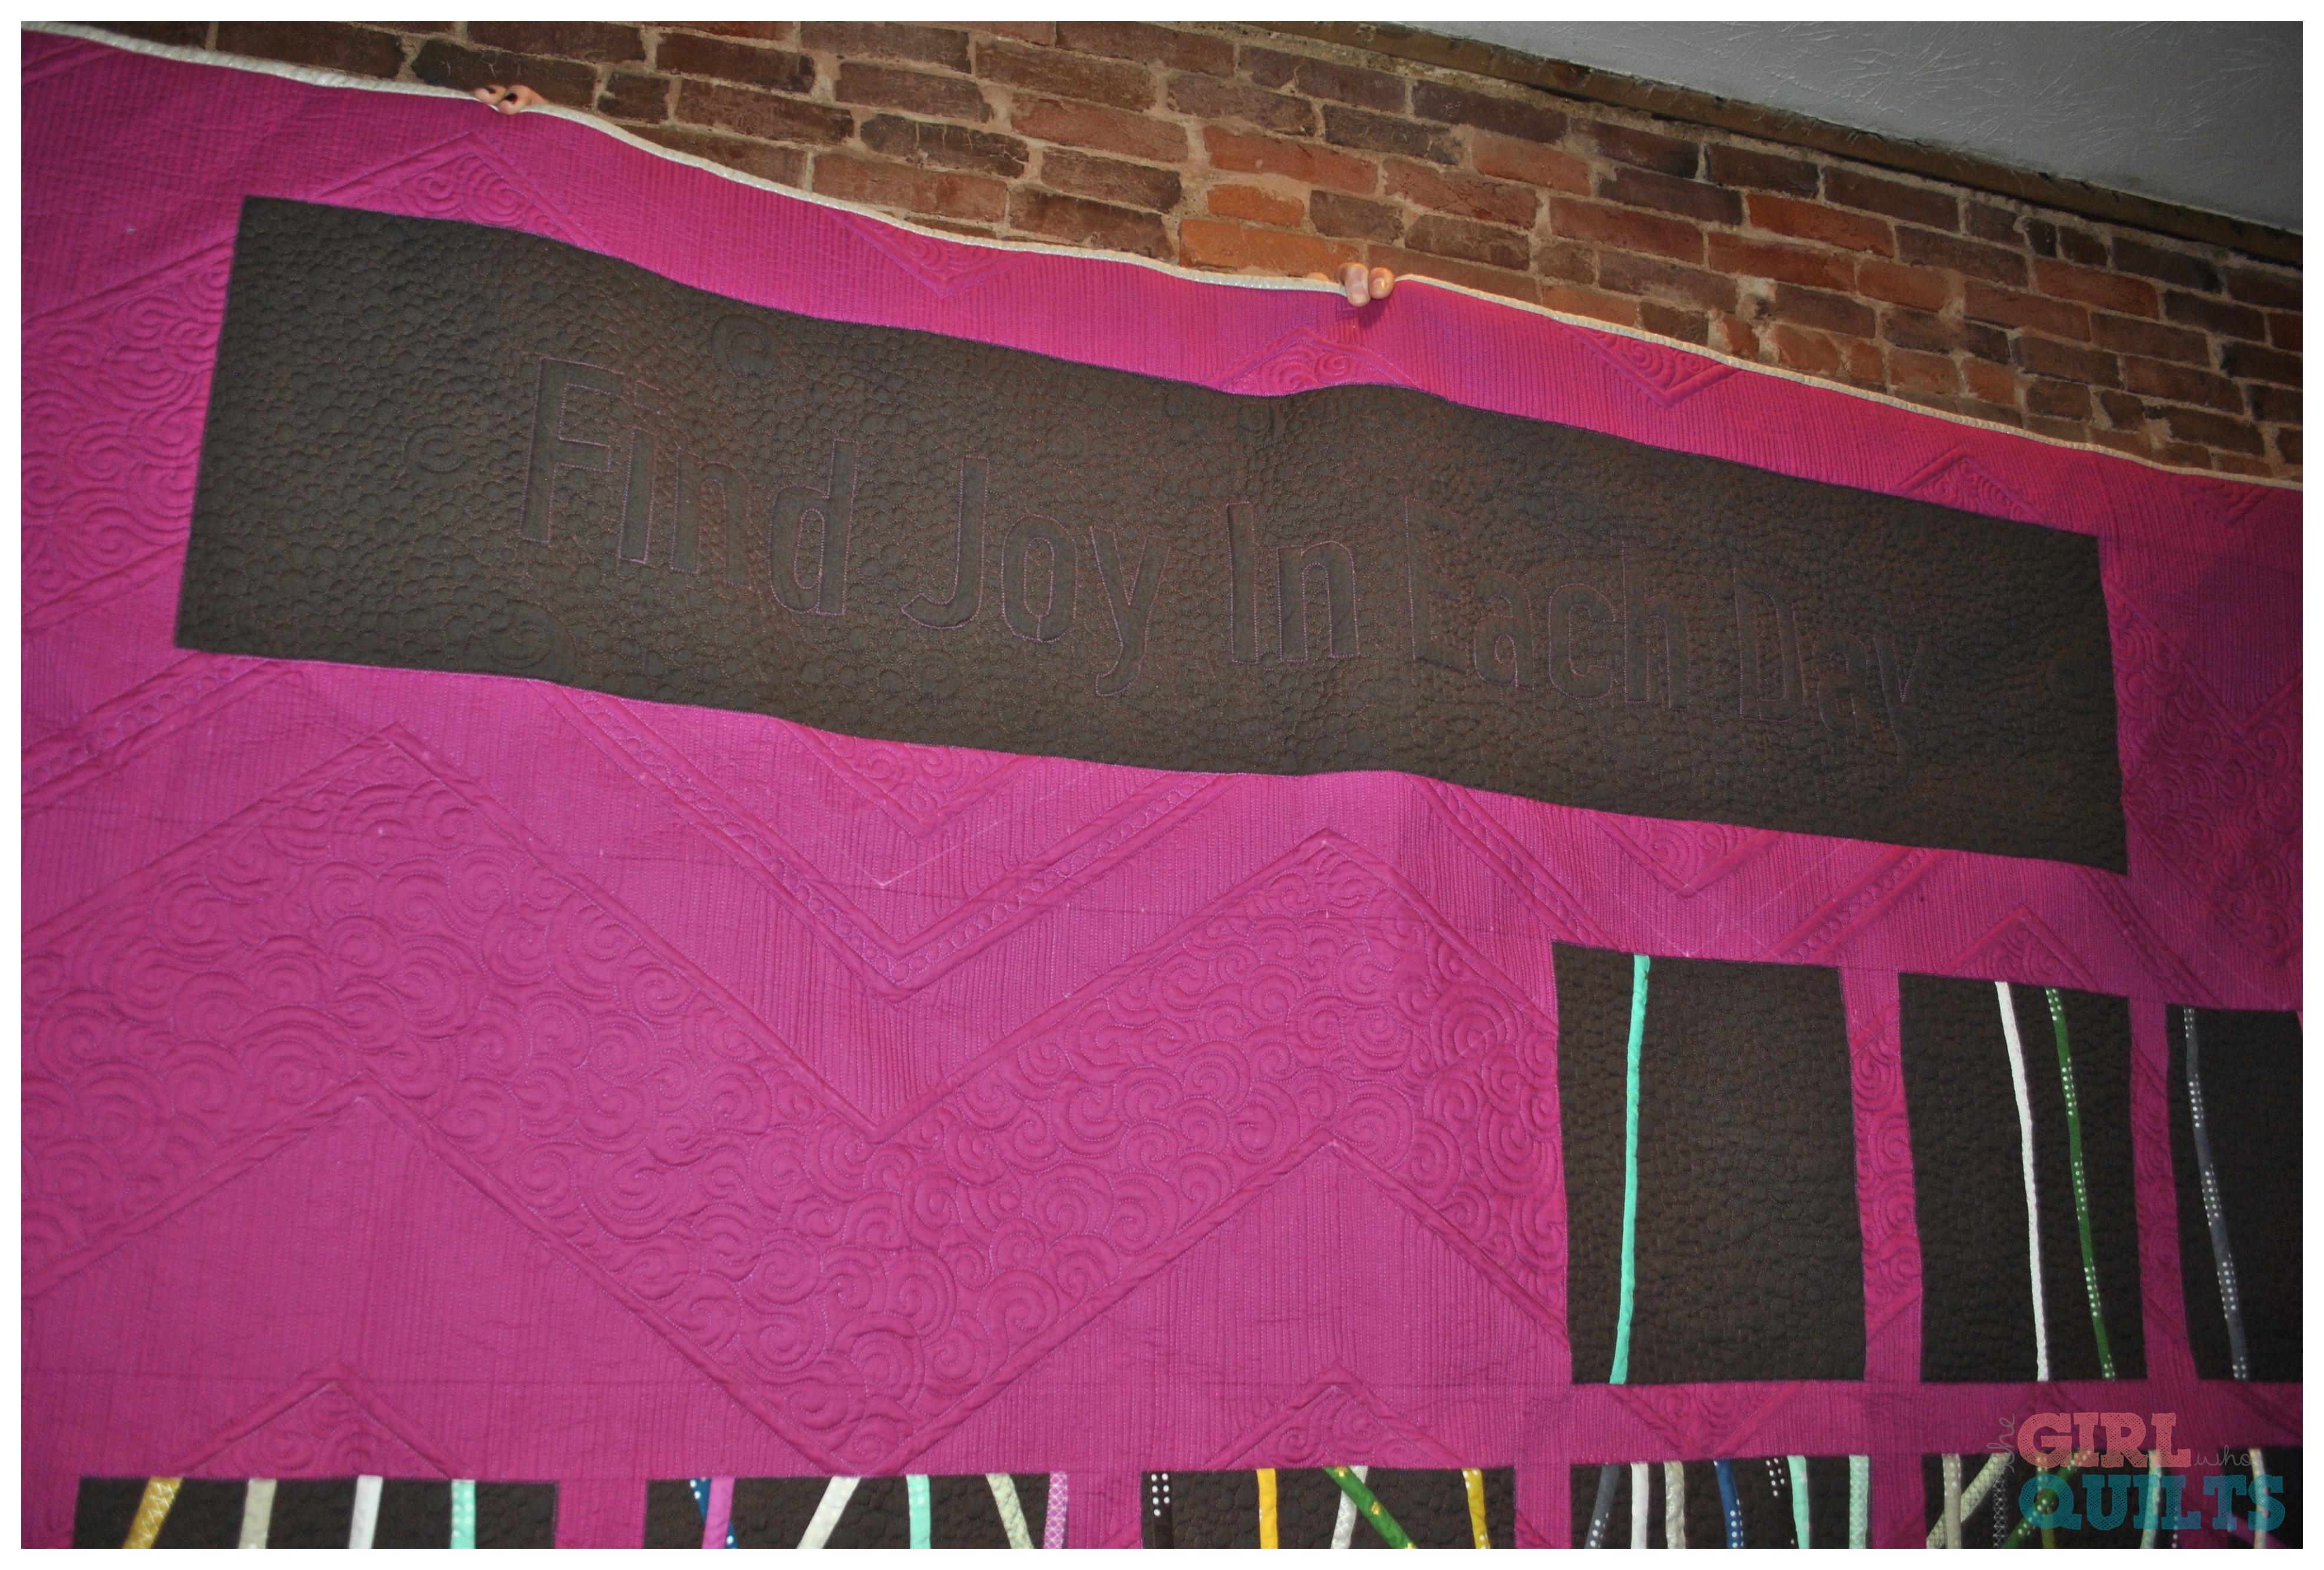
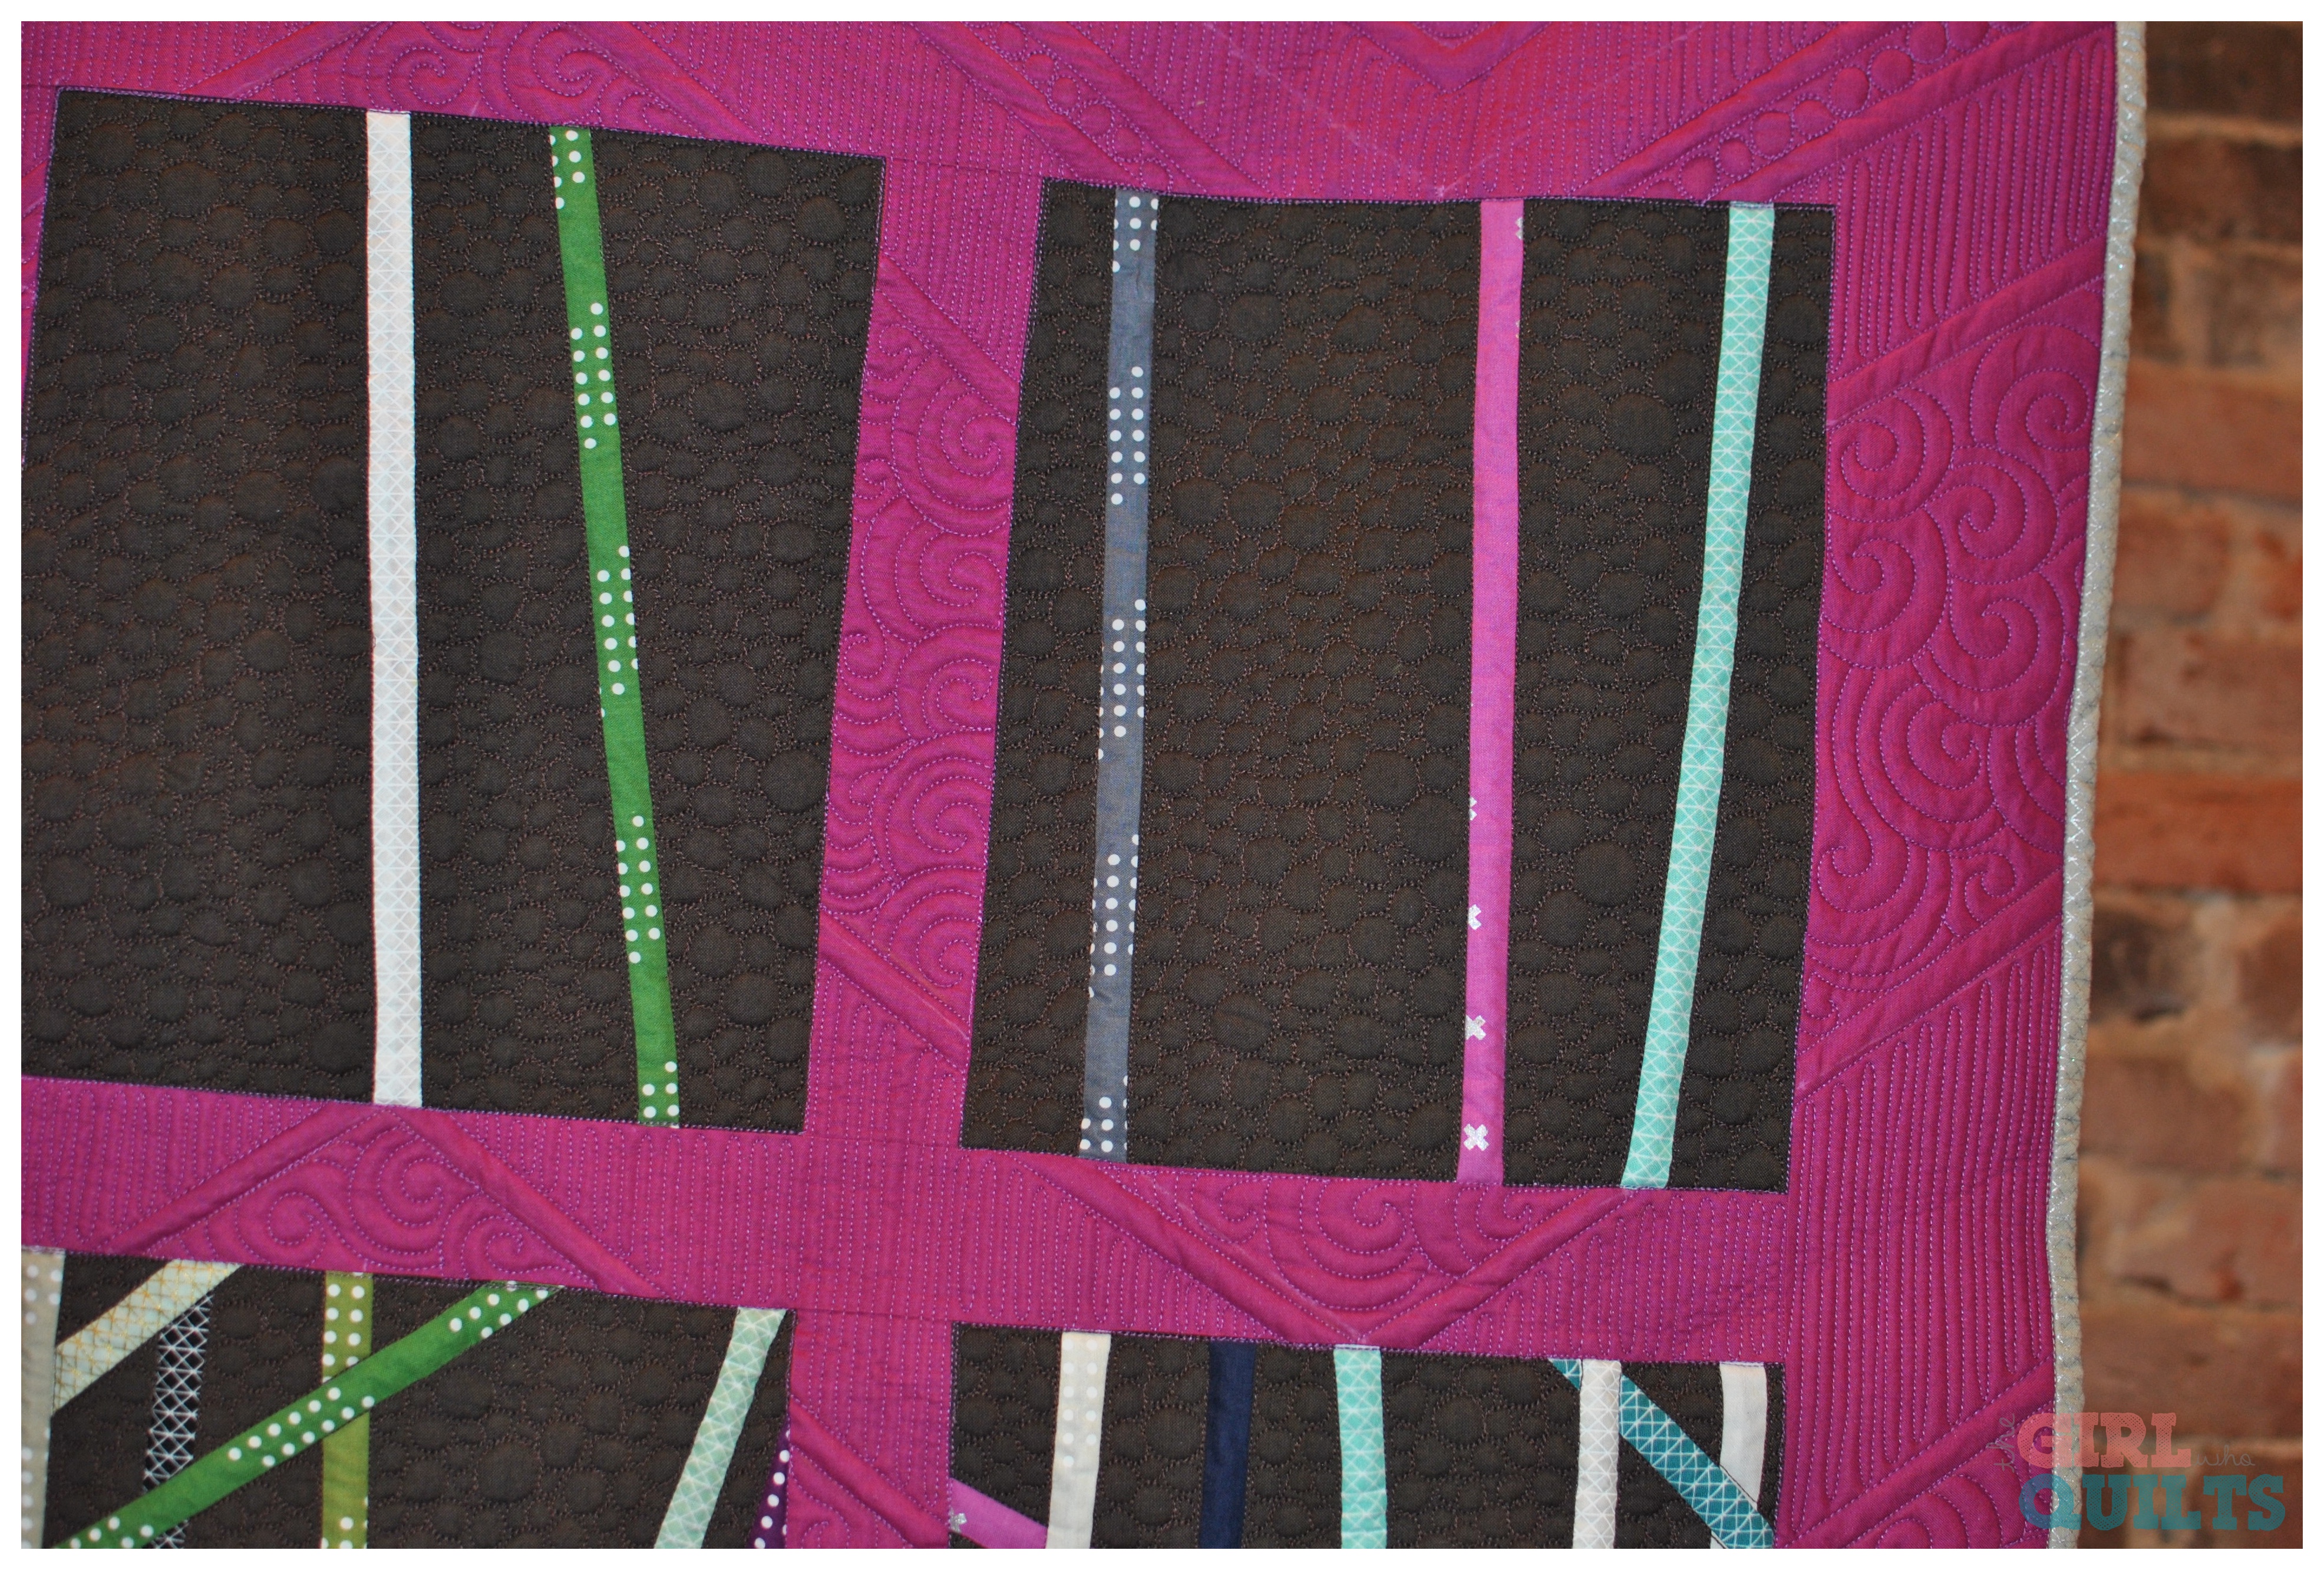
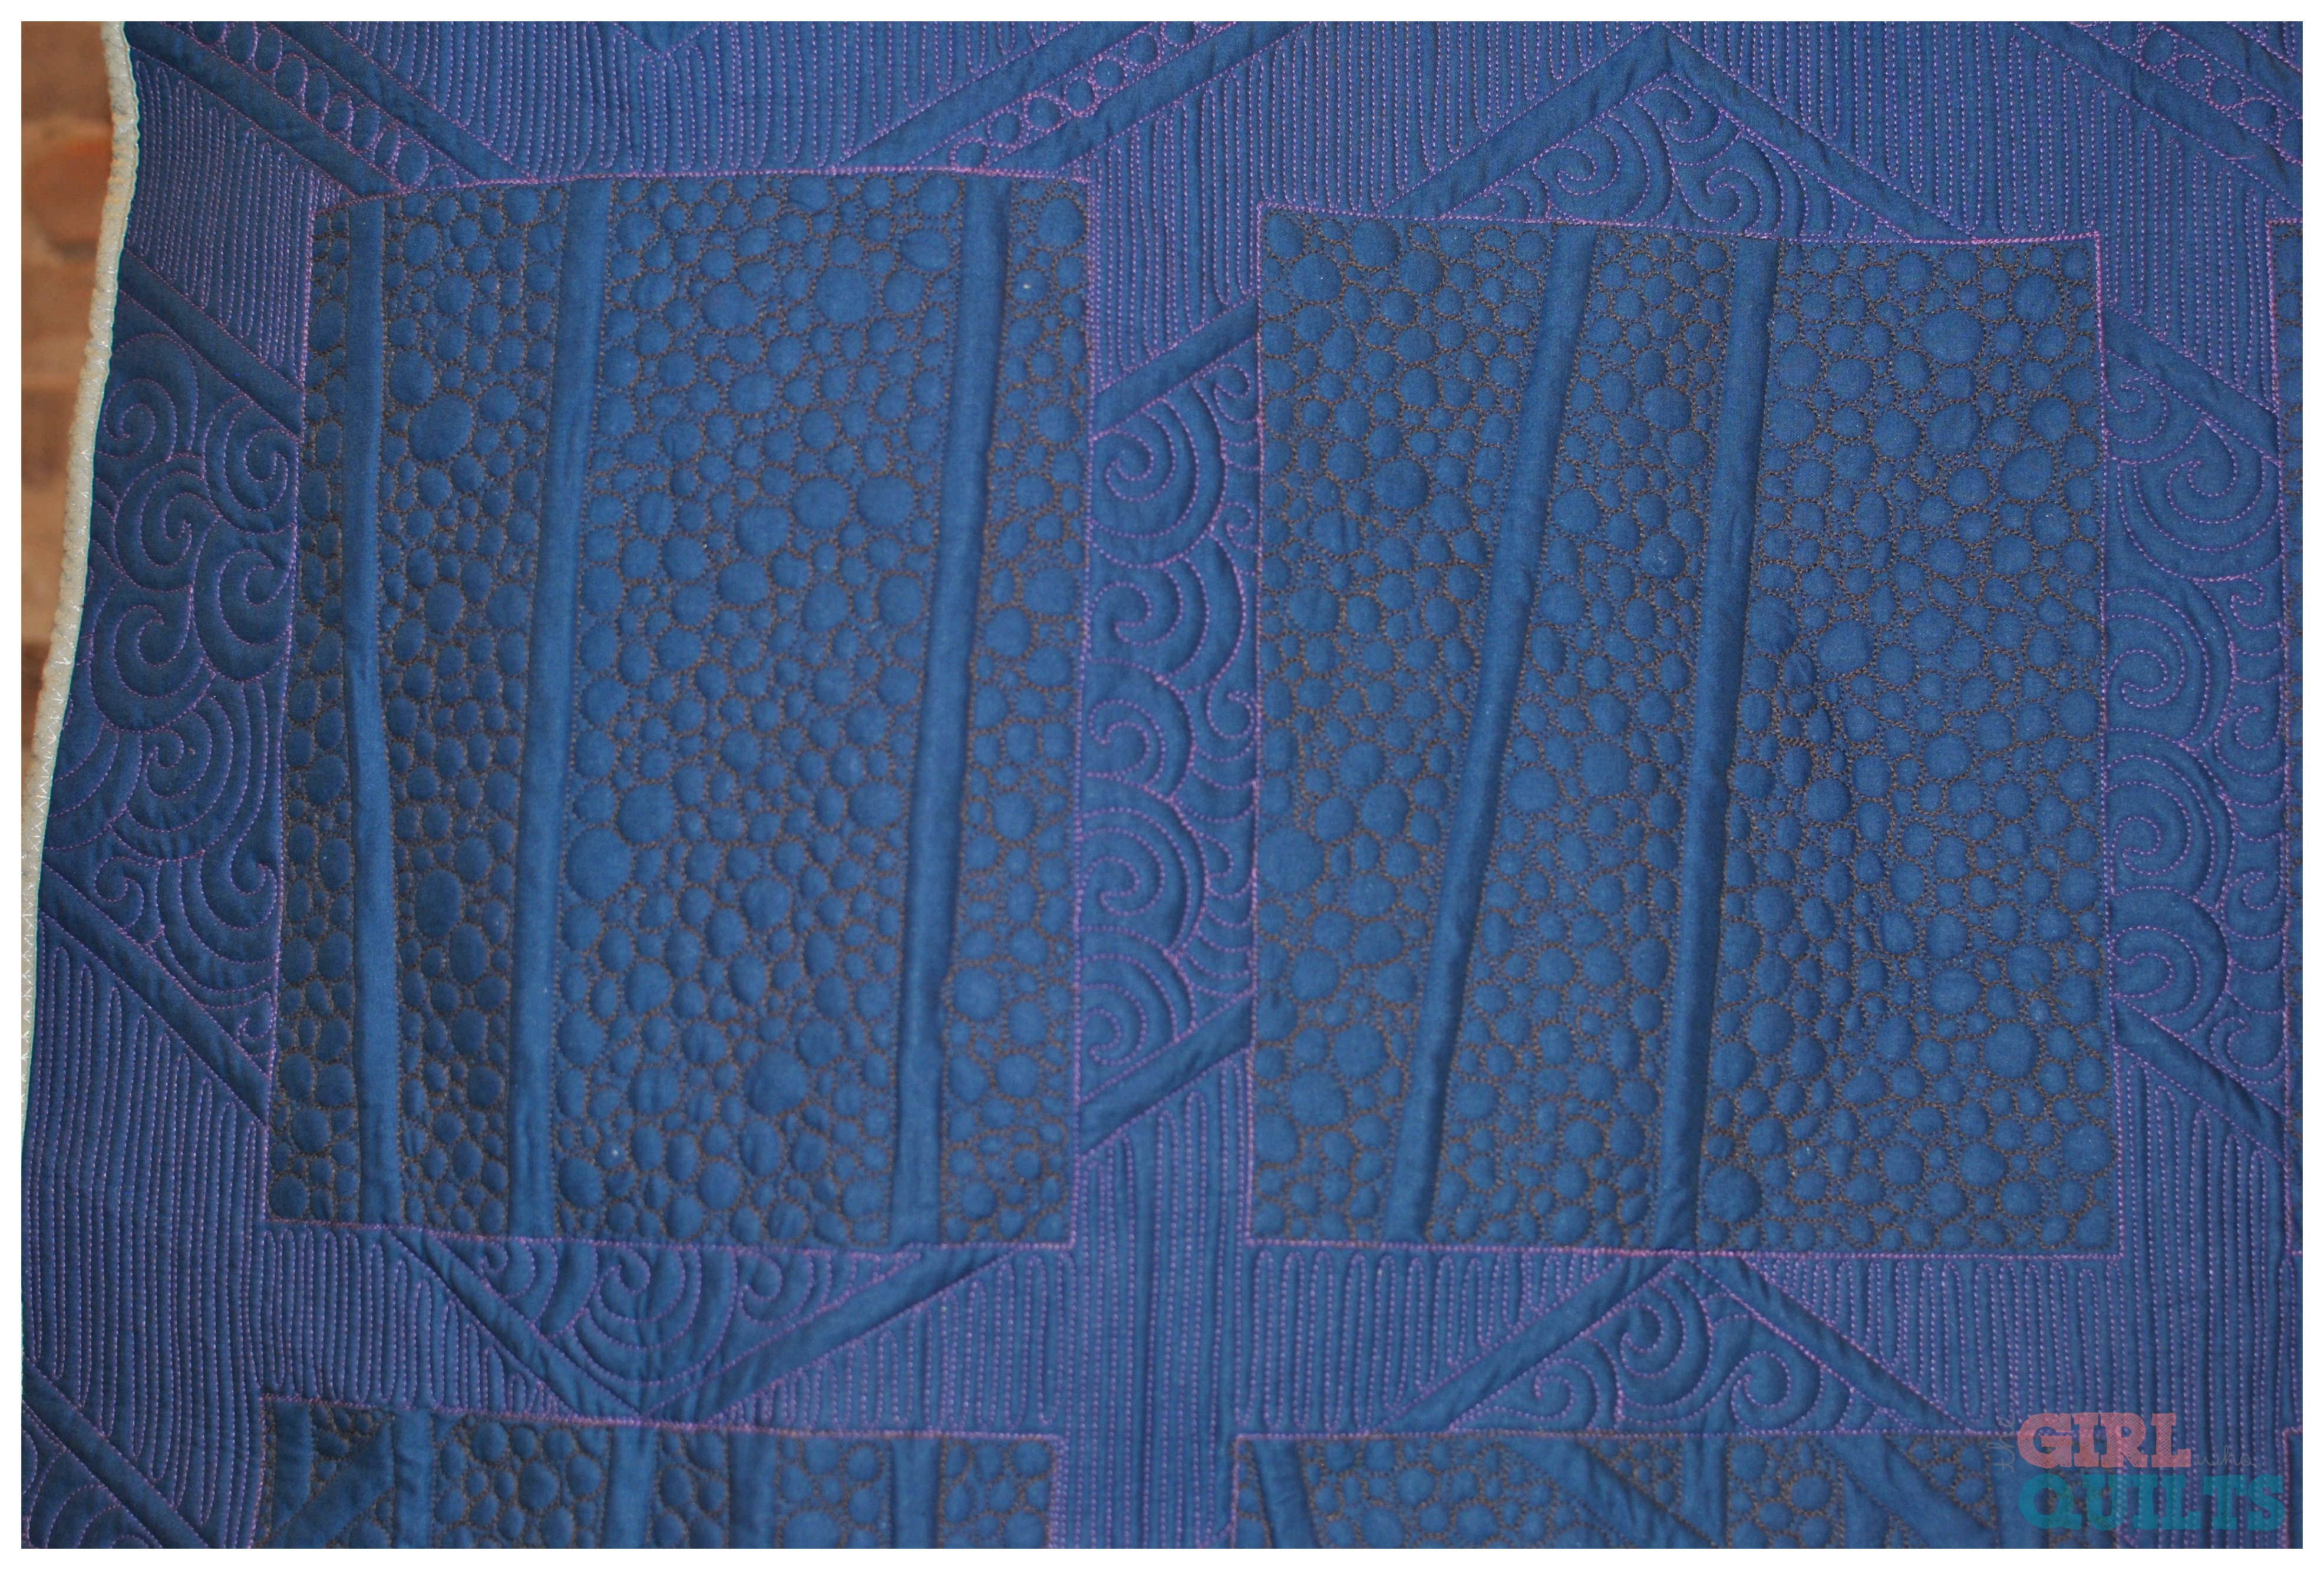
I created a zig zag pattern in the background, alternating a dense back and forth with swirls. I wanted the dense areas to look like the actual zig zags, and the swirl to look like background fill. I purposely set the zig zags so that the denser focal areas ran between the blocks to try and break up the grid look.
In the "day" boxes I stitched in the ditch around each "stick" and pebbled in the background.
I knew weeks before the top was finished that I wanted to lay out the blocks in calendar format and include a "month box" at the top. I wanted to remember this project, but not necessarily make a January 2015 calendar. ;) I came up with the idea to quilt a phrase into the box...something that would always ring true. I settled on, "Find Joy In Each Day".
To tie together the brown sections, I quilted pebbles around the words and included some swirly bits to break up the monotony a bit. (Can I complain for a tiny second and just say that it took me around 3 hours to quilt the pebbles in the large brown area. No joke, my shoulders were so angry with me after that!)
When I stitched out the words, I first stitched around each letter with brown thread and then traced over them with magenta to help them stand out just a little bit.
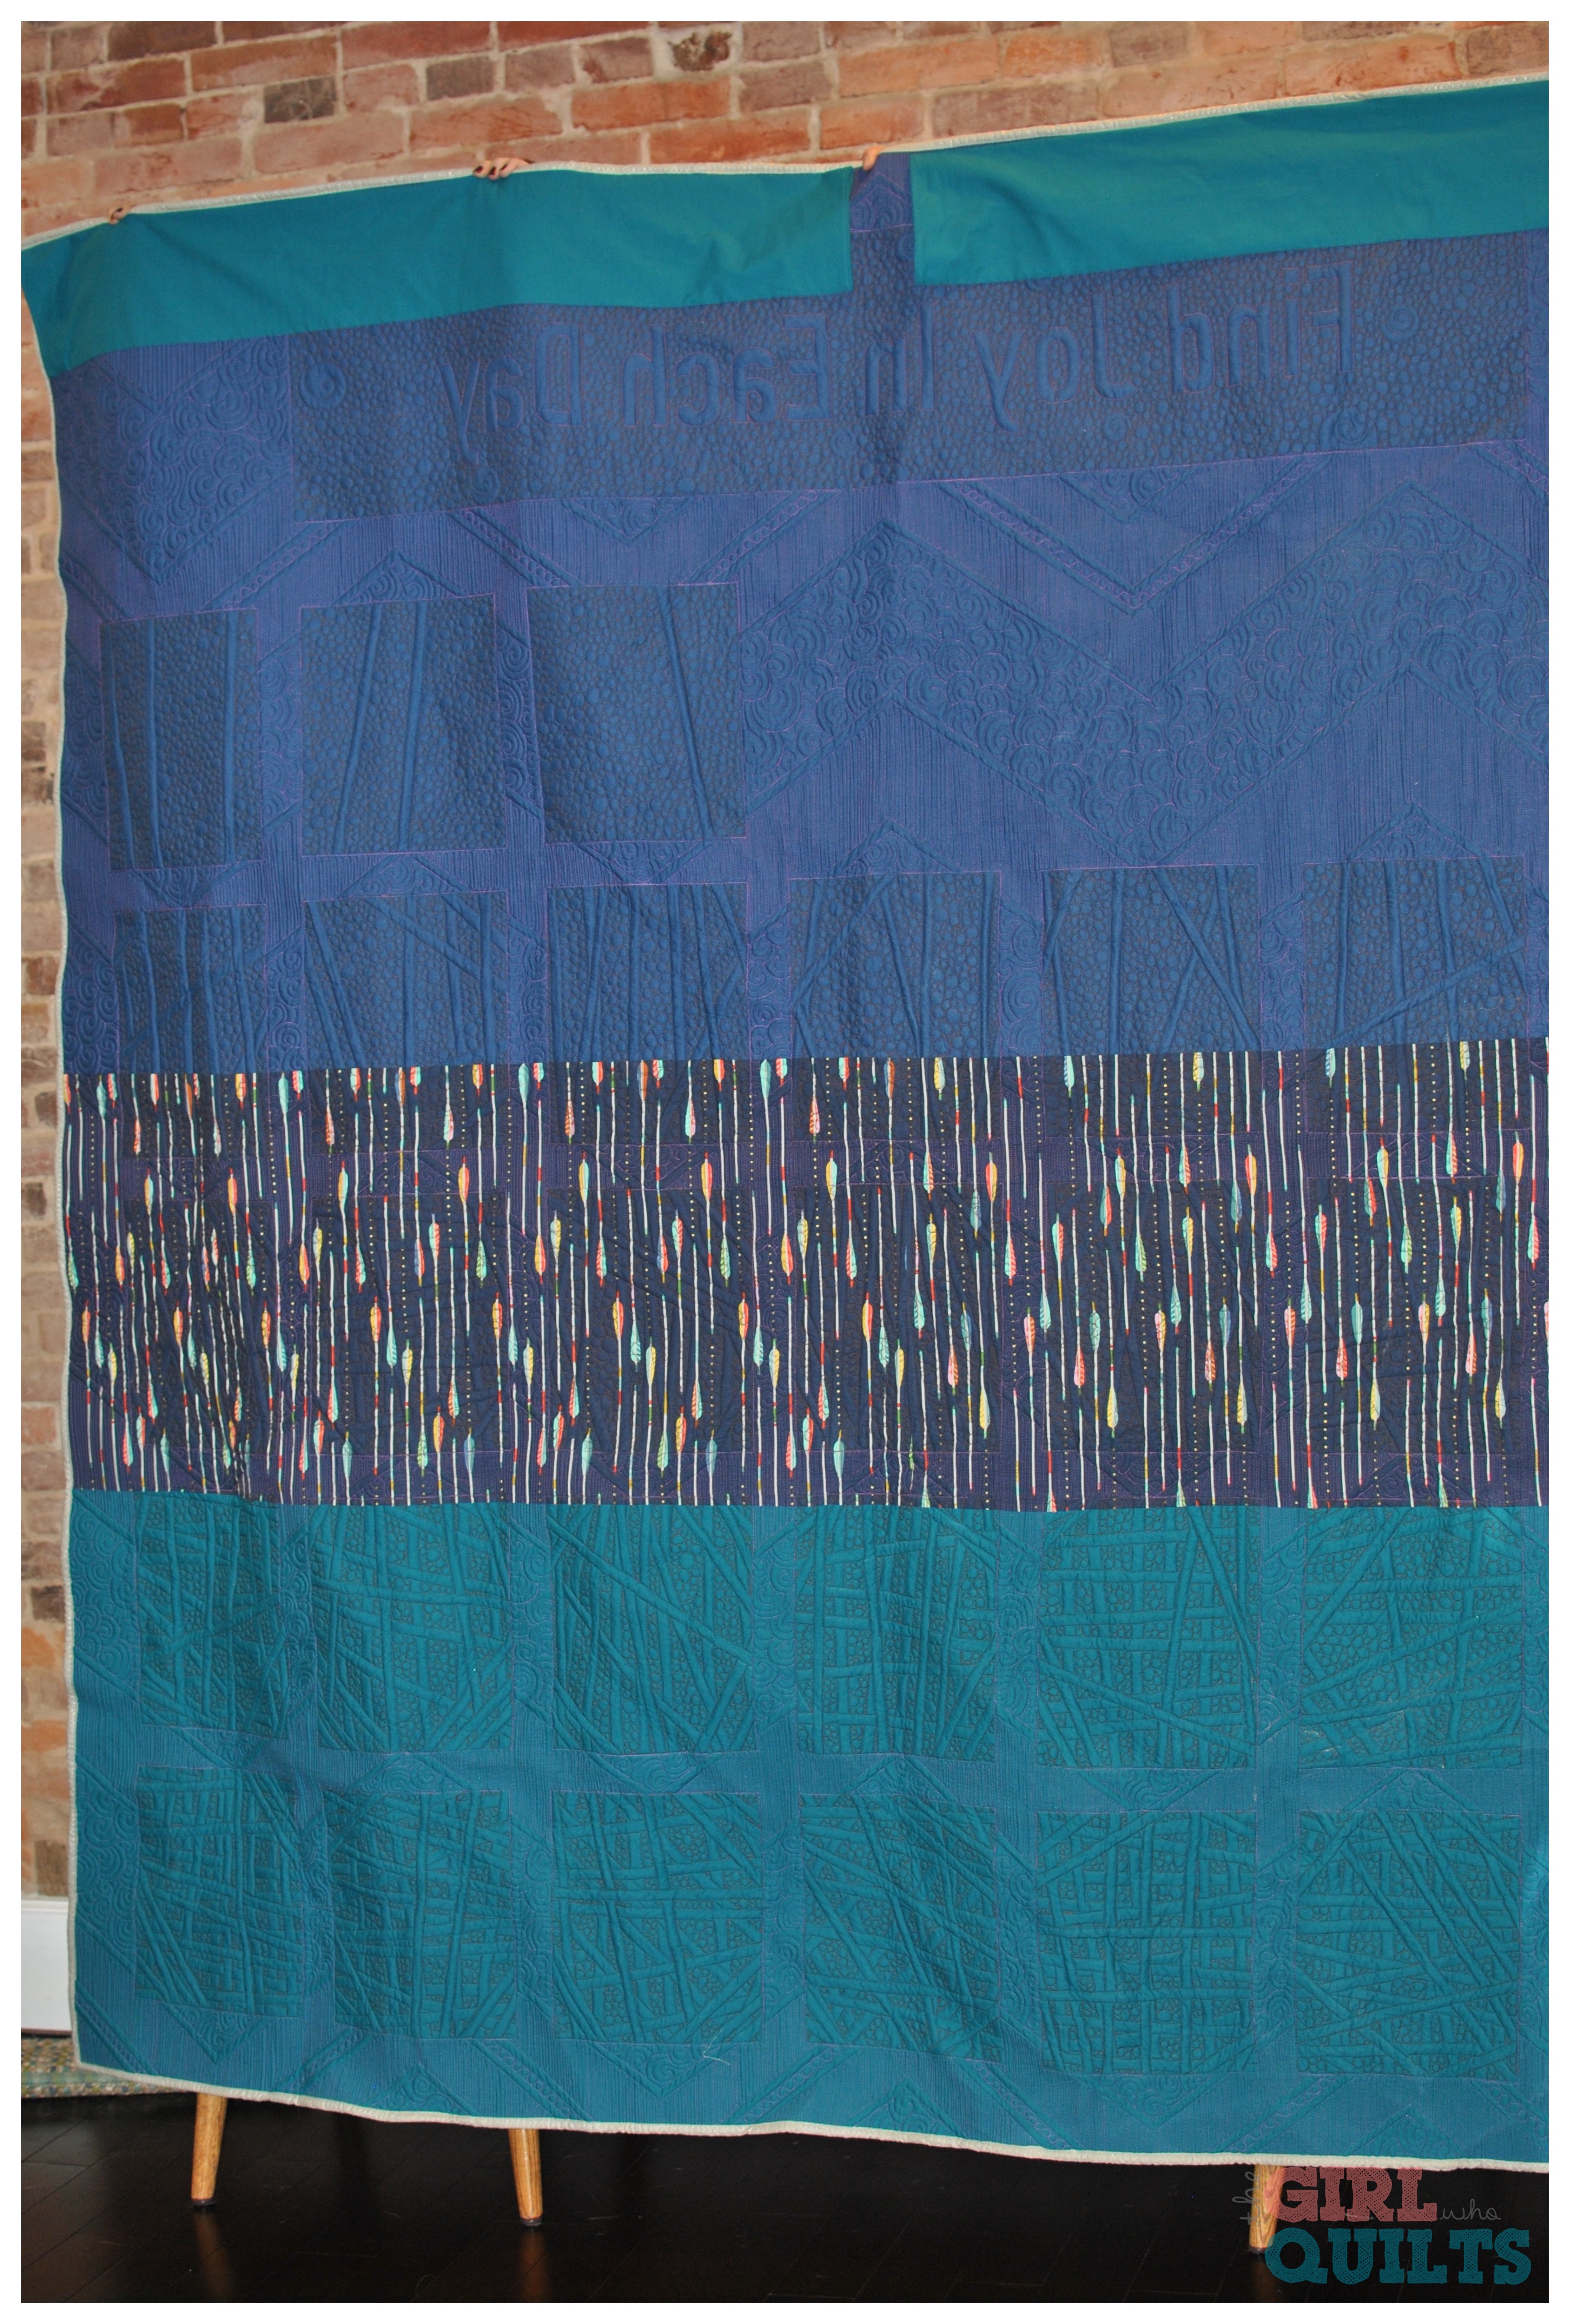
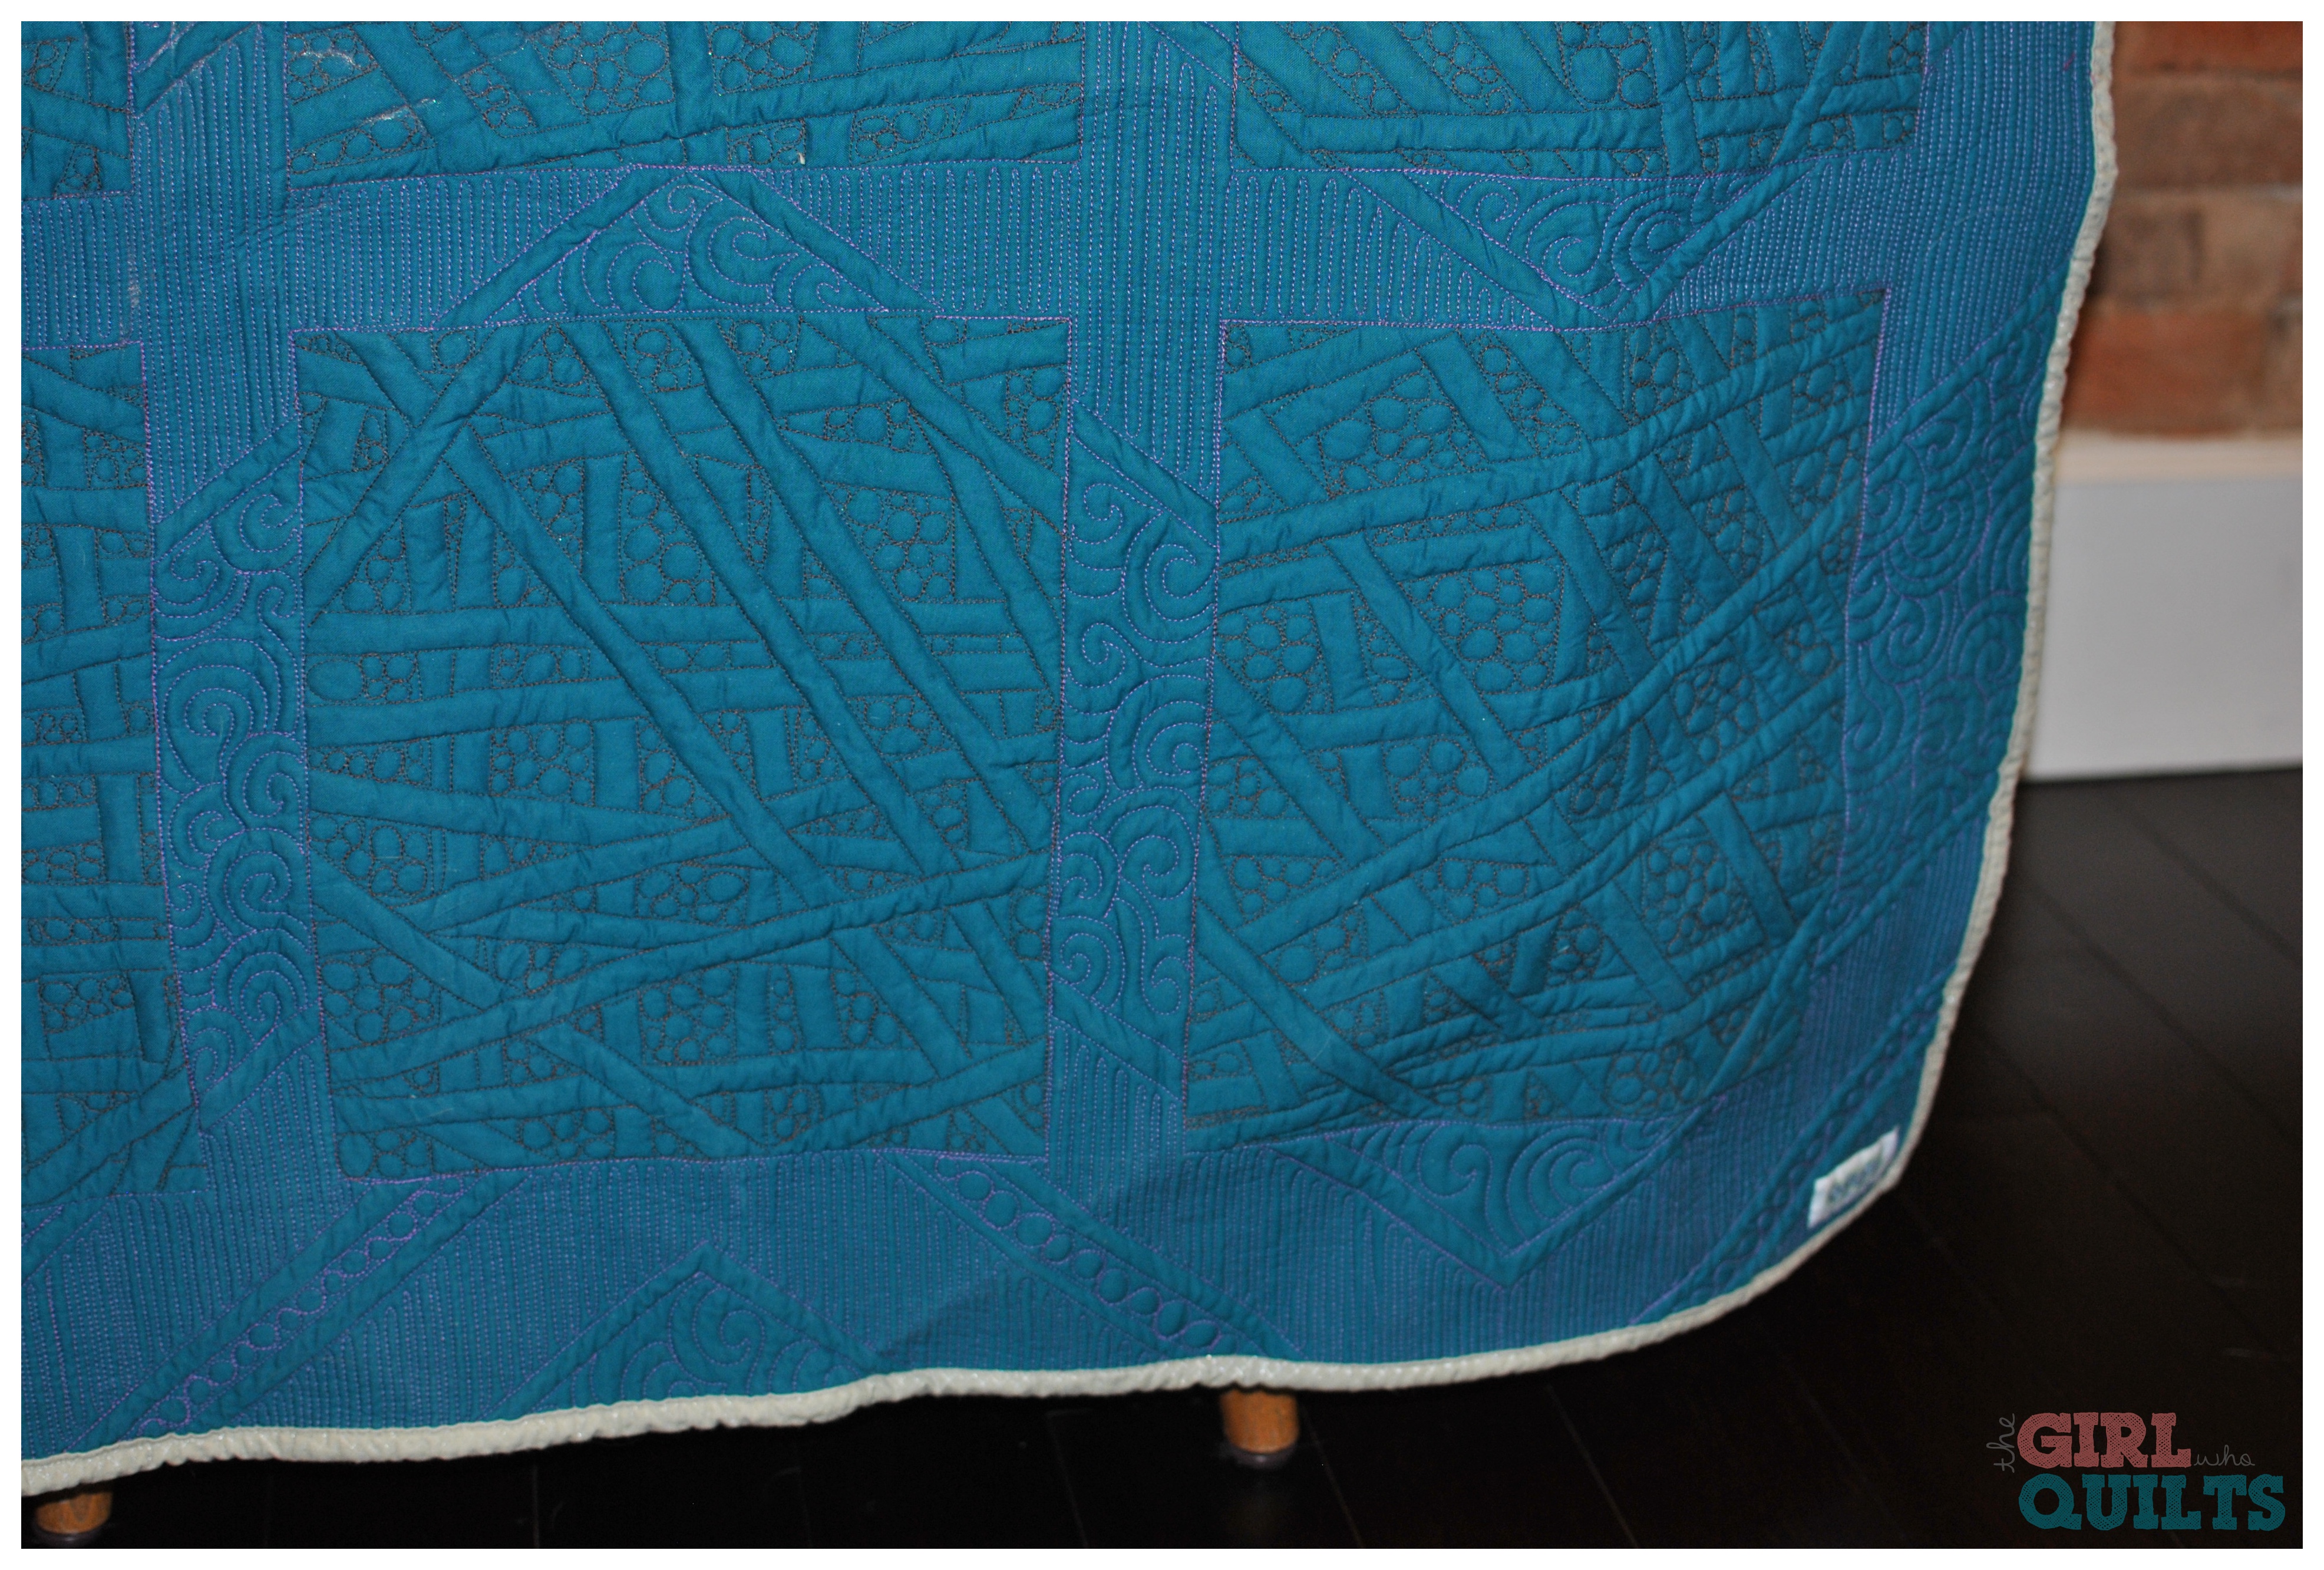
On the back I used the 2 rejected background colors and the Cotton and Steel arrows (my FAV!). For the binding I used a Cotton and Steel basic metallic. I really love how the quilting shows up on the back! (The teal pieces along the top are sleeves, from when it hung in the exhibit.)
Contrasting thread shows all of the mistakes, but it still looks fun!
I want to send a huge shout-out to my friend Kathleen at Kathleen Quilts. She was a great help to me as I was deciding on what batting to use (I used double batting: Quilter's Dream Wool over Quilter's Dream Blend), and even included my quilt in her Free Motion Friday! If you haven't heard of her, hop over to her blog!
And lastly, a few things about the quilt, in no particular order:
-I finished it at queen size so I can put it on our bed.
-I cut my strips from Cotton and Steel basics "spindles" (2.5" strip rolls), and I used almost 2 full sets of 40 - 2.5" strips.
-All of the strips are pieced. No applique!
-Strips finished at 1/2" wide. Blocks finished at 10" x 12".
-I used 12 bobbins of magenta thread and just over 11 bobbins of brown thread!
-I actually enjoyed quilting the blocks with more sticks. Quilting lots of pebbles gets really boring!
If you're going to QuiltCon, come say Hi to me! I'll be helping a friend at her vendor booth on the show floor, the booth is Sew Many Creations. And now I'm off to pack!

