
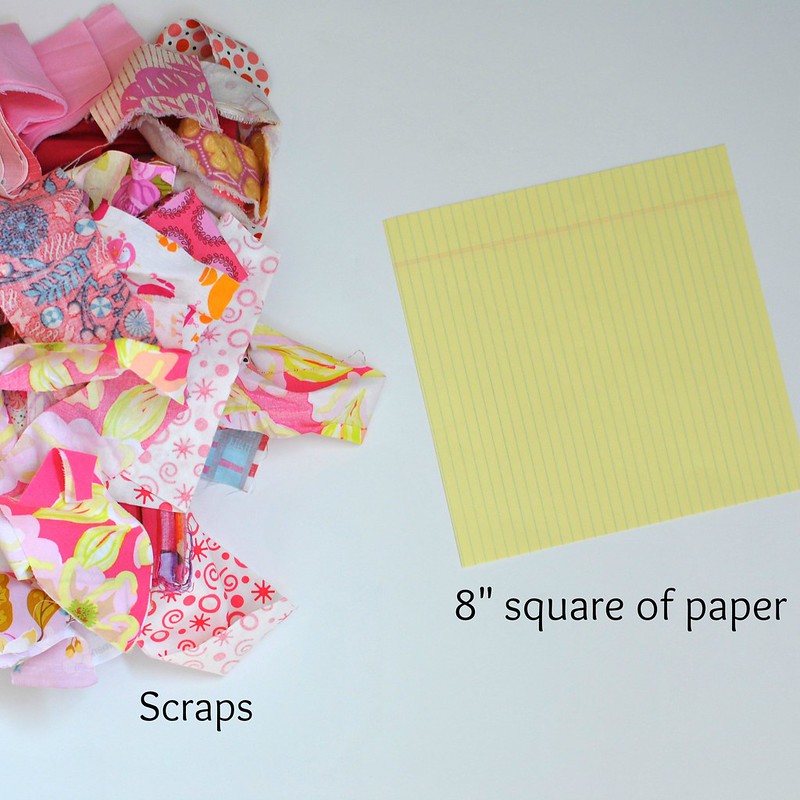
I've been slowly making these blocks with my scraps, and I thought I'd share my process! I cut notebook paper to 8" squares and use that as a foundation for my blocks. This is my preferred method of improv piecing, as the paper makes the process so much easier!
Supplies:
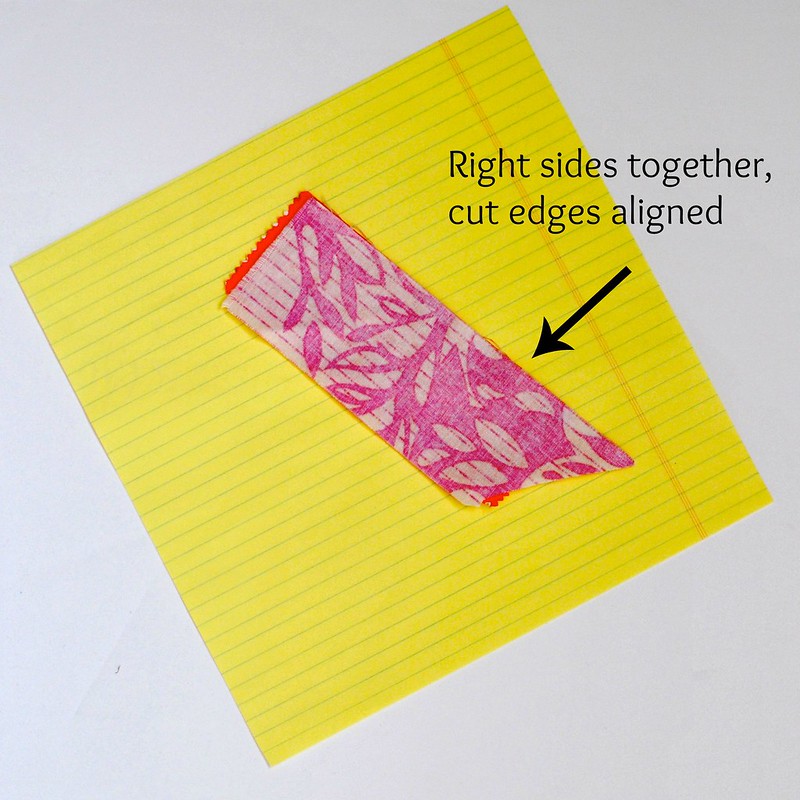
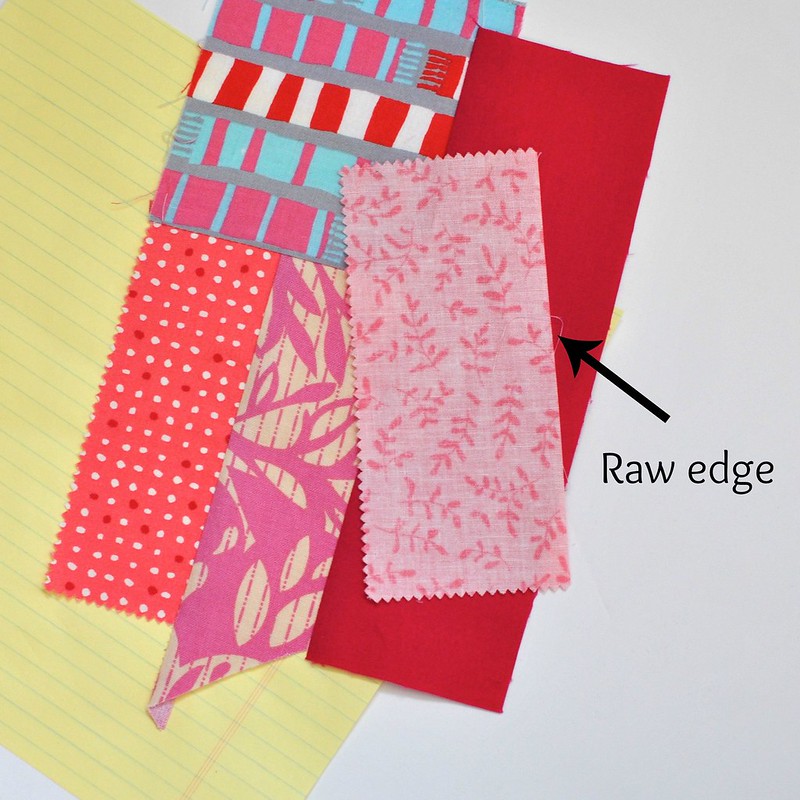
The scraps don't need to be cut into perfect squares or rectangles, but I do trim 1 raw edge of each scrap piece with a rotary cutter and ruler so that I have a nice, straight edge. It will make more sense later in the tutorial, but the raw edge to trim is the one that you will stitch your seam along. I trim mine as I go.
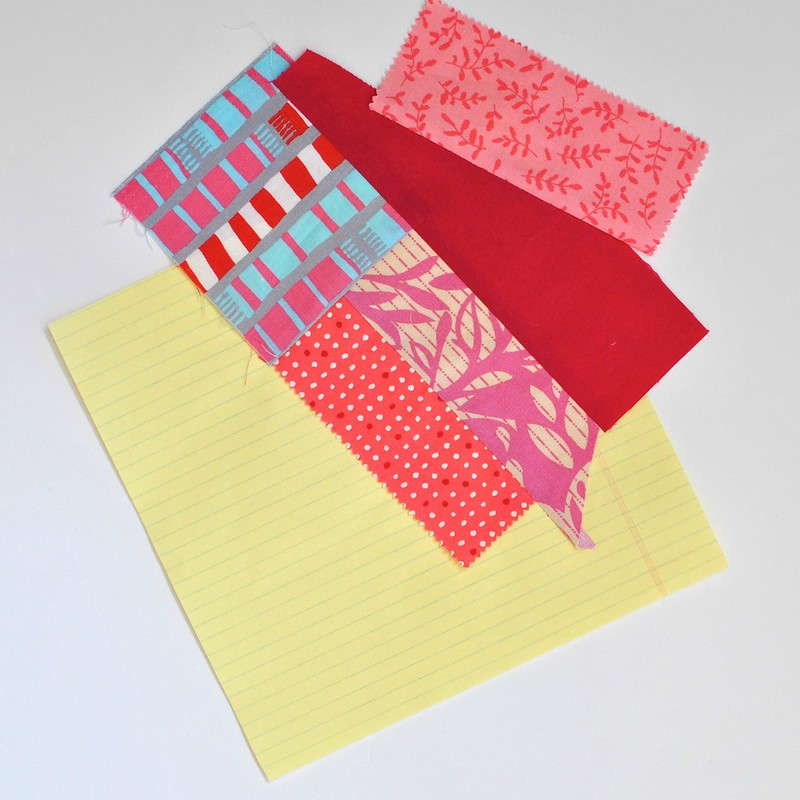
Begin with 2 scraps. They don't have to be the exact same size.

Place the scraps, right sides together, somewhere on your paper foundation. The straight raw edge of each scrap piece should be aligned as shown. Stitch 1/4" from the raw edge using a slightly shorter stitch length than usual (2.0-2.2 works well). Stitch through the scraps and the paper; the paper is acting as a foundation for the piecing.

Press the pieces open.
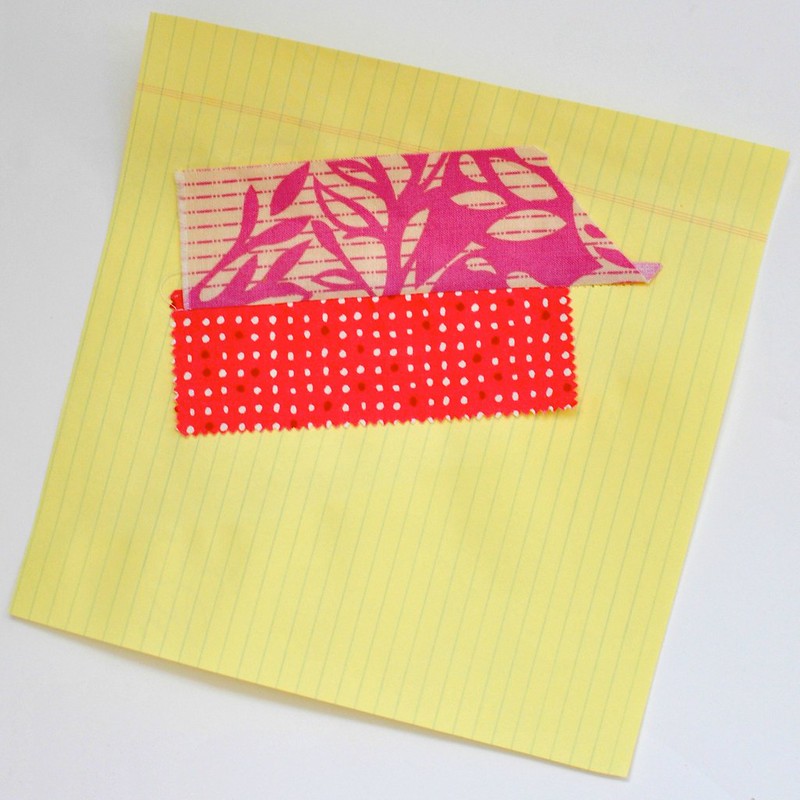
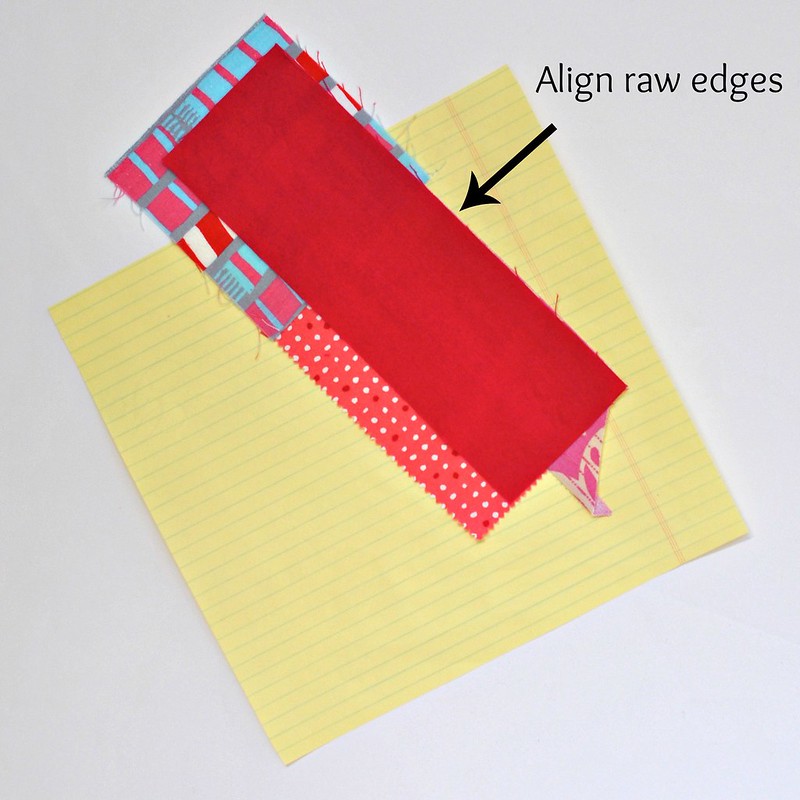
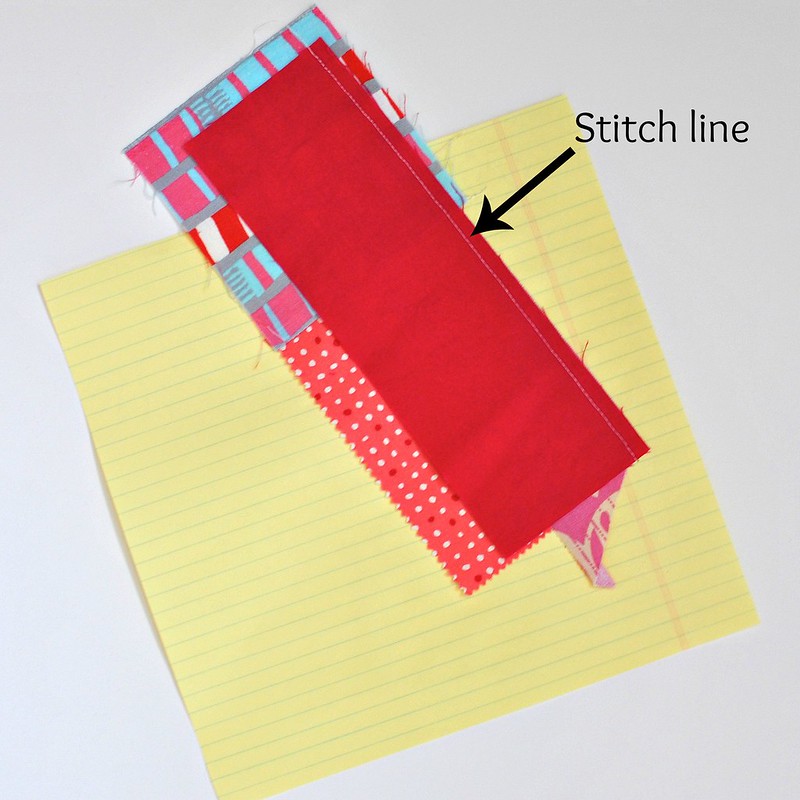
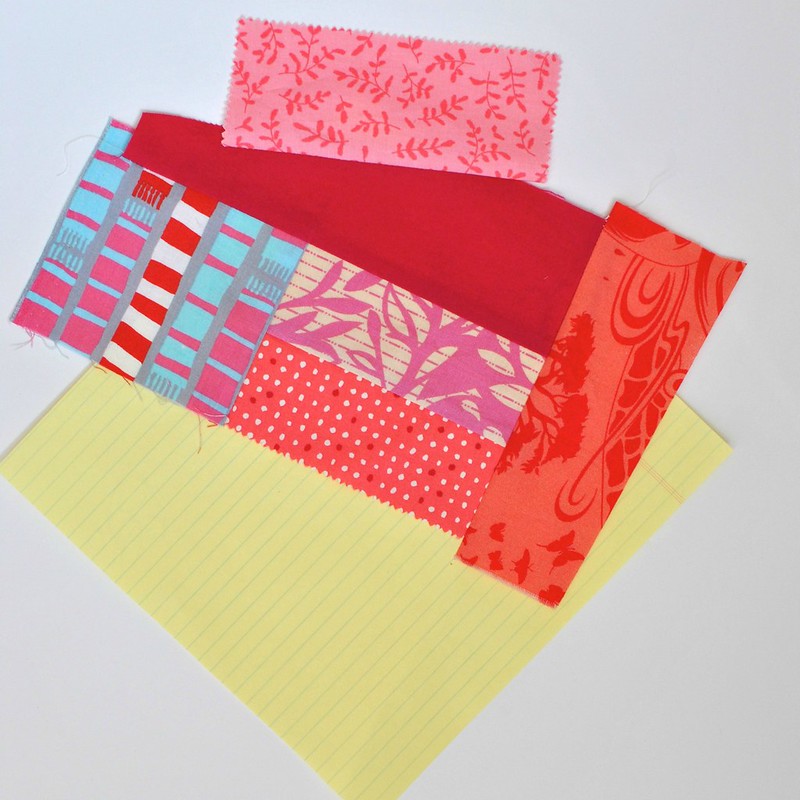
Now add another scrap. Trim 1 edge so that you have a nice straight cut, line up this scrap with your other pieces, right sides together, and sew 1/4" from the raw edge. Don't worry about all of the edges lining up; just sew 1/4" from the cut edge on the piece that you are adding and you will have nice, straight seams.
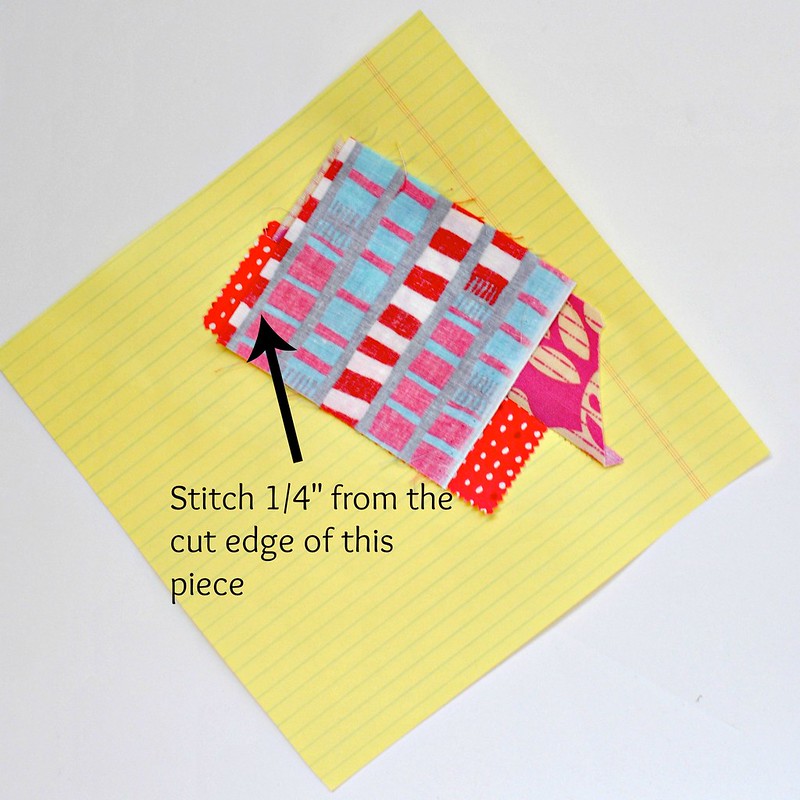
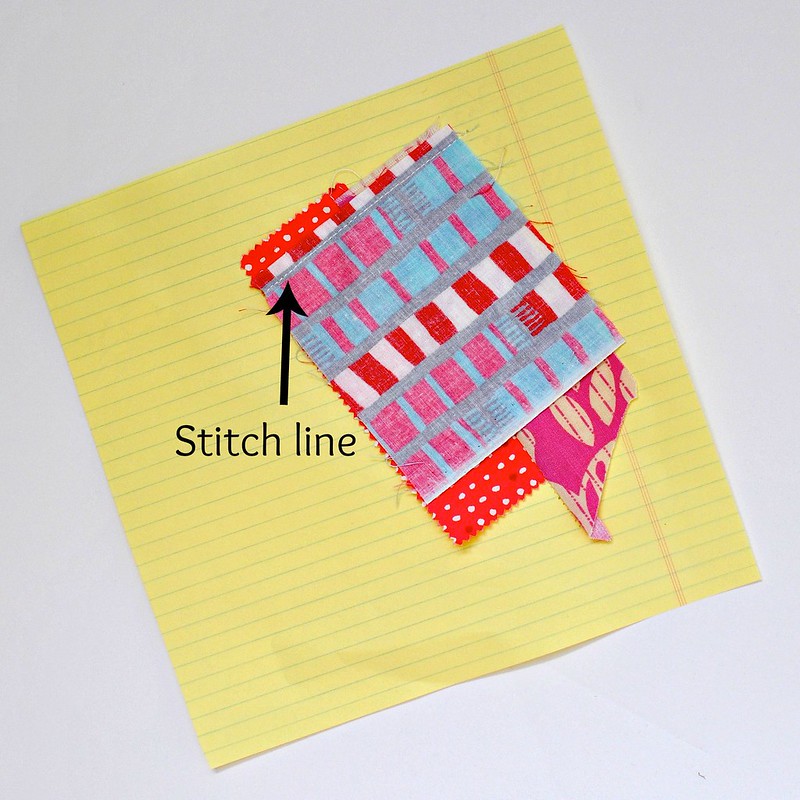
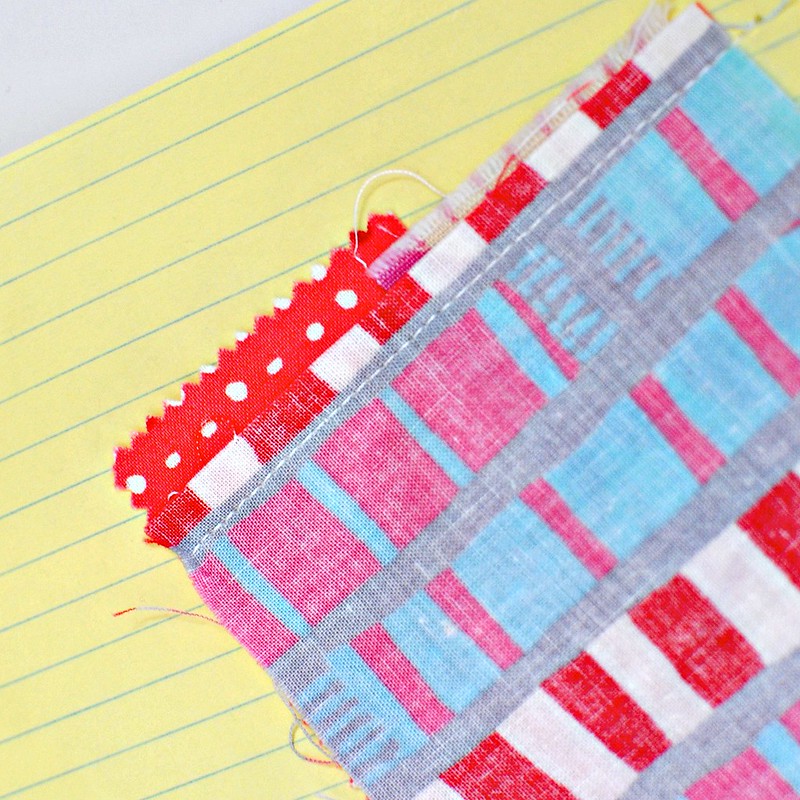
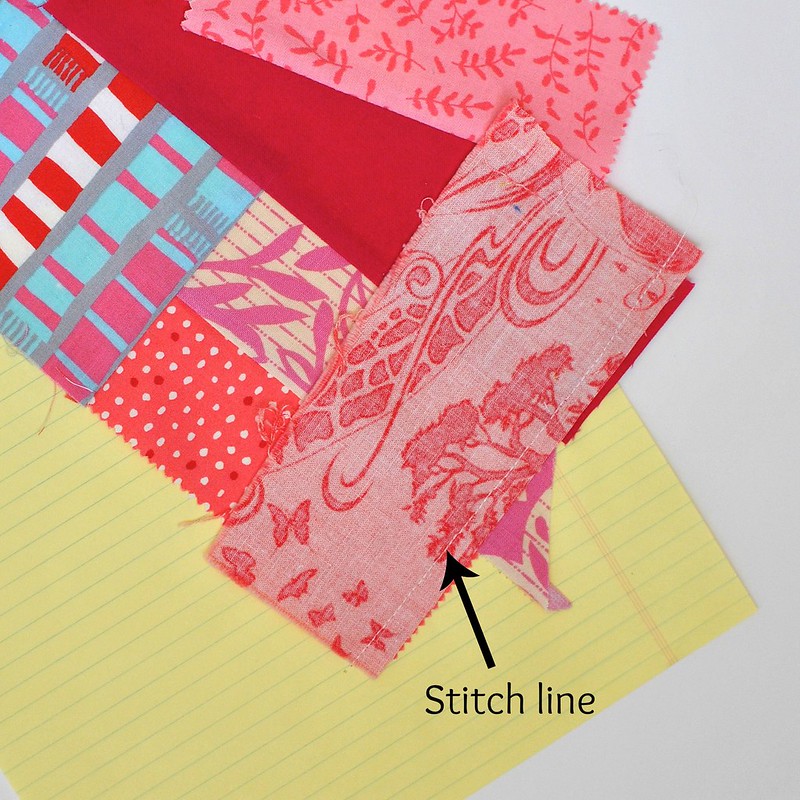
Here's a close up of the stitch line. Notice that the raw edges of the first two pieces don't line up exactly with the raw edge of the piece that we just stitched down. That's fine!
Press the pieces open.
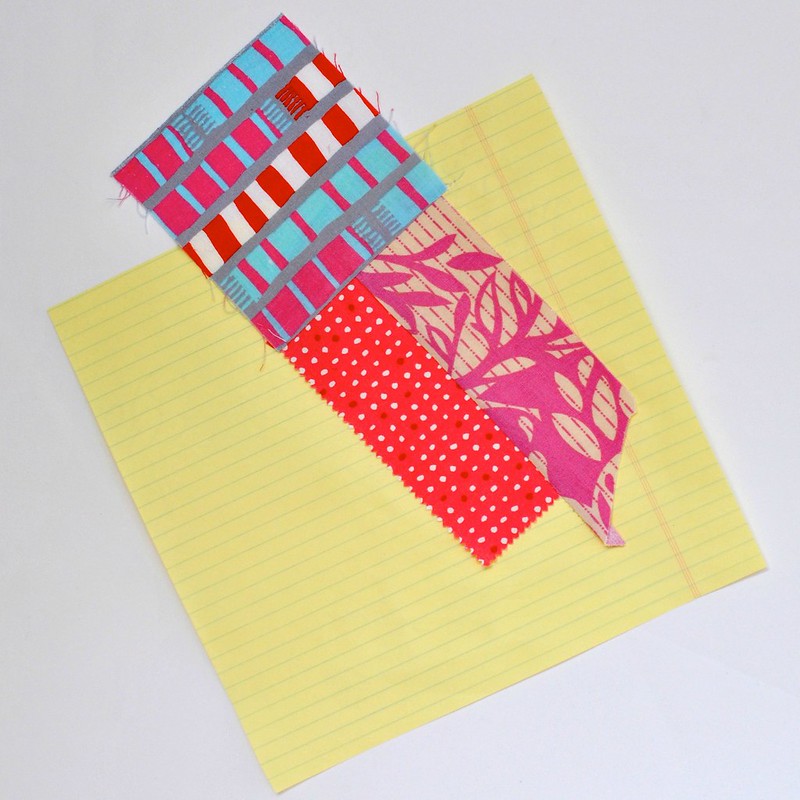
Continue adding scraps to fill the entire area of your foundation paper.
Sometimes you may be a bit short, especially on the corners. Just add another scrap to cover the corner!
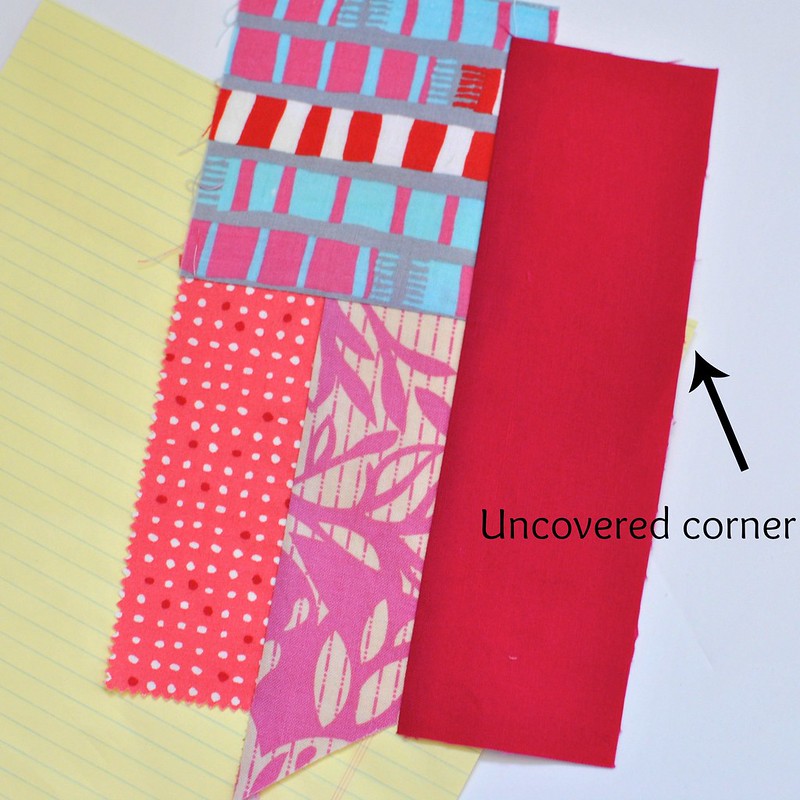
Here's how I covered that corner:
After I stitched this corner piece down, I trimmed away some of the solid underneath. Feel free to do that any time you have excess.

After I stitched this corner piece down, I trimmed away some of the solid underneath. Feel free to do that any time you have excess.
Press the piece open.
Continue adding scraps to your work.

Press each piece open.
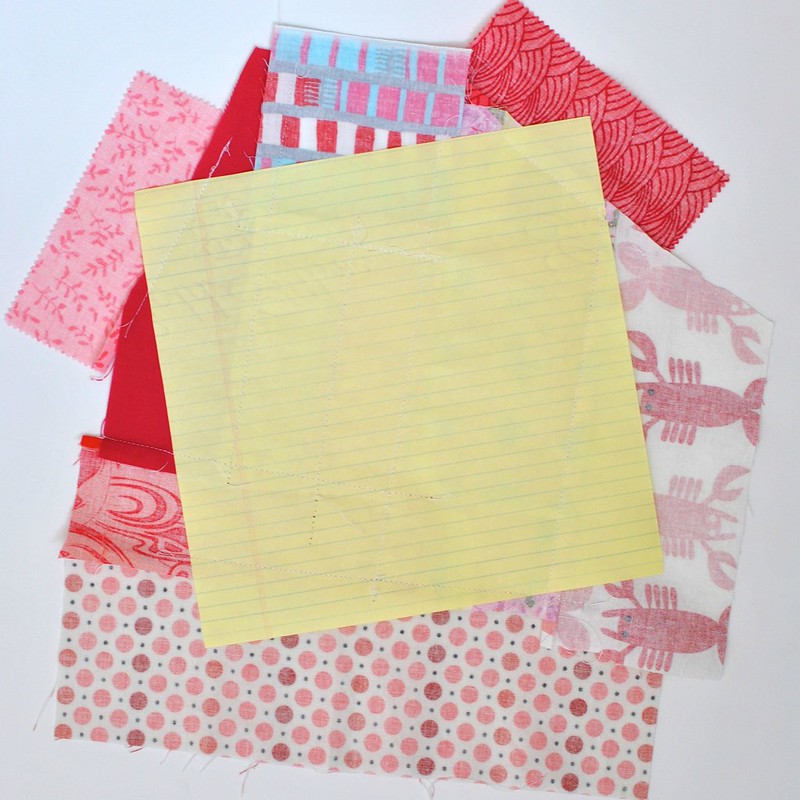
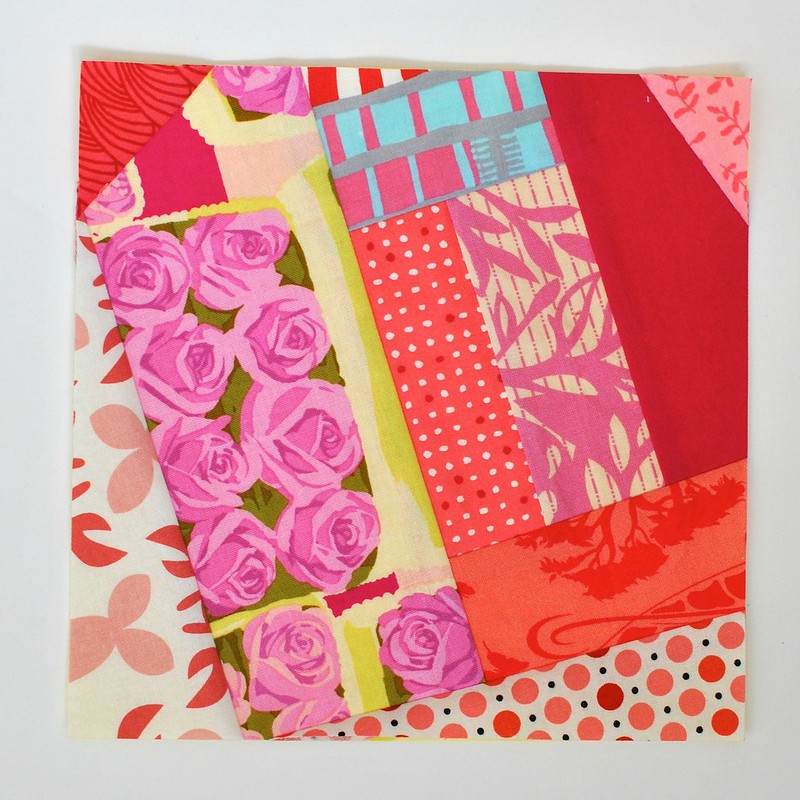
When your entire foundation paper has been covered, it should look something like this:
Press each piece open.
When your entire foundation paper has been covered, it should look something like this:

Here's the back side:
Trim off any fabric that hangs over the edge of the paper foundation using a rotary cutter and ruler.
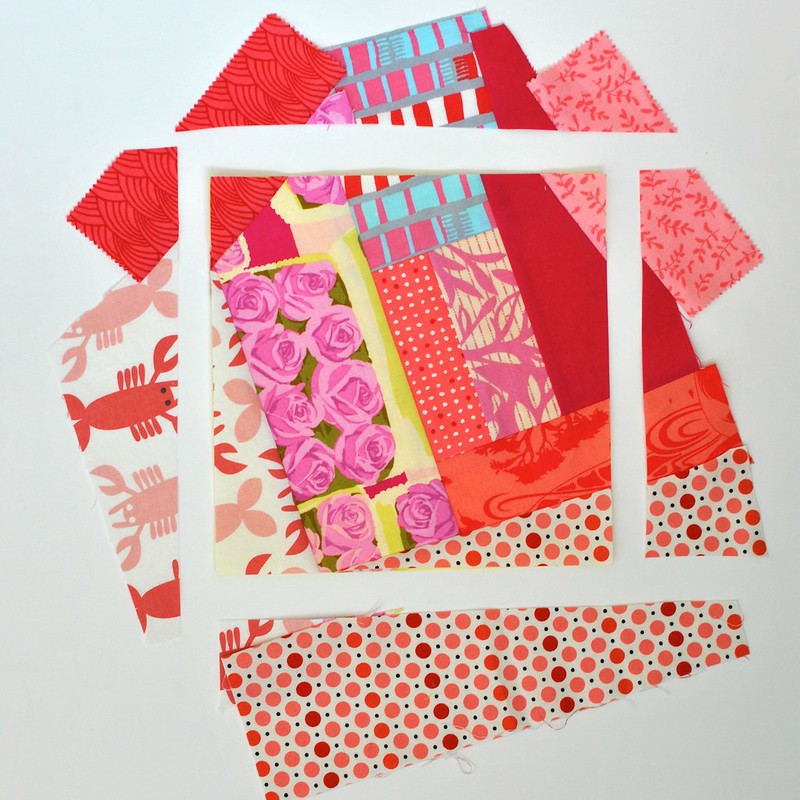
And now you've made your first scrap block!
I like to keep my paper foundations on my blocks at this point. This technique results in lots of bias edges, and the paper helps to keep the blocks nice and square. After I sew the blocks together I sit down in front of the t.v. and pick out all of the paper pieces.
You can use this same process to create string blocks. Also, if you prefer straight lines over the wonky look, cut your scraps to perfect squares or rectangles before you add each piece. I love this method because the blocks sew up quickly and there are so many possibilities!

17 comments:
Cool! I wasn't sure at first whether you were sewing right onto the paper or if it was just as a guide to make sure you make your piece big enough. I looooove all your scraps! I don't feel like I have enough to do this kind of thing.
That is super cool! It would work for all kinds of crazy/scrappy blocks!
Thanks for the tutorial. I been having the itch to make some scrappy blocks.
This was most helpful my dear friend. I really love the block you showcased. That lobster print completes me.
Now how fun is that??!! Cannot wait to get started - the scraps are taking over!
What a great scrappy idea ~ thanks for sharing!!!
I did this last night after reading your post, and it was SO FUN! Like, the whole time, with no times when it was not fun! Thanks for sharing!
Thats really cool! I think this is going to have to go in the 'must try that' list of things I am going to try to do. I have scraps coming out of my earholes. Cannot throw any pieces away at all.
Nikki, I love it! I don't think I've ever seen this method actually illustrated. I learned a lot! I thought the same thing as another commenter....were you actually sewing the paper. Then I saw you were when you showed the block from the back.
Question: Will you use what you trimmed off as other scraps for new blocks...or will it basically be thrown away? Is it a lot of waste using a paper foundation like this?
And...when you sew the blocks together will you use a sashing to separate them since they're so busy or just go with sewing them to each other?
Thanks so much for this tutorial!!
What a really great idea thank you so much for sharing. You did an excellent job on your tutorial. :)
I wanted to let you know that I was so inspired by your scrappy tutorial that I used your pattern/idea/tutorial to start making a crib sized quilt for our children's school fundraiser and will be encouraging anyone who would like to make a scrappy quilt to visit your blog! Thank you again, your tutorial inspired a quilt that will help raise money for the PTO to use on kiddo's at a small rural school :)
I've used this technique on two quilts now, and I think I'm in love! The first one is here http://www.greatmanythings.com/2012/10/neutral-colors-quilt-for-baby-m.html, out of t-shirts, and the second one will be posted shortly. Thanks for posting this and for your help with the jersey issues!
Old telephone books are great for paper piecing like this.
I love your scrappy/thrifty attitude!
The same technique is how I use my old used dryer sheets as the base...it is thin, but has stability...nice left over smell too when I press the block before I trim it.
Thank you for sharing. :-)
Magnifica explicación
This would be an awesome technique for making postcards. But then, I wouldn't be surprised, iHanna, if you have already done just that. :-) This is a great technique...one I will be trying soon. Thank you!
I do this but without paper base...I just scrap away without it and use a ruler to square up the block when done.
Post a Comment