This tutorial was originally posted on the Benartex blog last week.
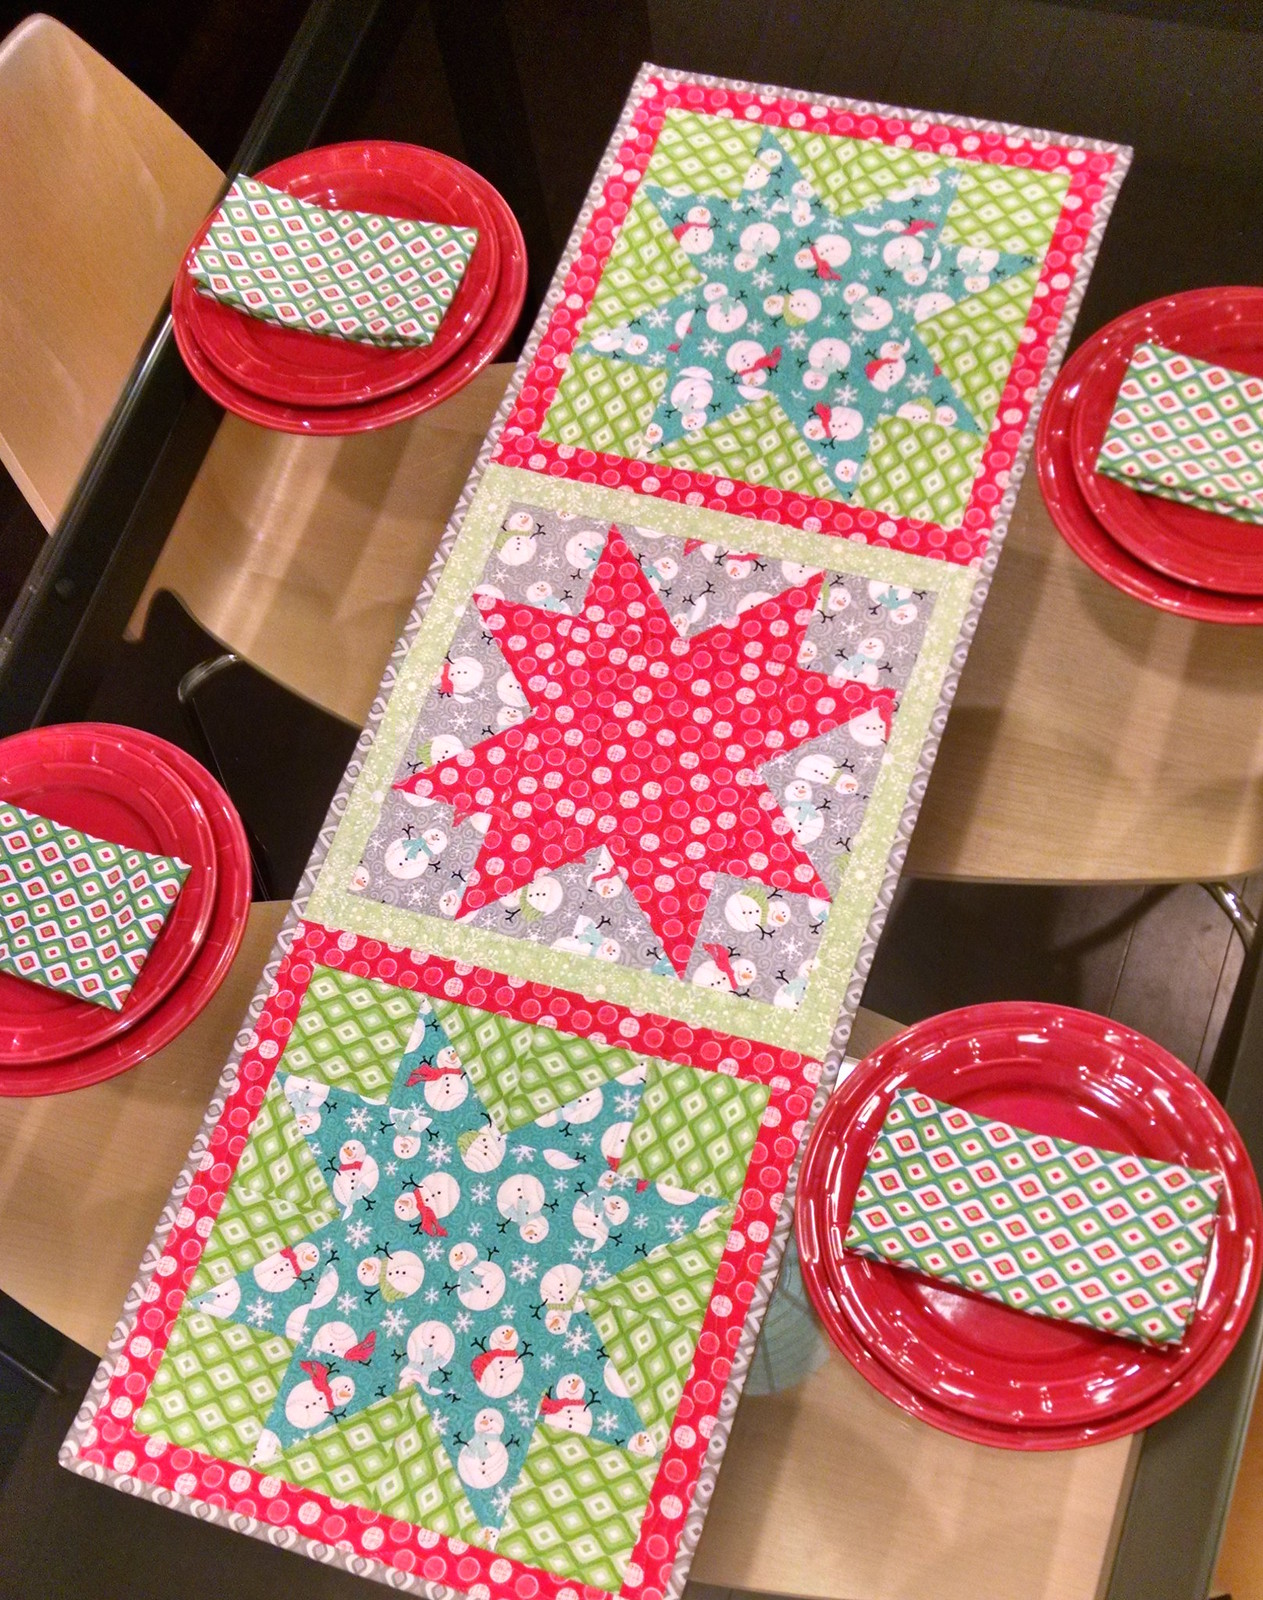
Today I'm going to share a tutorial for a cloth napkin and tablerunner set using the adorable Frosty Forest fabric line by Cherry Guidry.
Let's get started!
Today I'm going to share a tutorial for a cloth napkin and tablerunner set using the adorable Frosty Forest fabric line by Cherry Guidry.

Let's get started!
Here are the prints that I used for this project:
1 yard of Jubilee Geo Multi
1 yard Jubilee Geo Grey
1/8 yard Frosty Snowflake Green
1/2 yard Dot Jubilee Red
1/4 yard Jubilee Geo Green
1/4 yard Snowman Swirl Grey
1/4 yard Snowman Swirl Turquoise
You will also need 18" x 50" of batting if you choose to quilt your table runner.
Cut the following pieces from your fabrics:
From Jubilee Geo Multi:
4 squares at 17" x 17"
From Jubilee Geo Grey:
cut 3 binding strips at 2 1/2" x WOF
(Save remaining fabric for backing)
From Frosty Snowflake Green:
2 strips at 1 1/2" x 12 1/2"
2 strips at 1 1/2" x 14 1/2"
From Dot Jubilee Red:
4 strips at 1 1/2" x 12 1/2"
4 strips at 1 1/2" x 14 1/2"
1 square at 6 1/2" x 6 1/2"
4 squares at 4" x 4"
From Jubilee Geo Green:
8 squares at 3 1/2" x 3 1/2"
8 squares at 4" x 4"
From Snowman Swirl Grey:
4 squares at 3 1/2" x 3 1/2"
4 squares at 4" x 4"
From Snowman Swirl Turquoise:
2 squares at 6 1/2" x 6 1/2"
8 squares at 4" x 4"
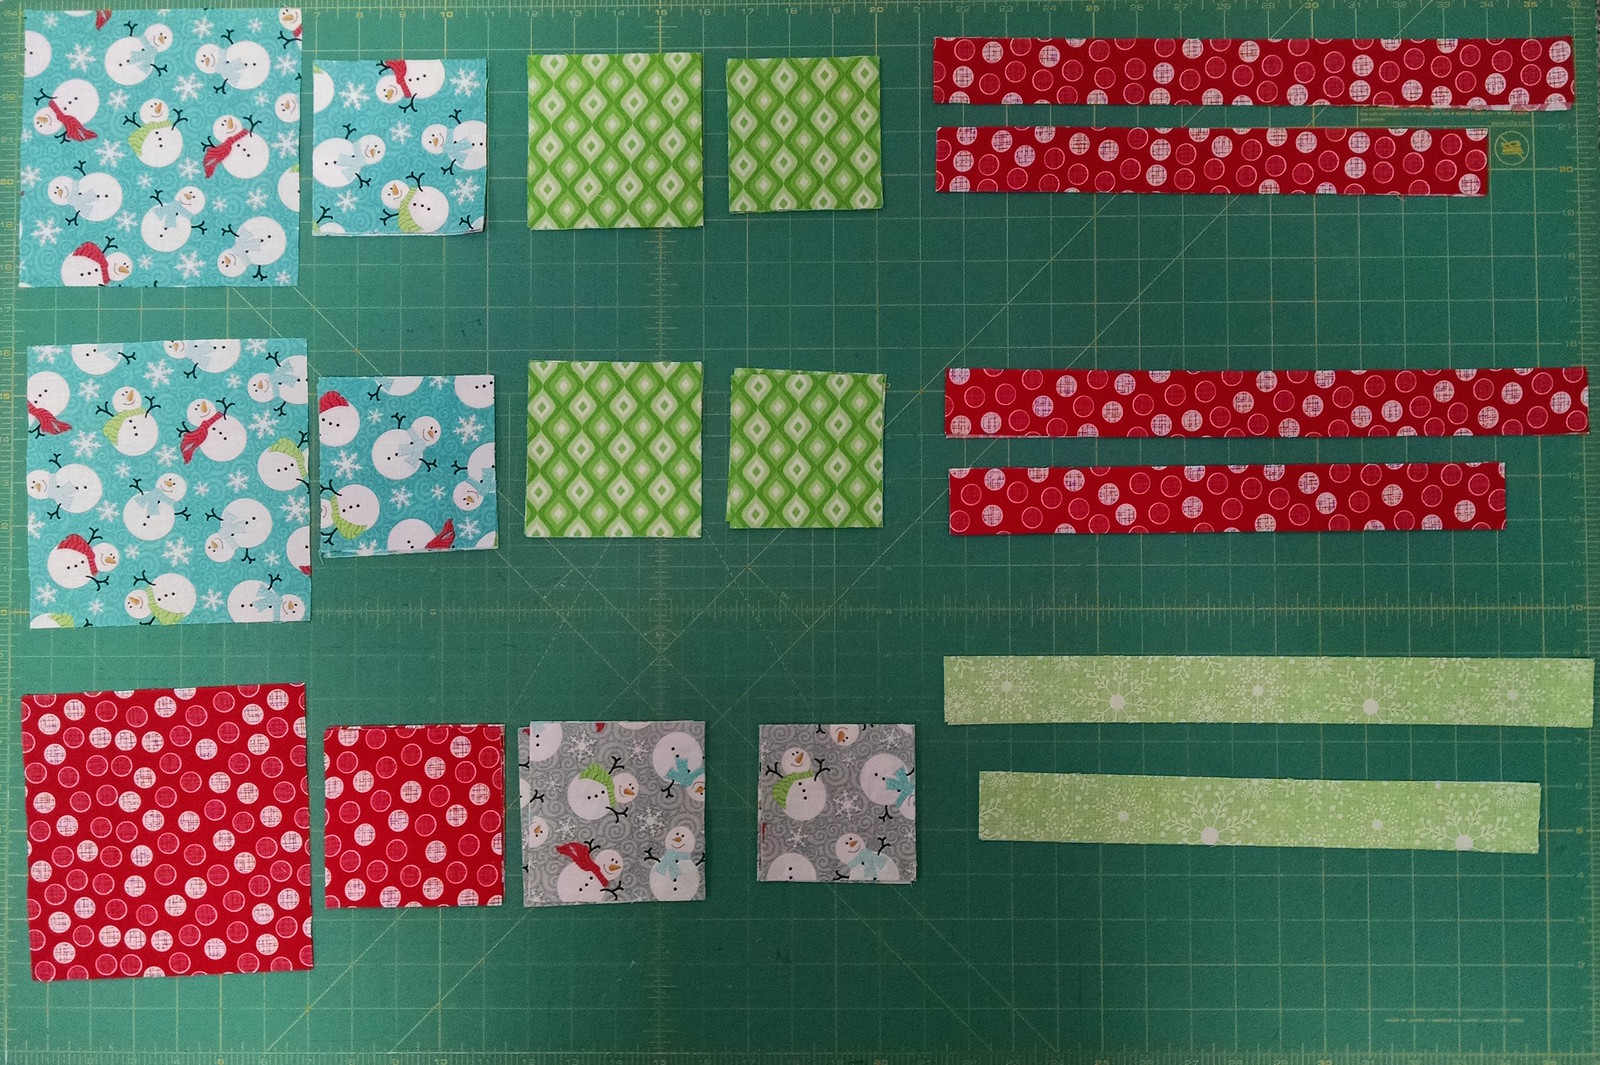
Here are the different size pieces for the table runner:
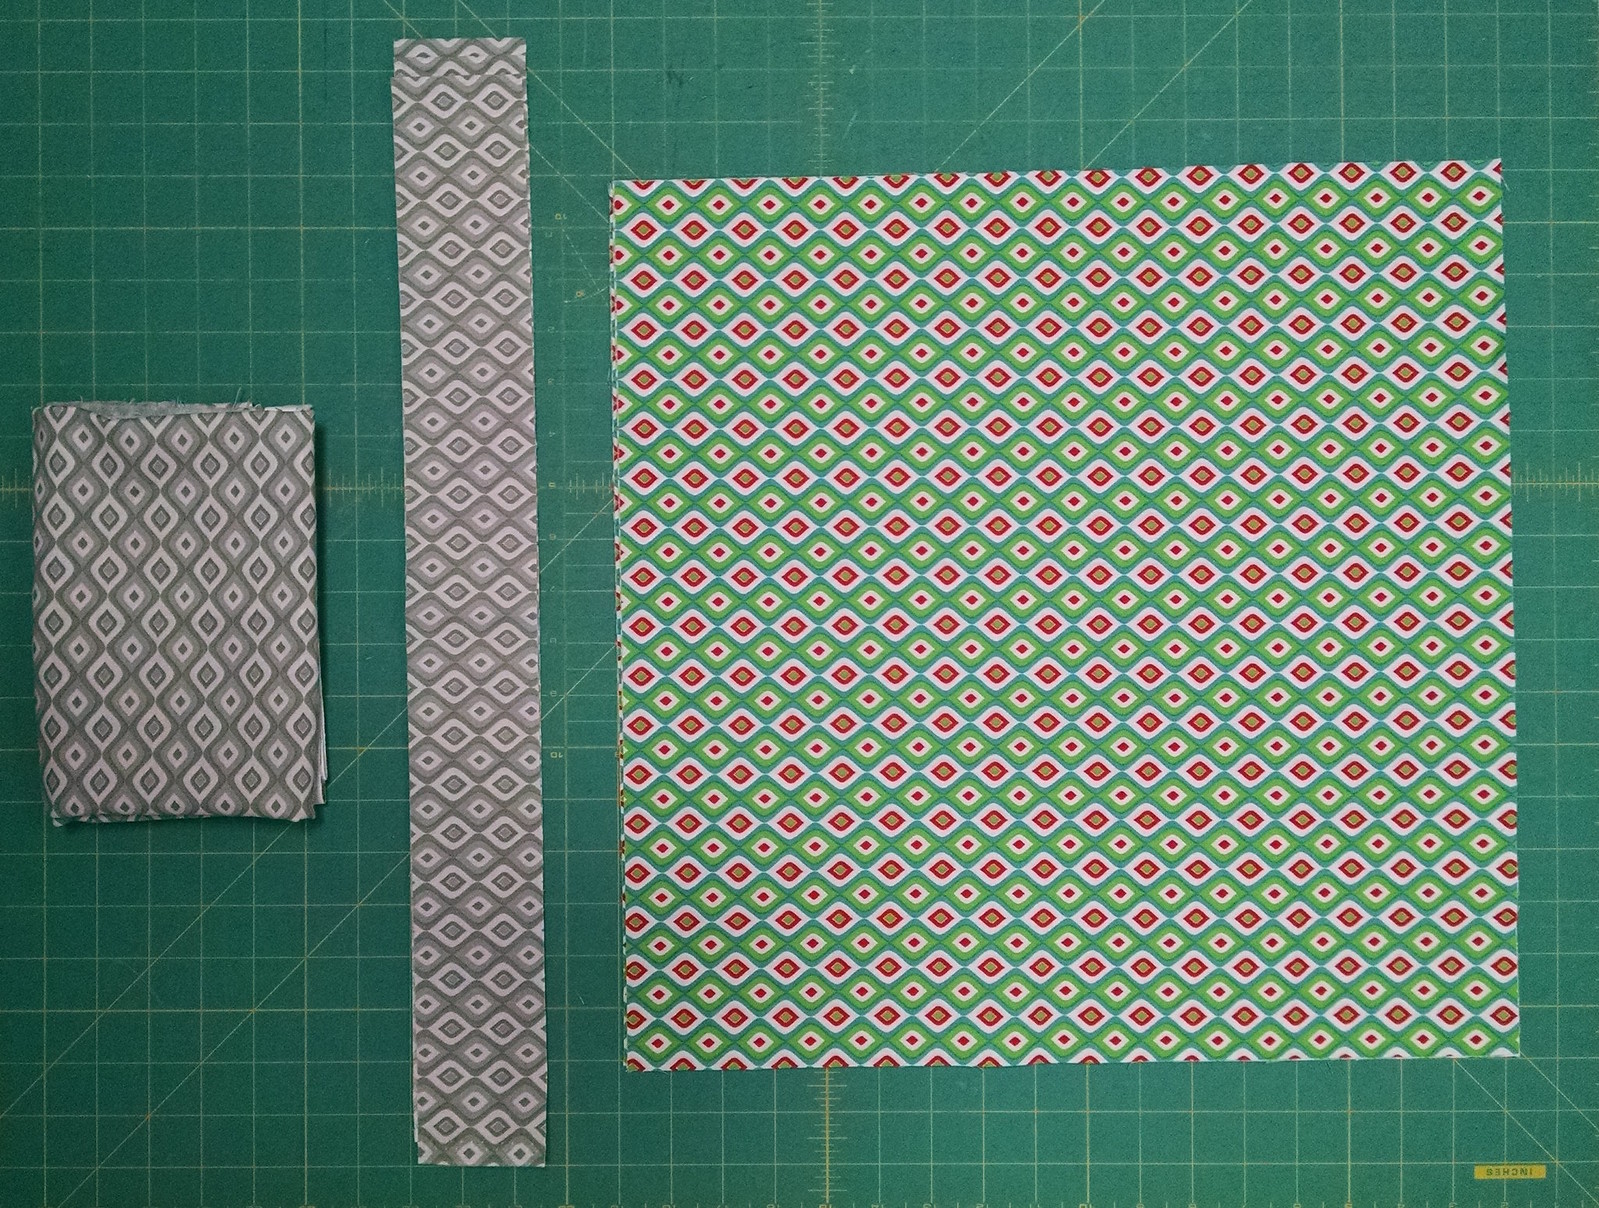
The backing fabric (folded on left), binding strips and napkin fabric:
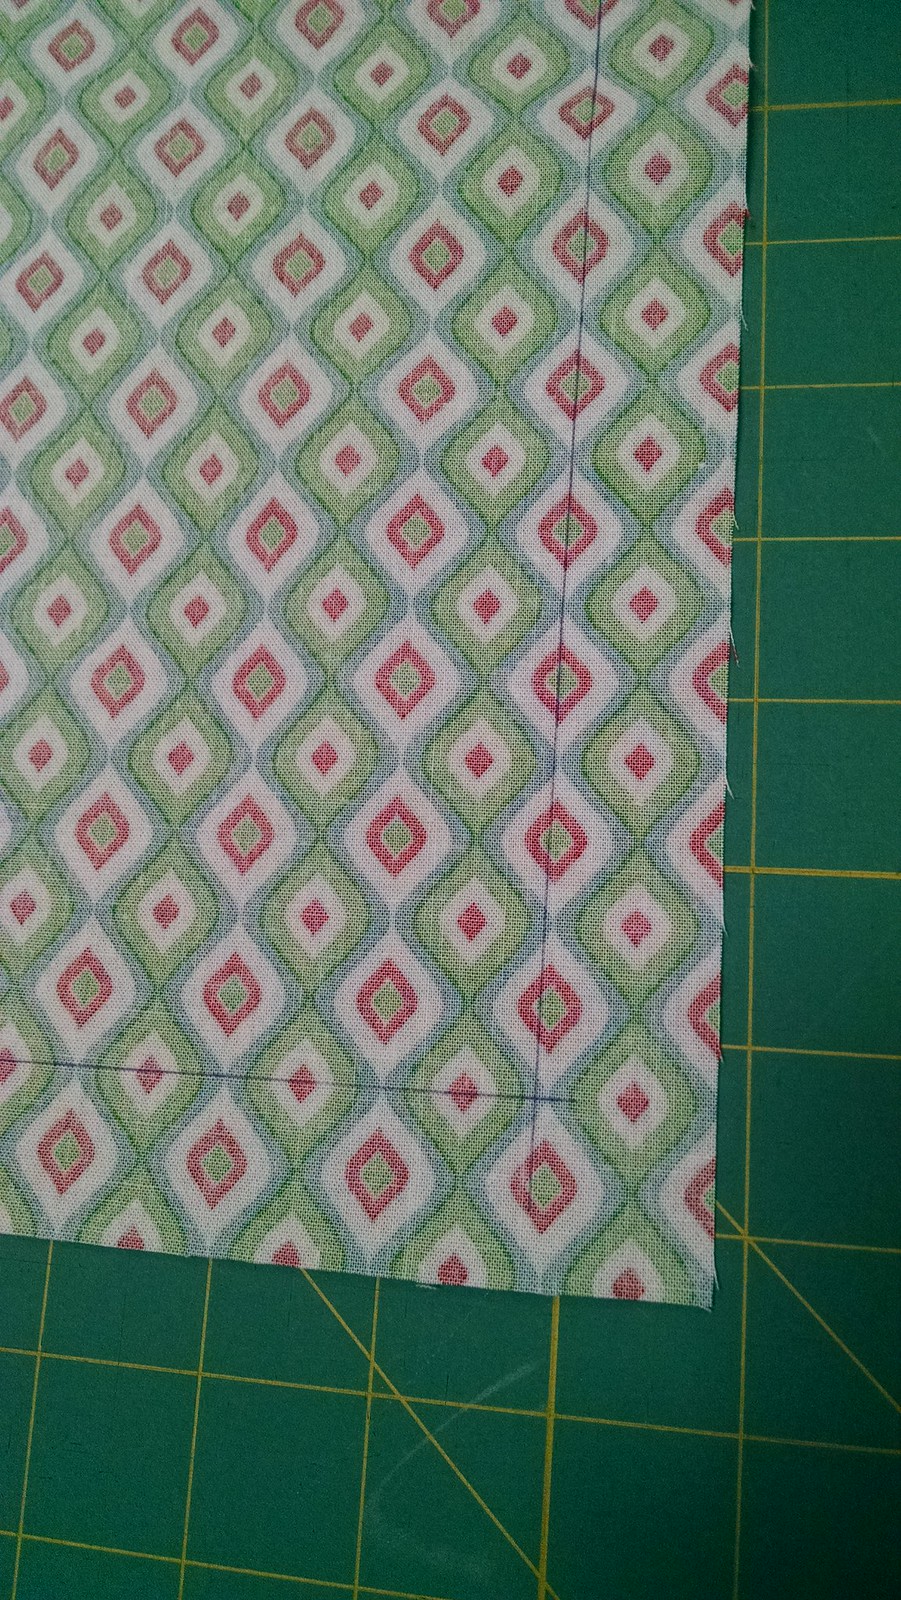
To finish the edges of the napkins, draw a line 1" from each edge of the napkin square on the wrong side of the fabric. Use a pencil or a pen that does not disappear or set with heat:
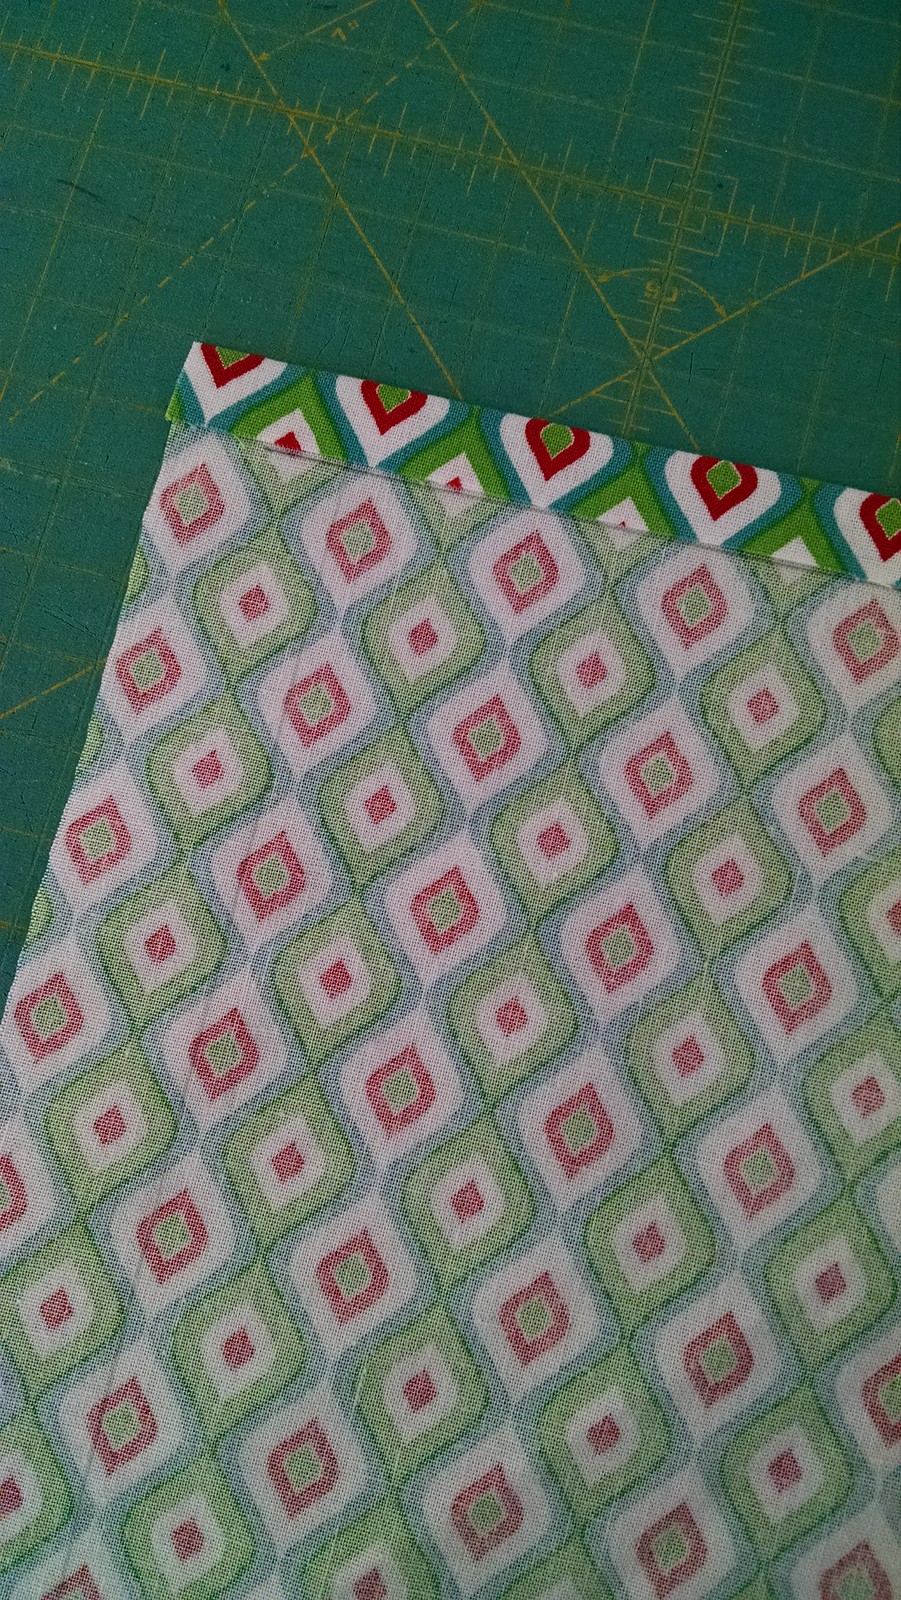
Next, fold each edge in to the drawn line. This should create a 1/2" fold (first edge is shown folded below, repeat with all 4 edges):
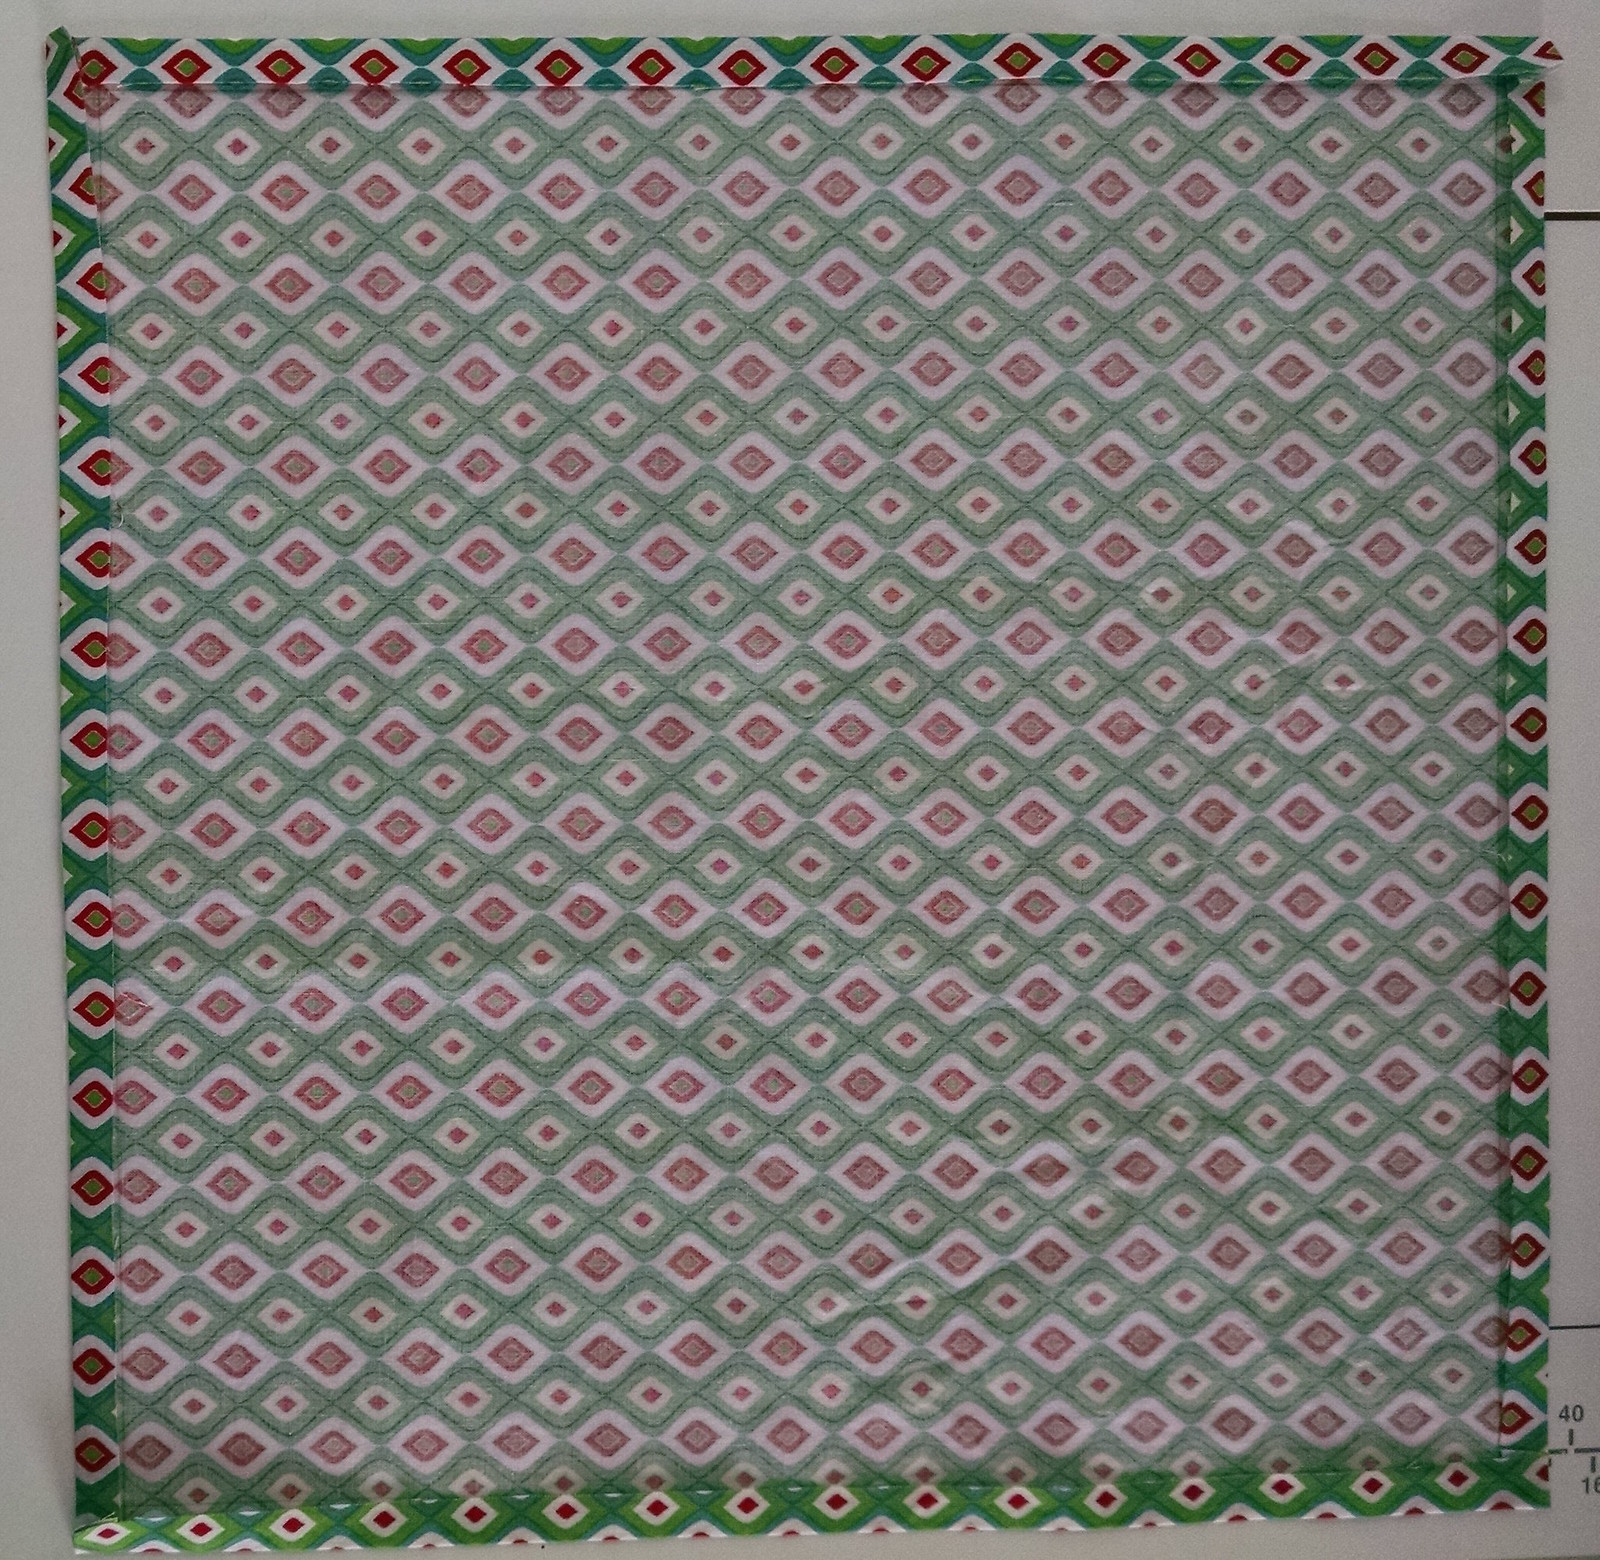
Once all 4 edges are folded into the lines, fold in again by 1/2" on all 4 edges:
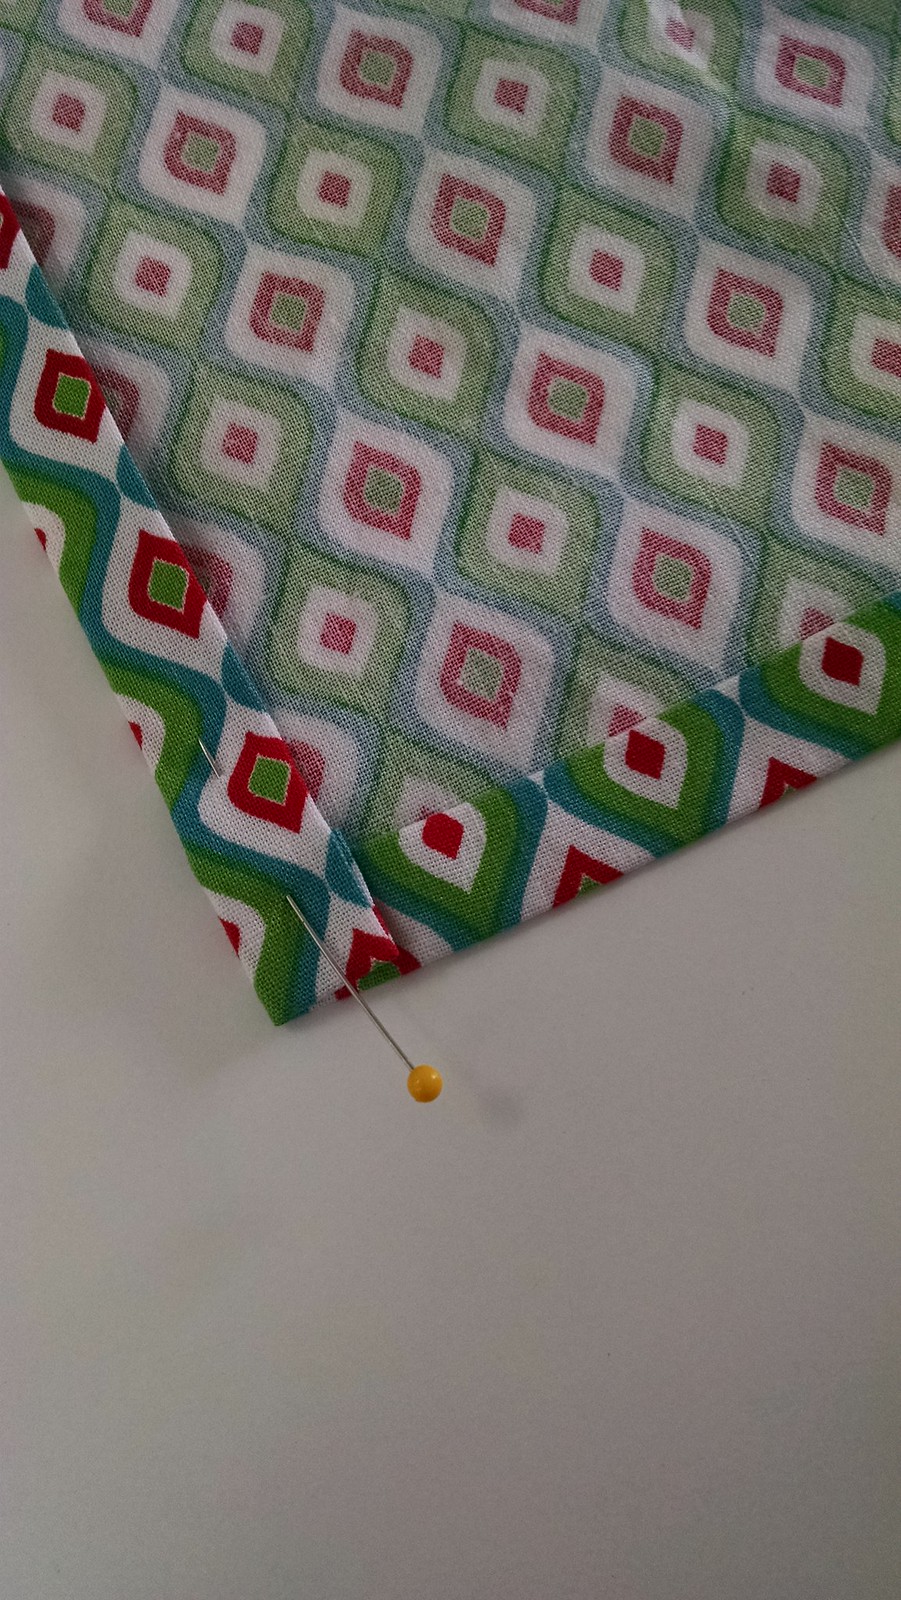
I like to pin the corners in place:
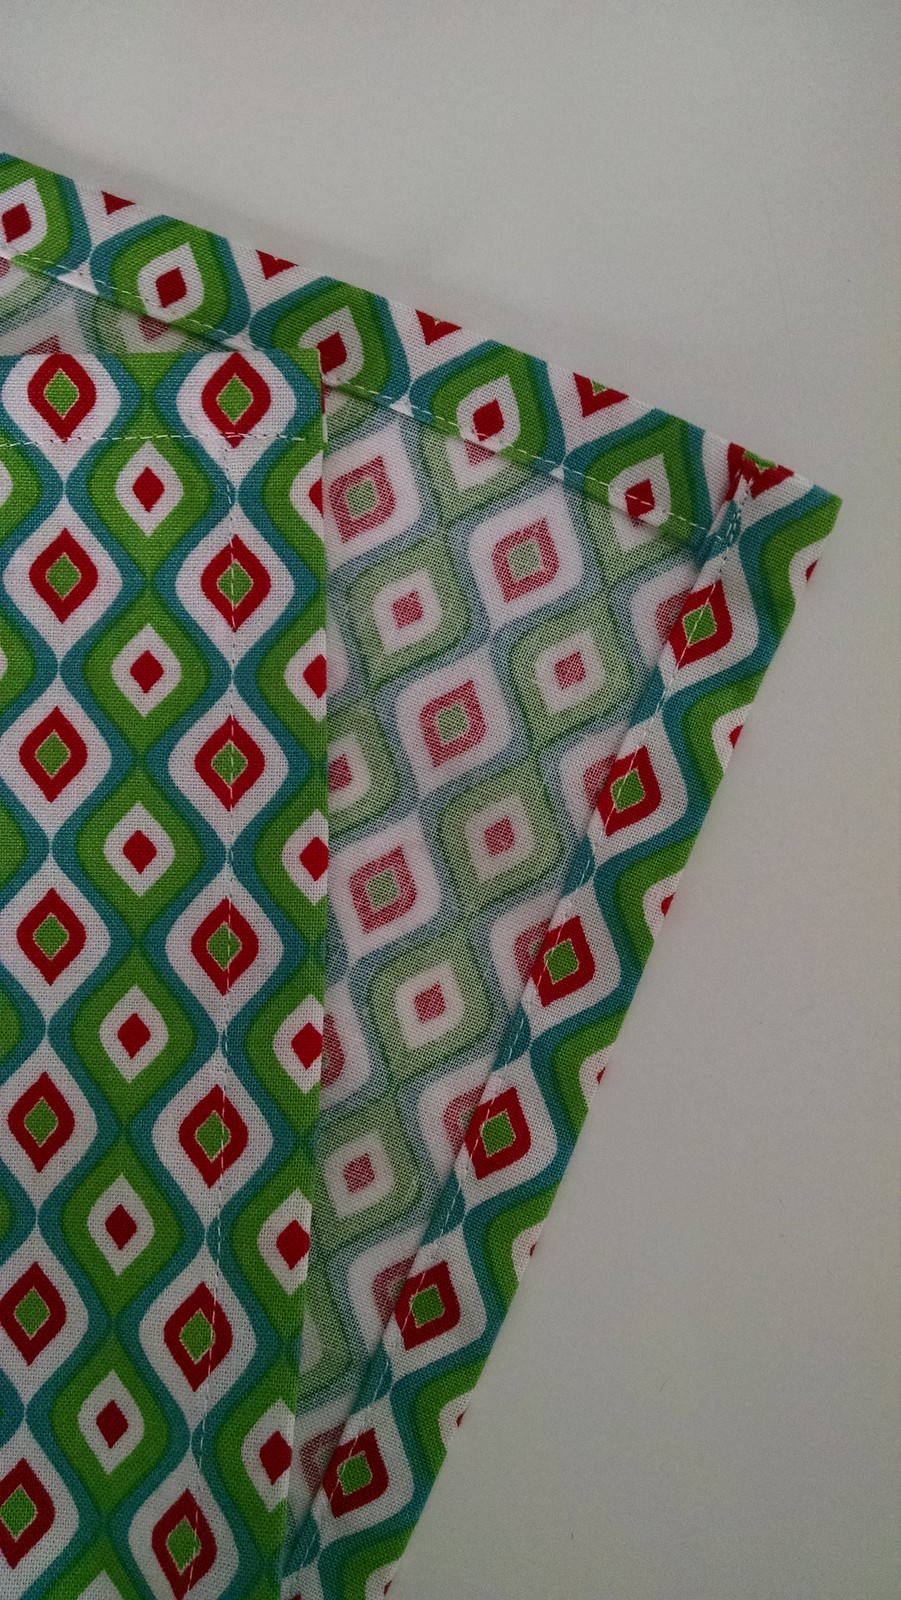
Now stitch down all of the folded edges, being sure to catch the corners in the stitching:
Repeat to create all 4 napkins!
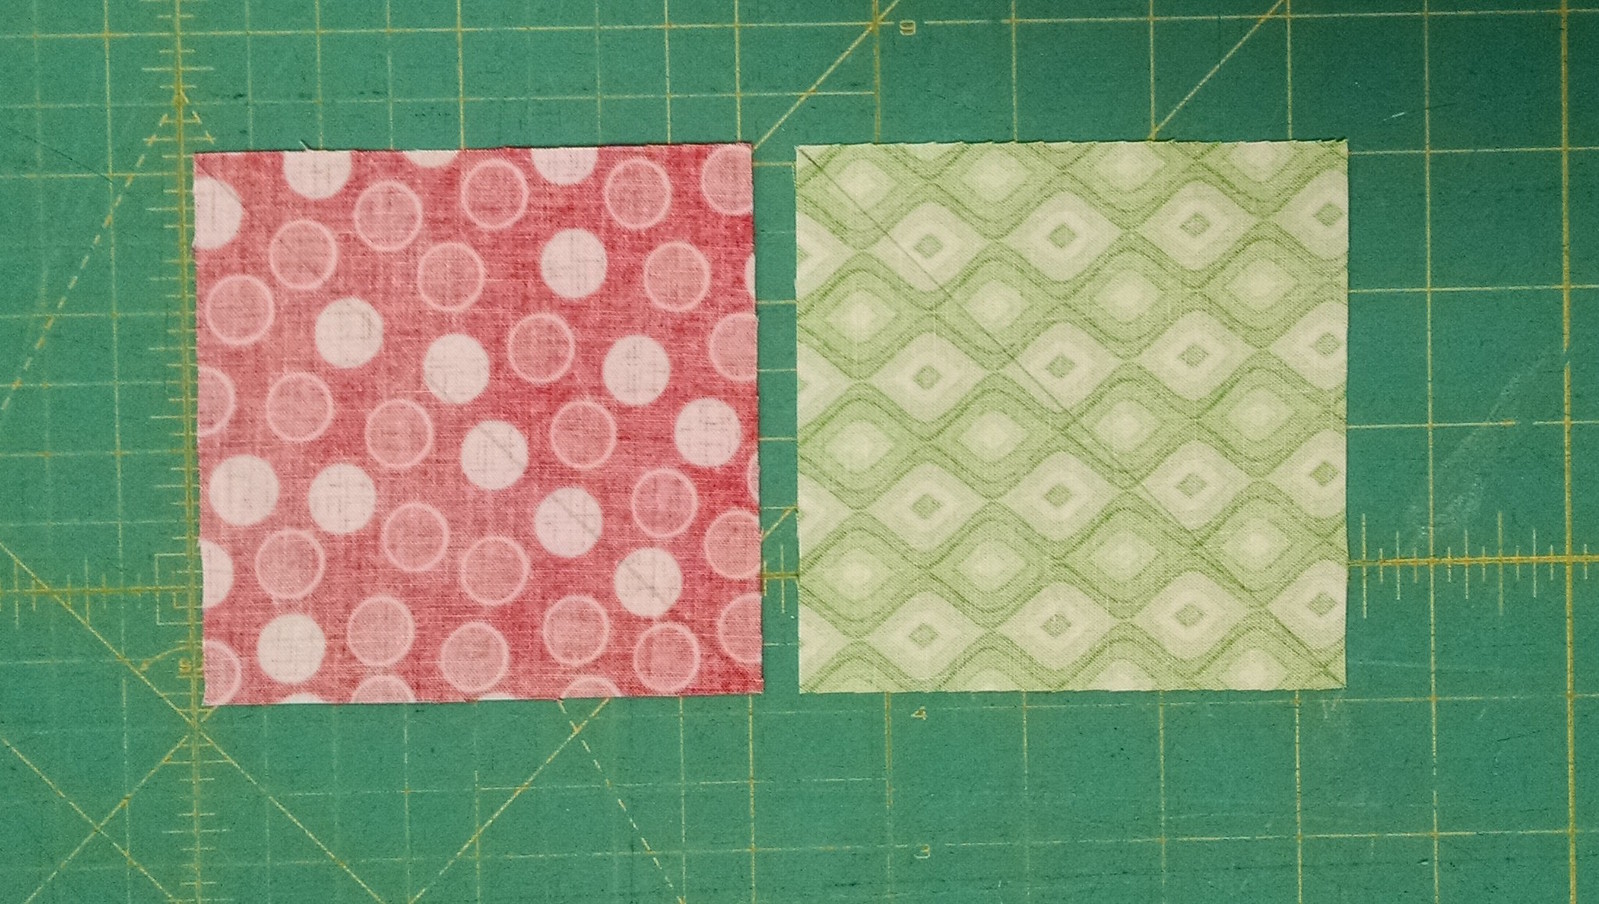
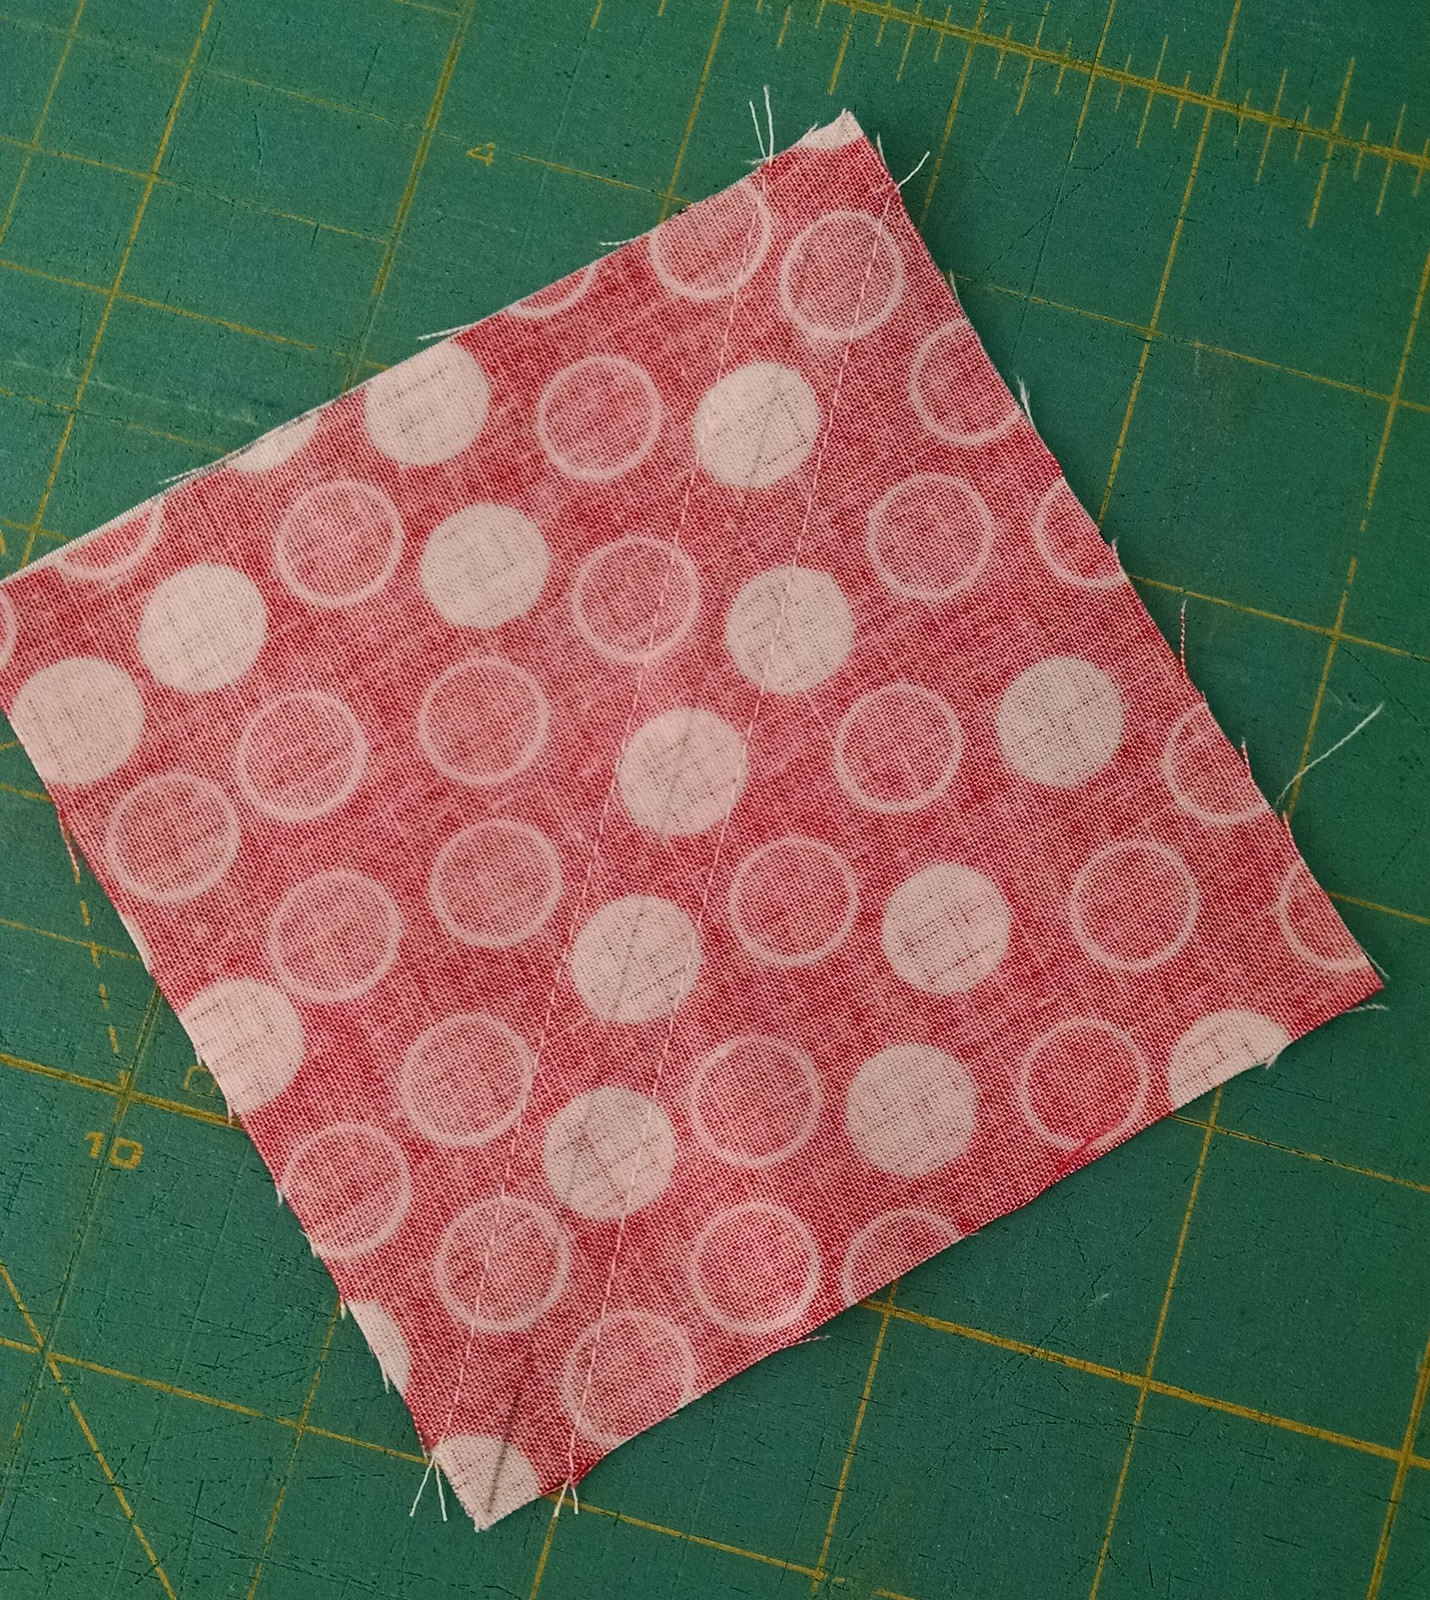
To make the table runner, begin by drawing a diagonal line on the back of each Dot Jubilee Red 4" x 4" square and each Jubilee Geo Green 4" x 4" square:
Next pair each red 4" x 4" square with a Grey Snowman Swirl 4" x 4" square.
Pair each green 4" x 4" square with a Turquoise Snowman Swirl 4" x 4" square.
Stitch 1/4" from the both sides of the drawn line. Repeat for all of the paired squares:
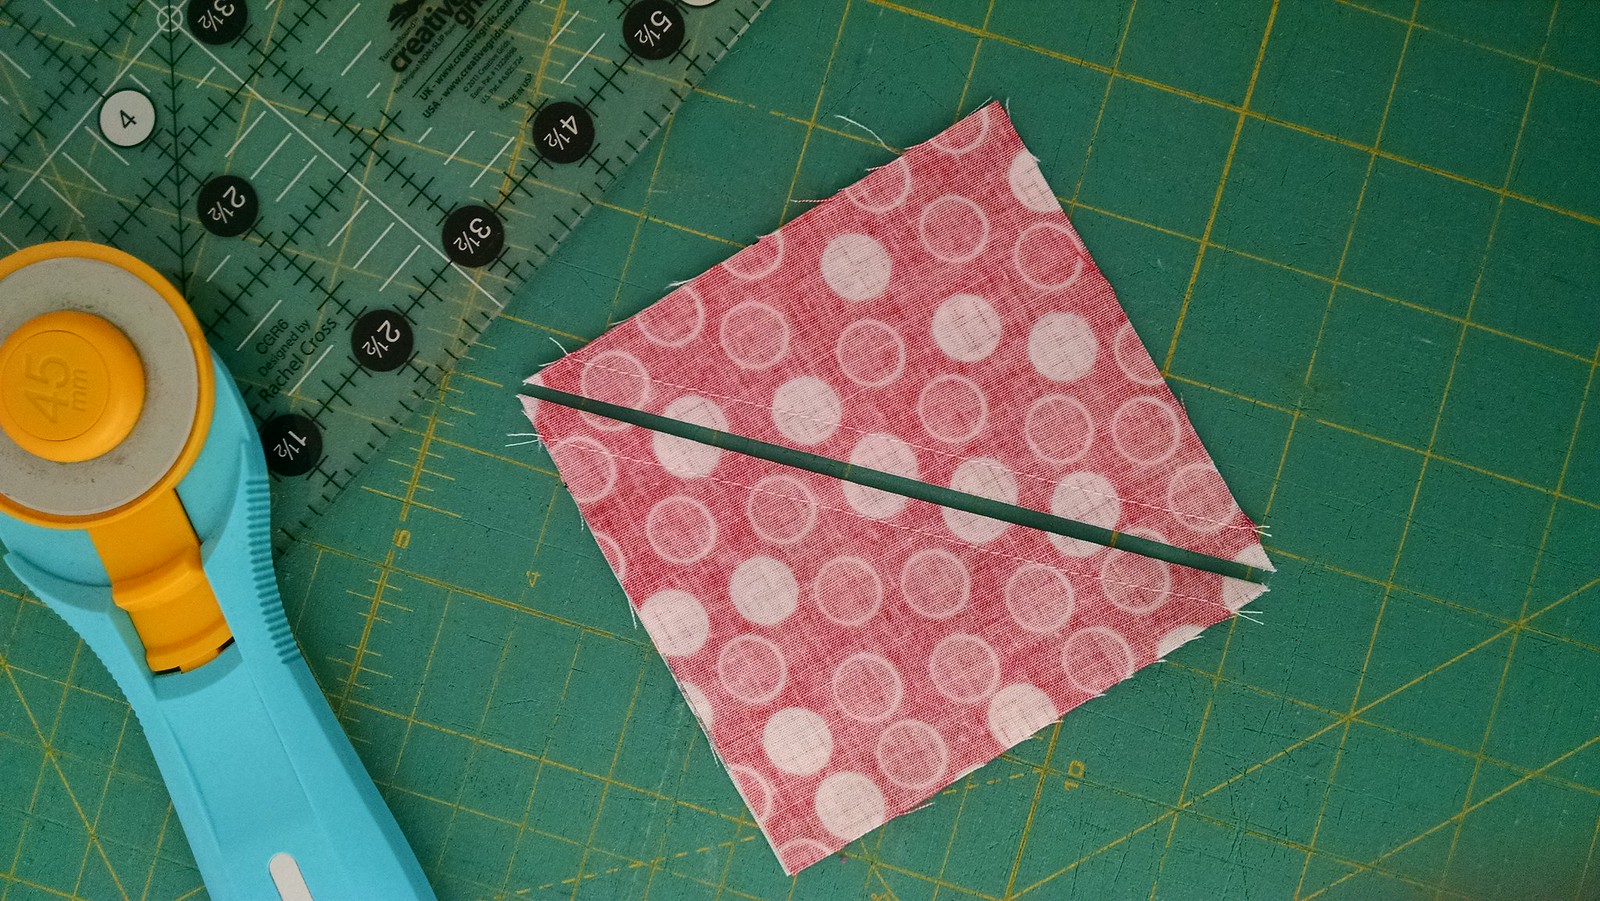
Trim the squares apart on the drawn lines:
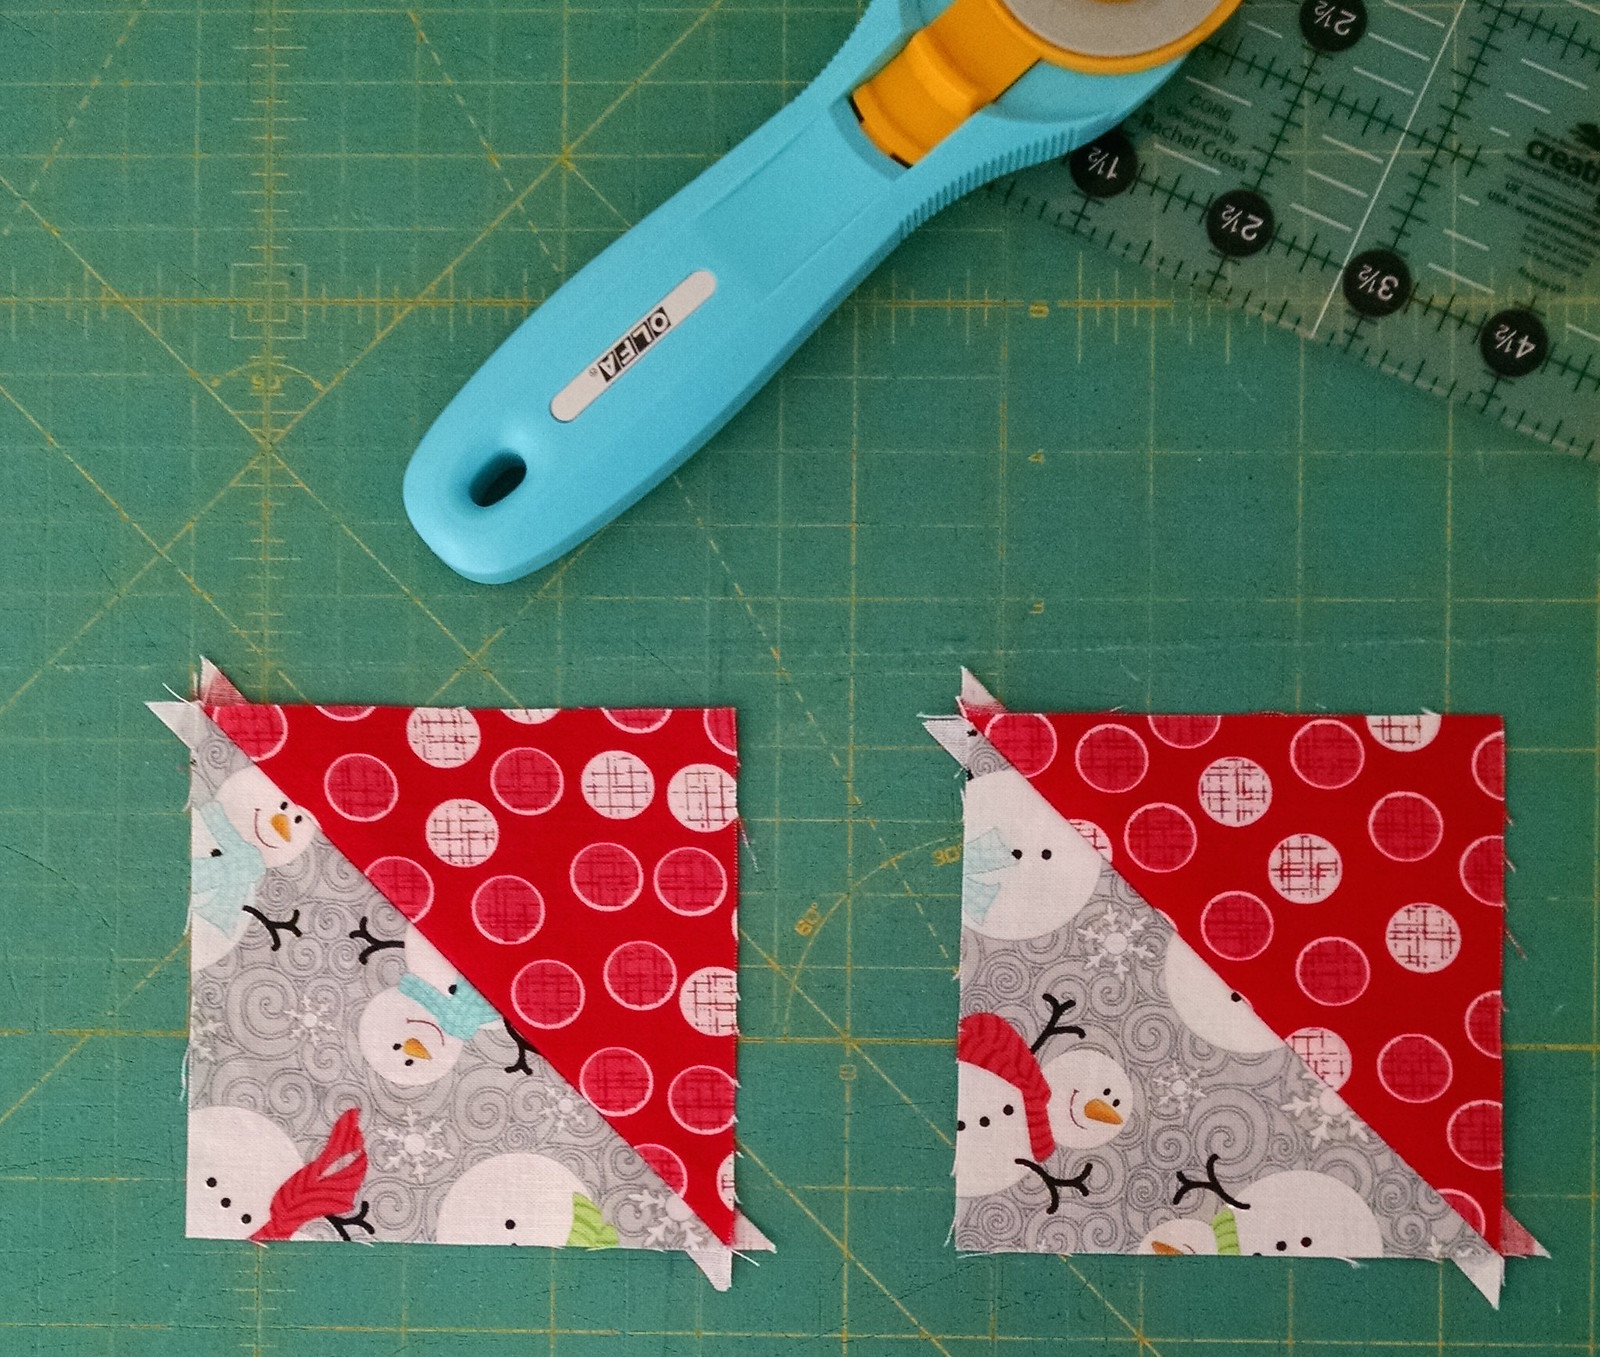
Press your seams (you can choose to press open or to one side):
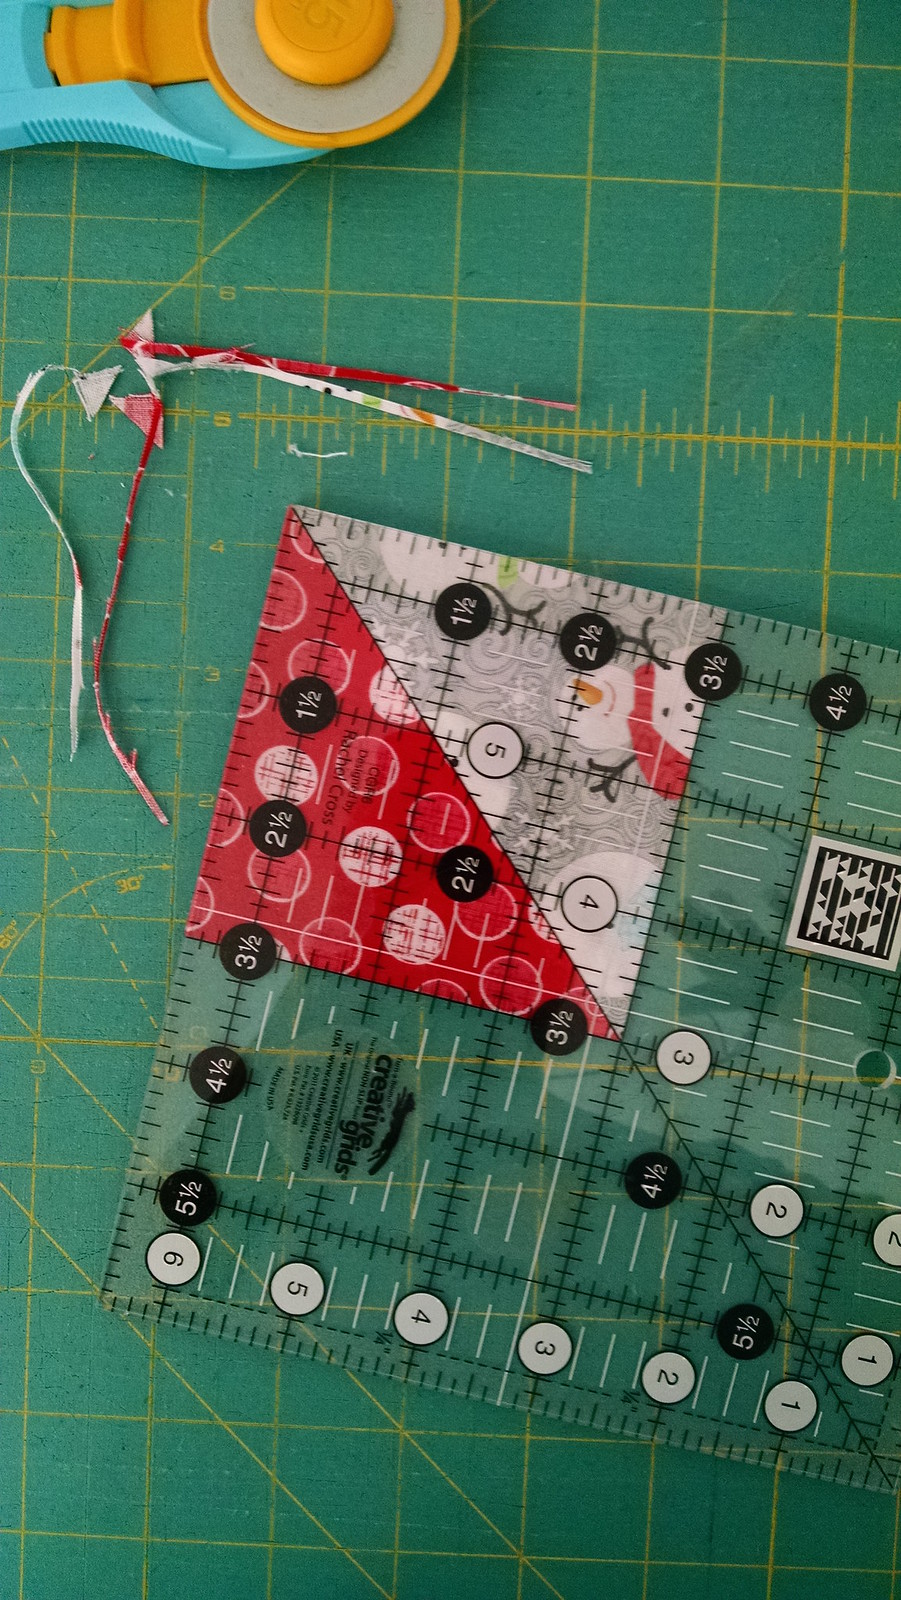
Now square up all of these half square triangles to 3 1/2" x 3 1/2". I like to use a 6 1/2" square ruler and line up the diagonal line of the ruler with the seam line of each half square triangle:
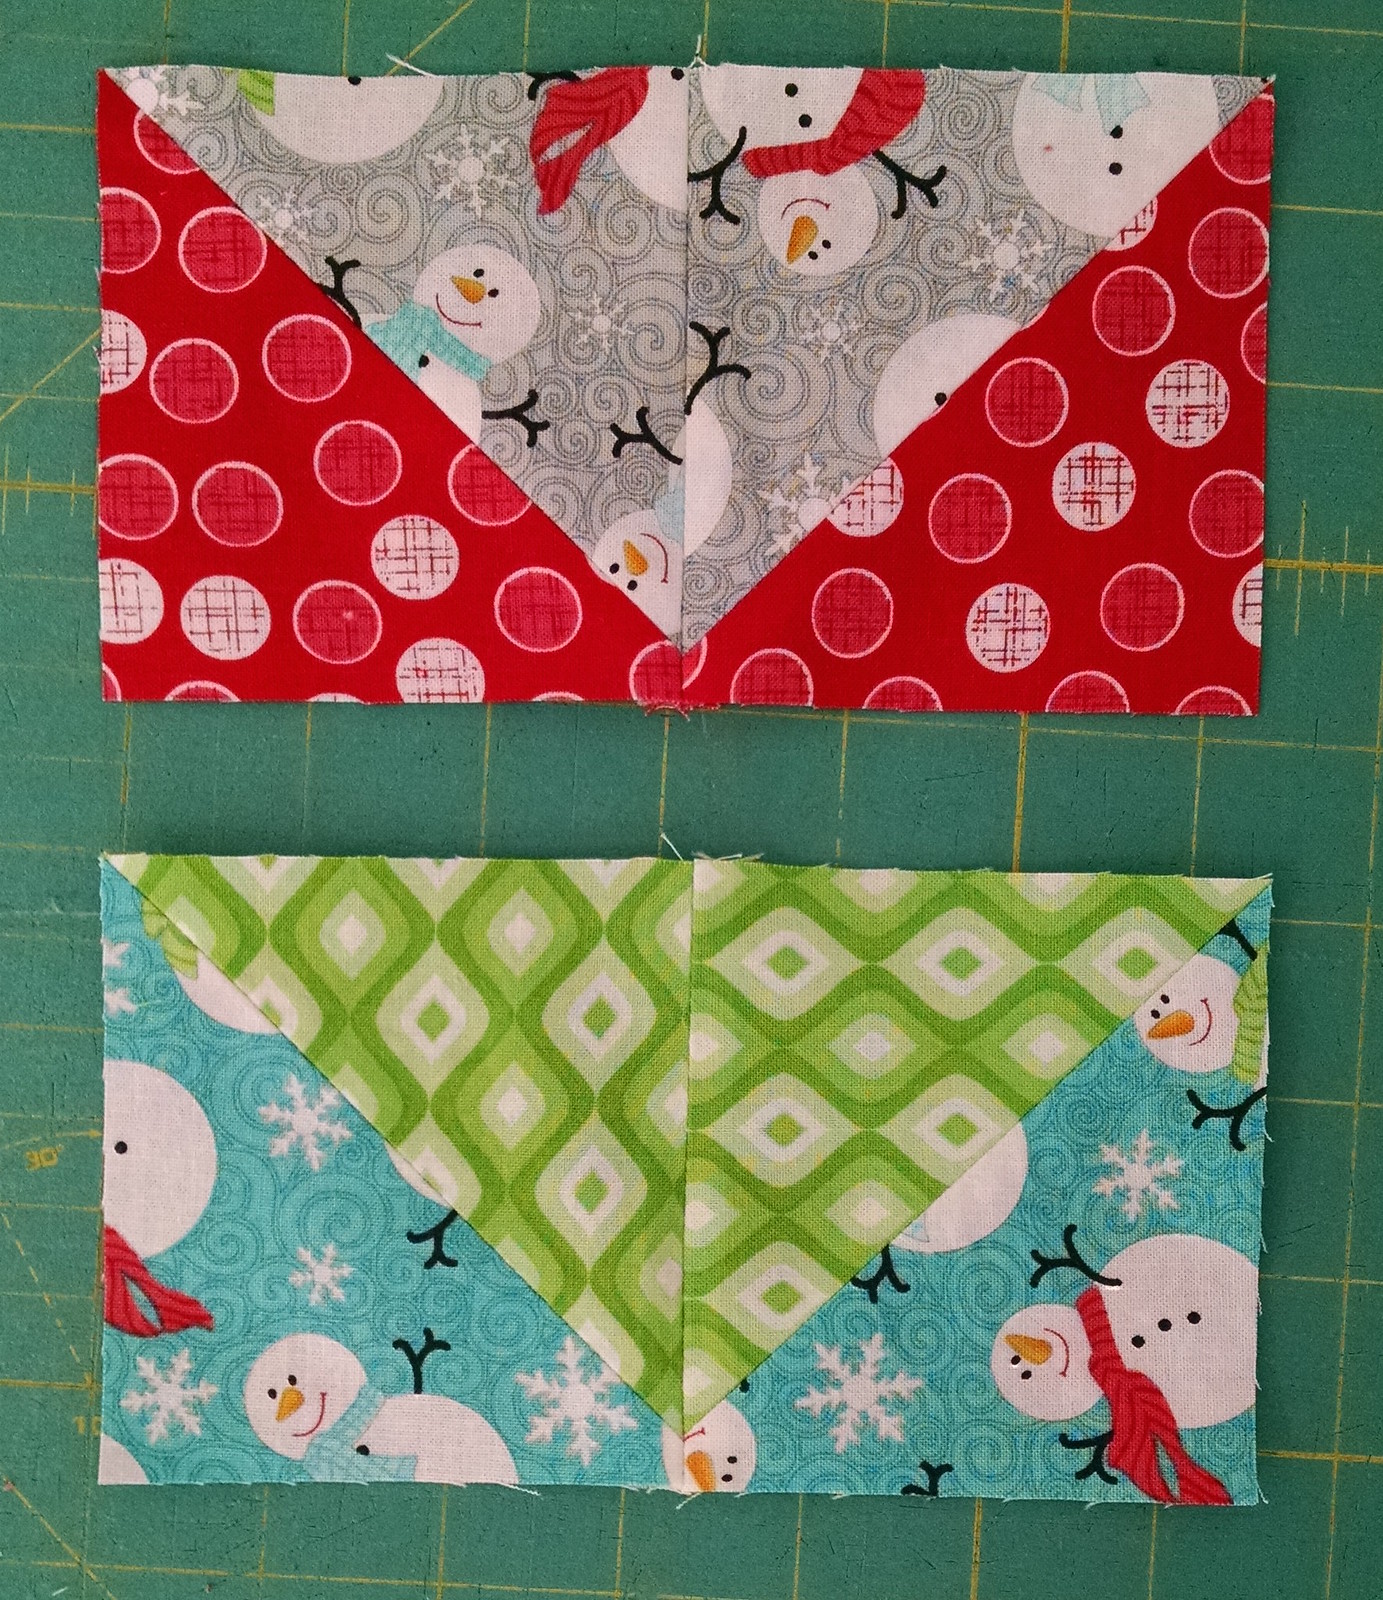
Next sew the half square triangles into pairs, as shown below. Press the seams. You will create 4 sets of the grey/red and 8 sets of the green/blue:
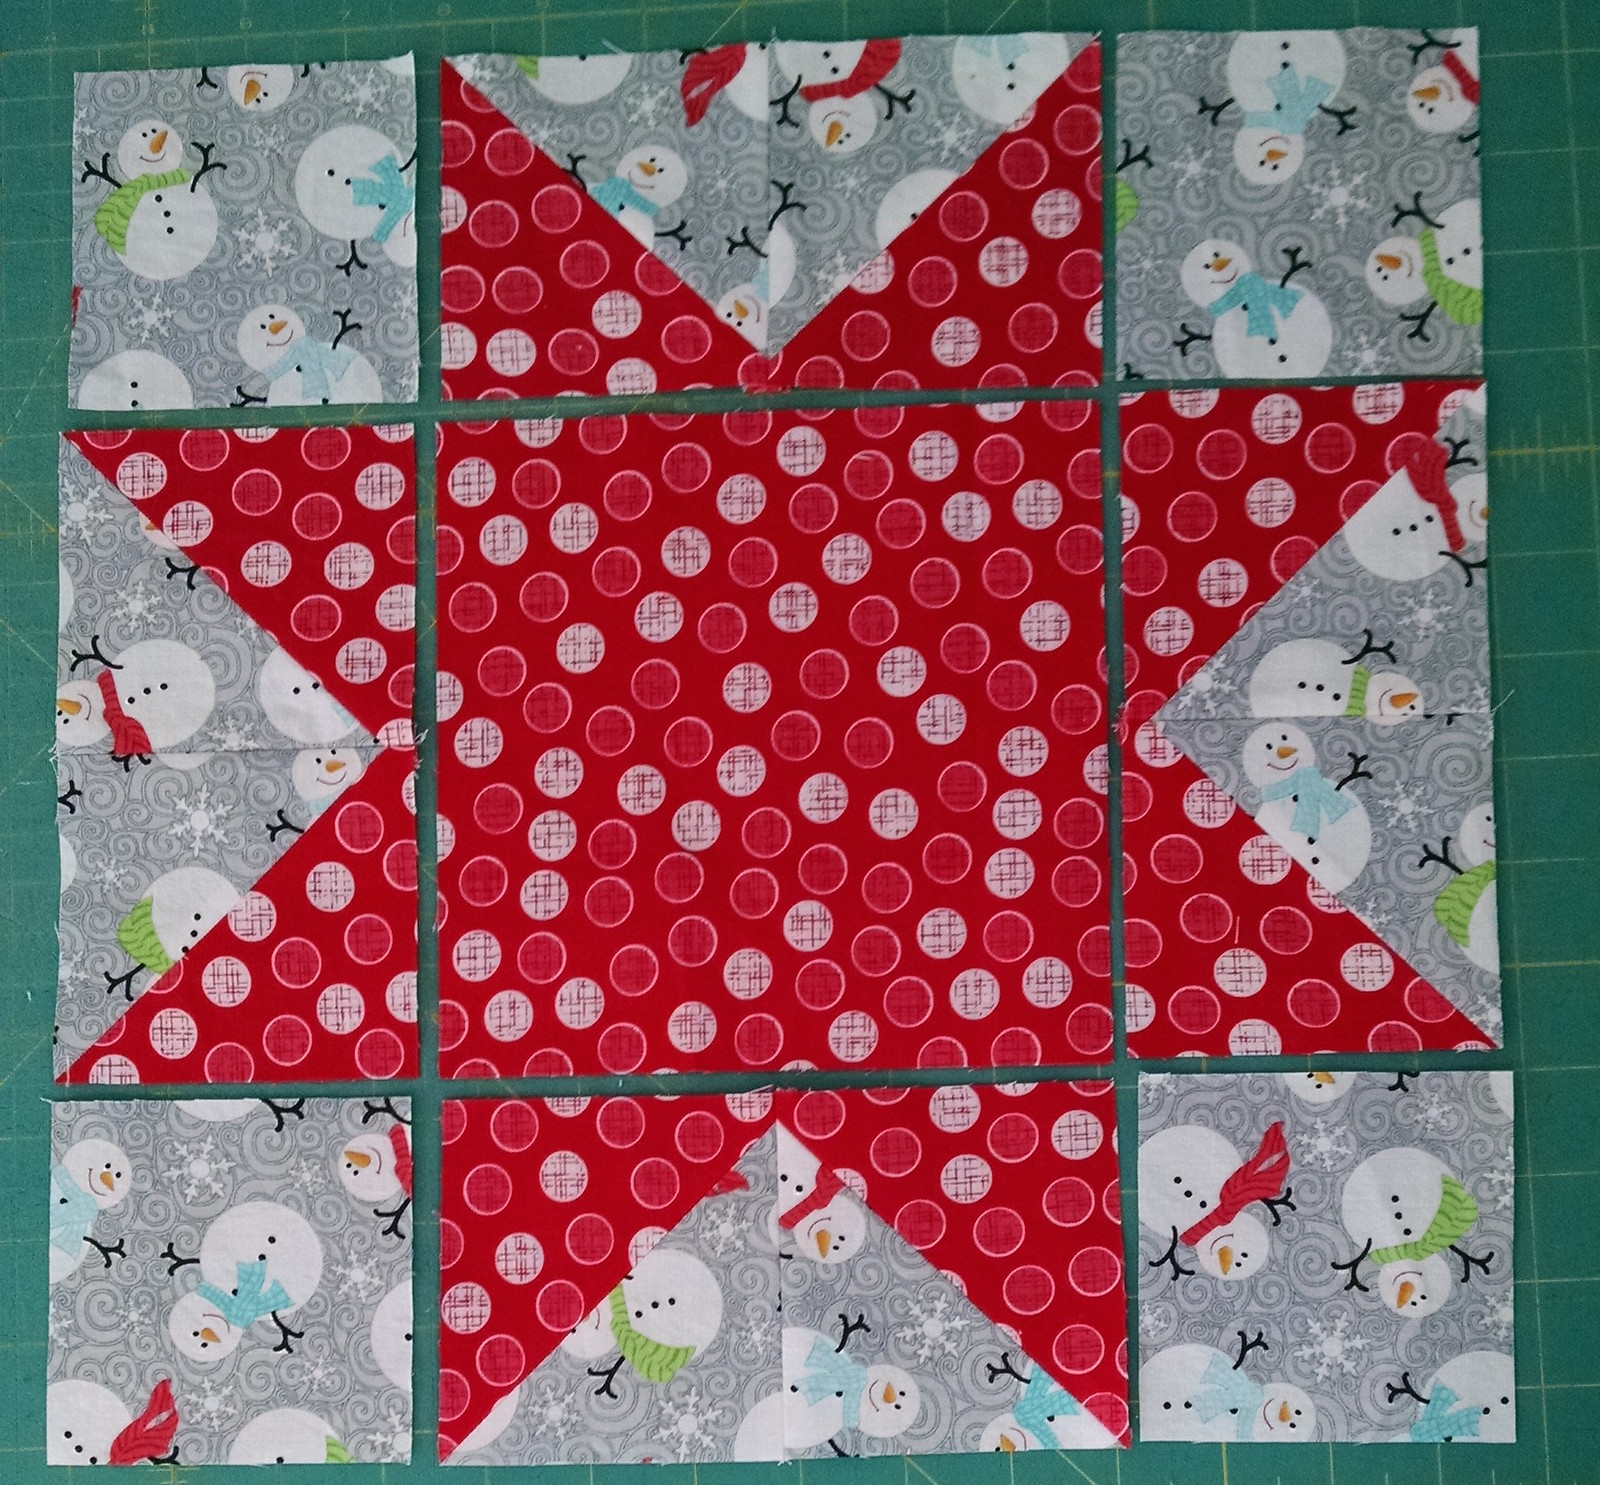
Now we will work with one block at a time. Begin by laying out the red and grey block as shown:
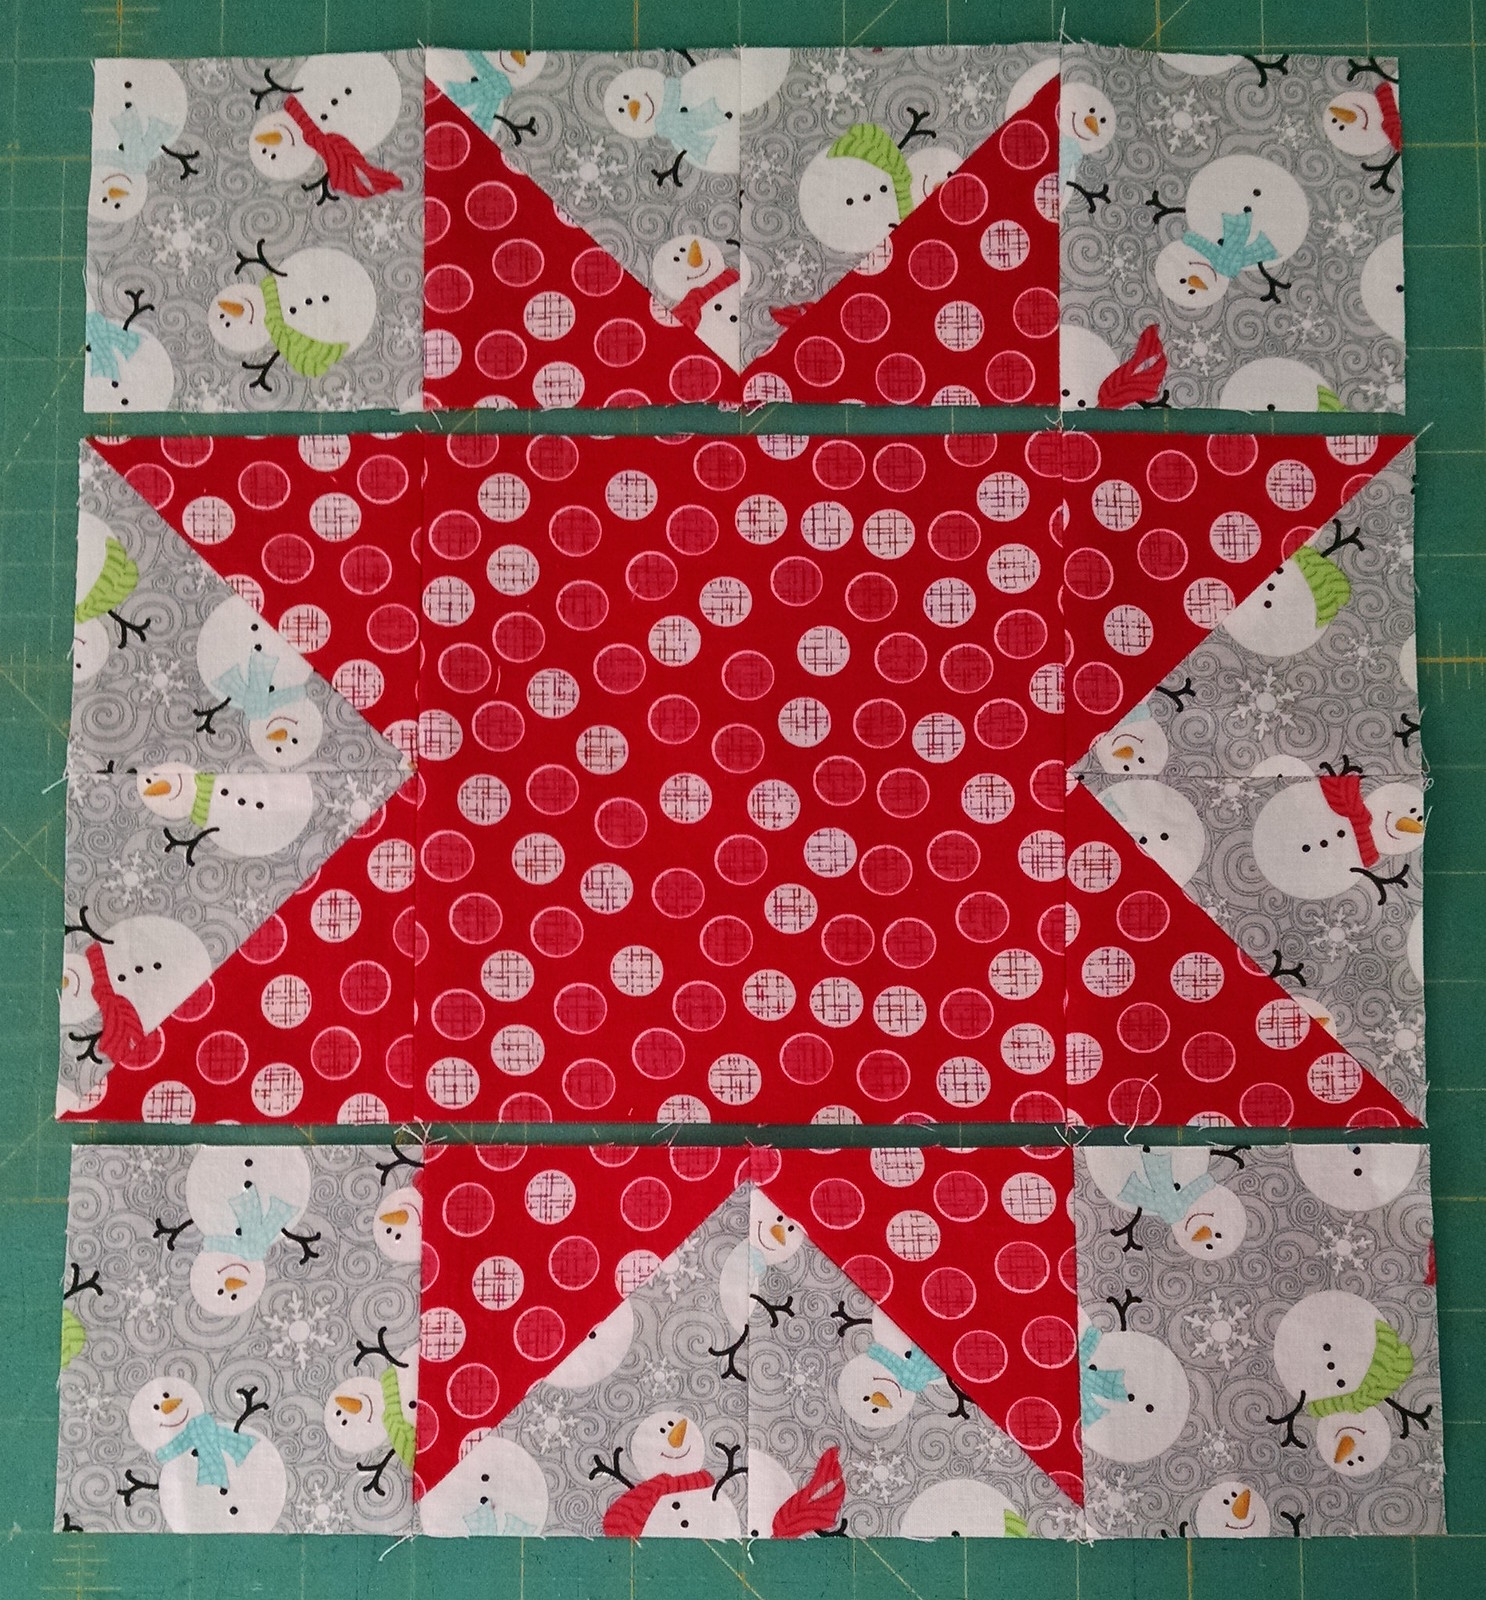
Sew the pieces into rows and press the seams:
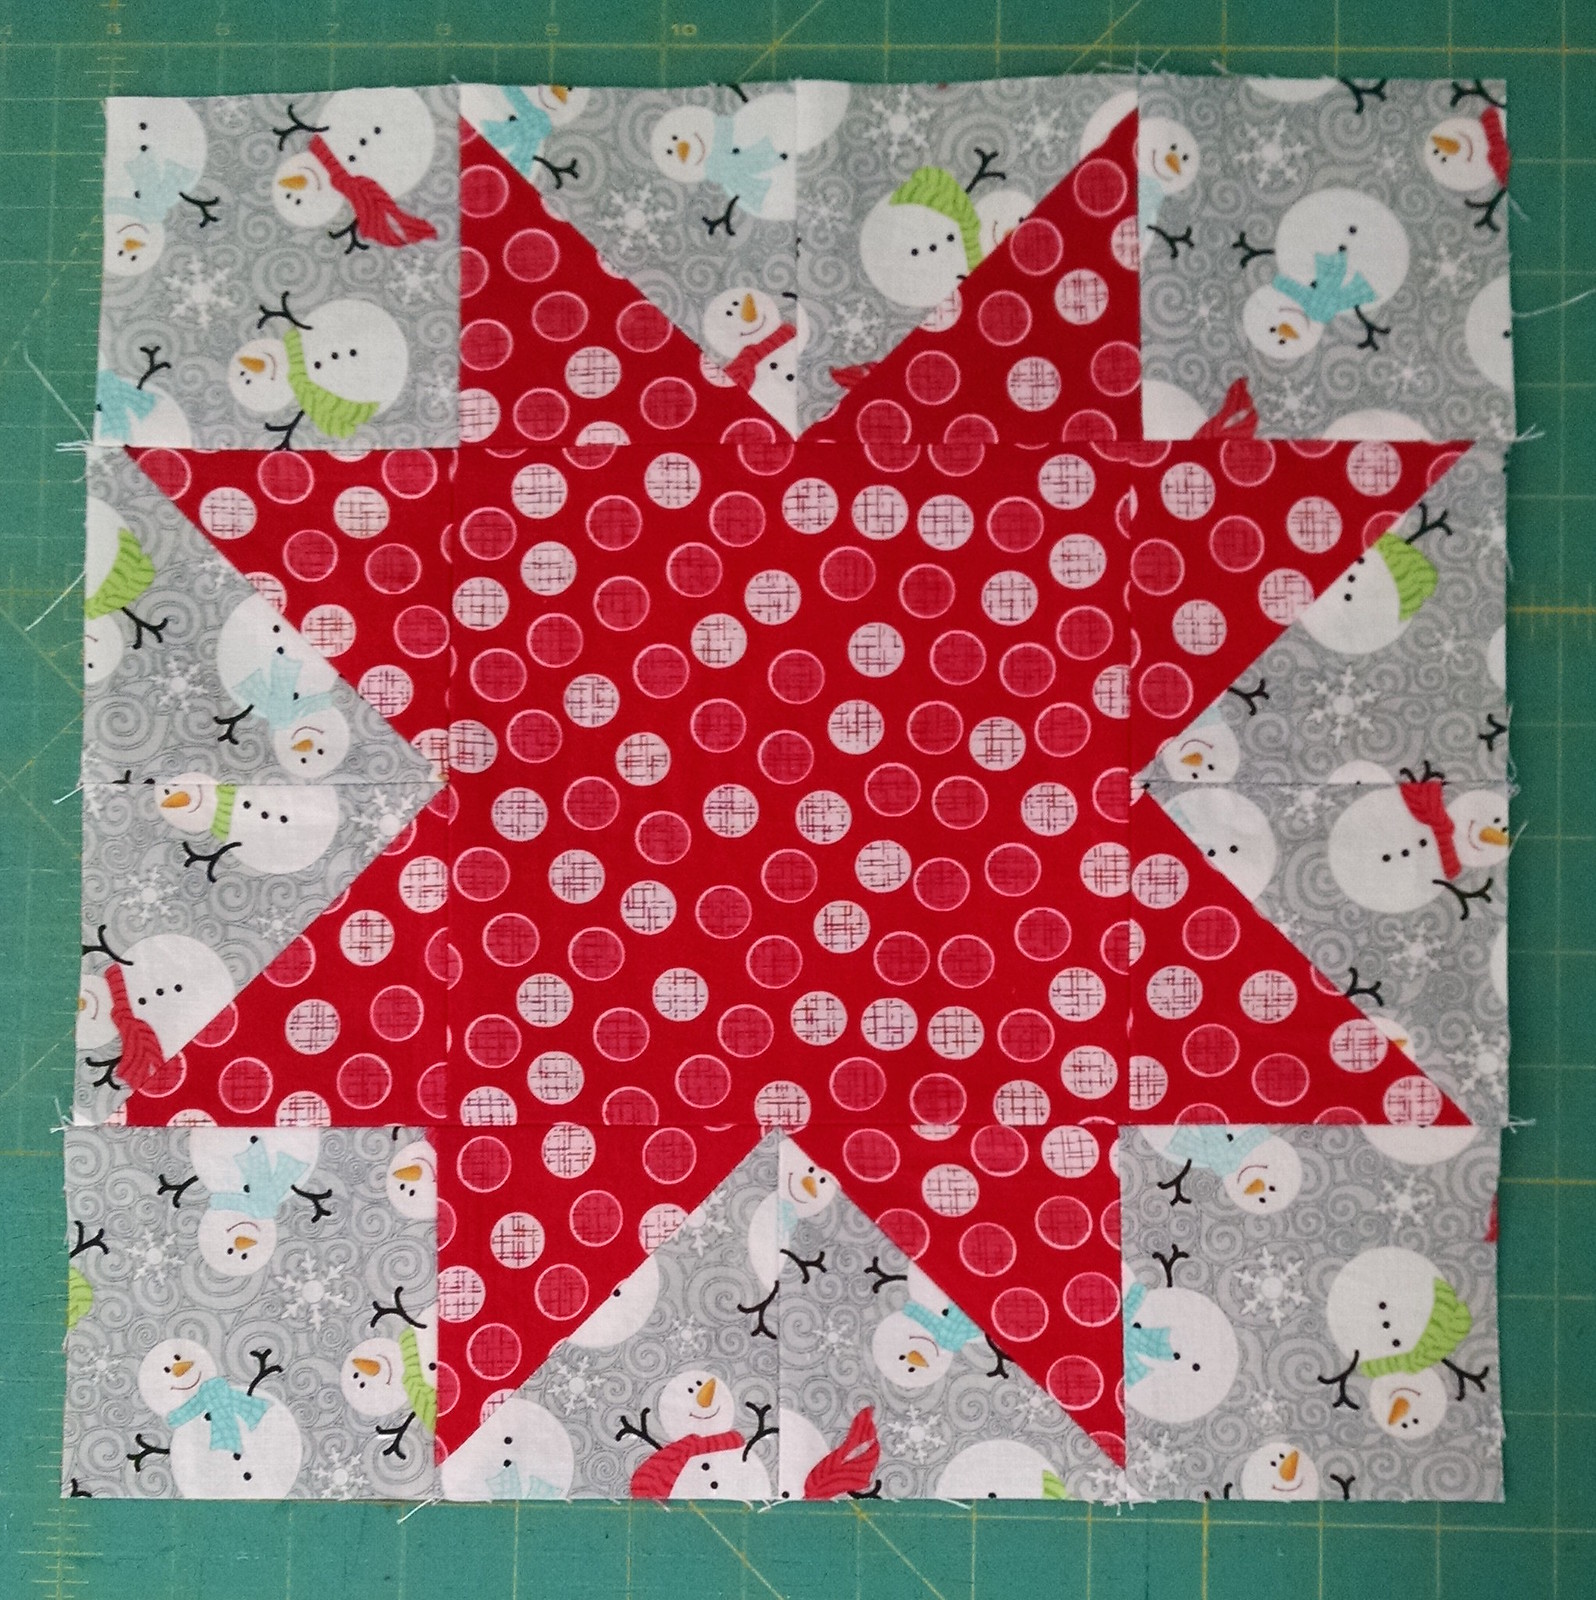
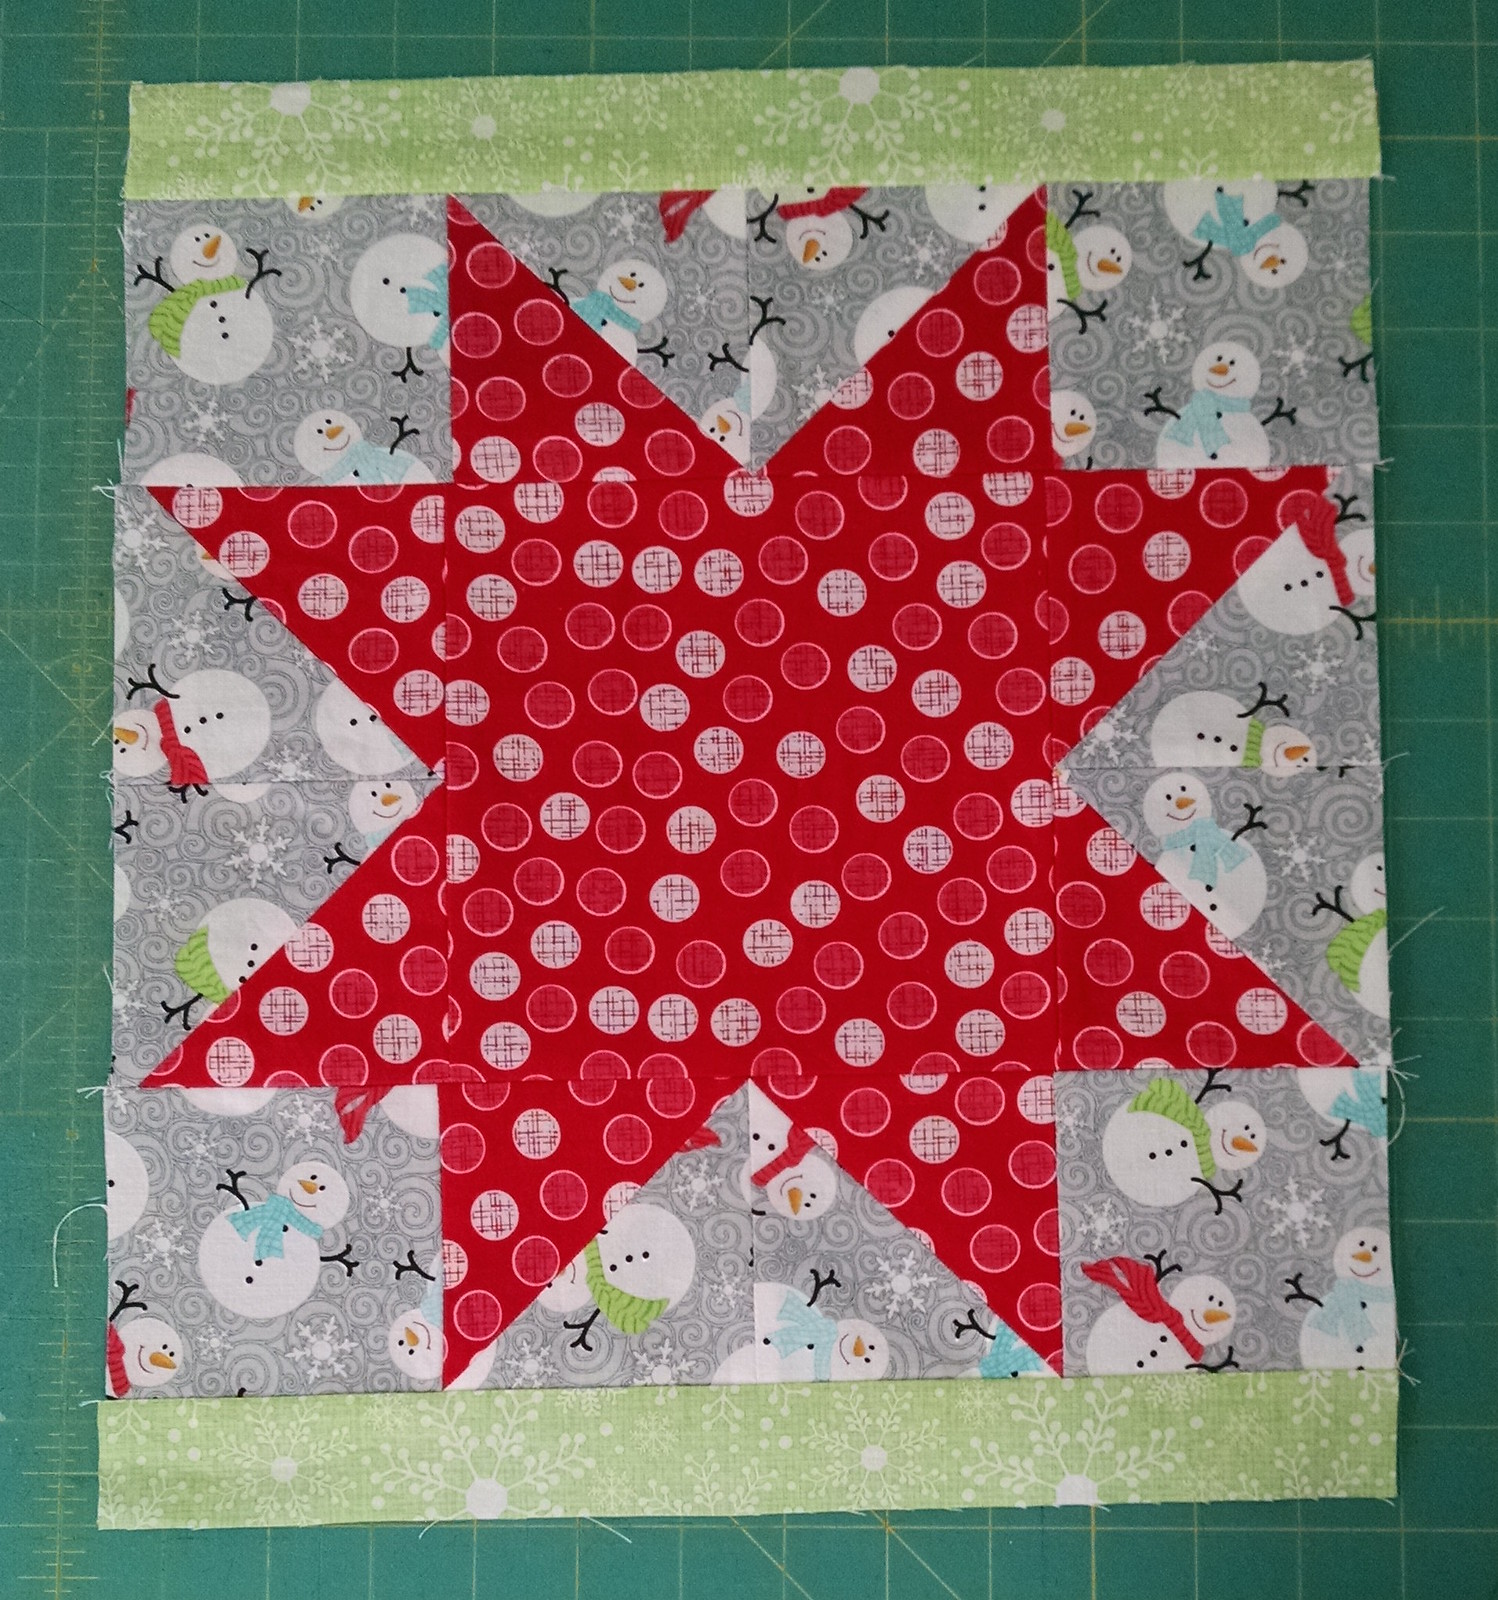
Next sew the rows together and press the seams to complete the block:
Attach a 1 1/2" x 12 1/2" Frosty Snowflake Green strip to the top and bottom of the block. Press seams:
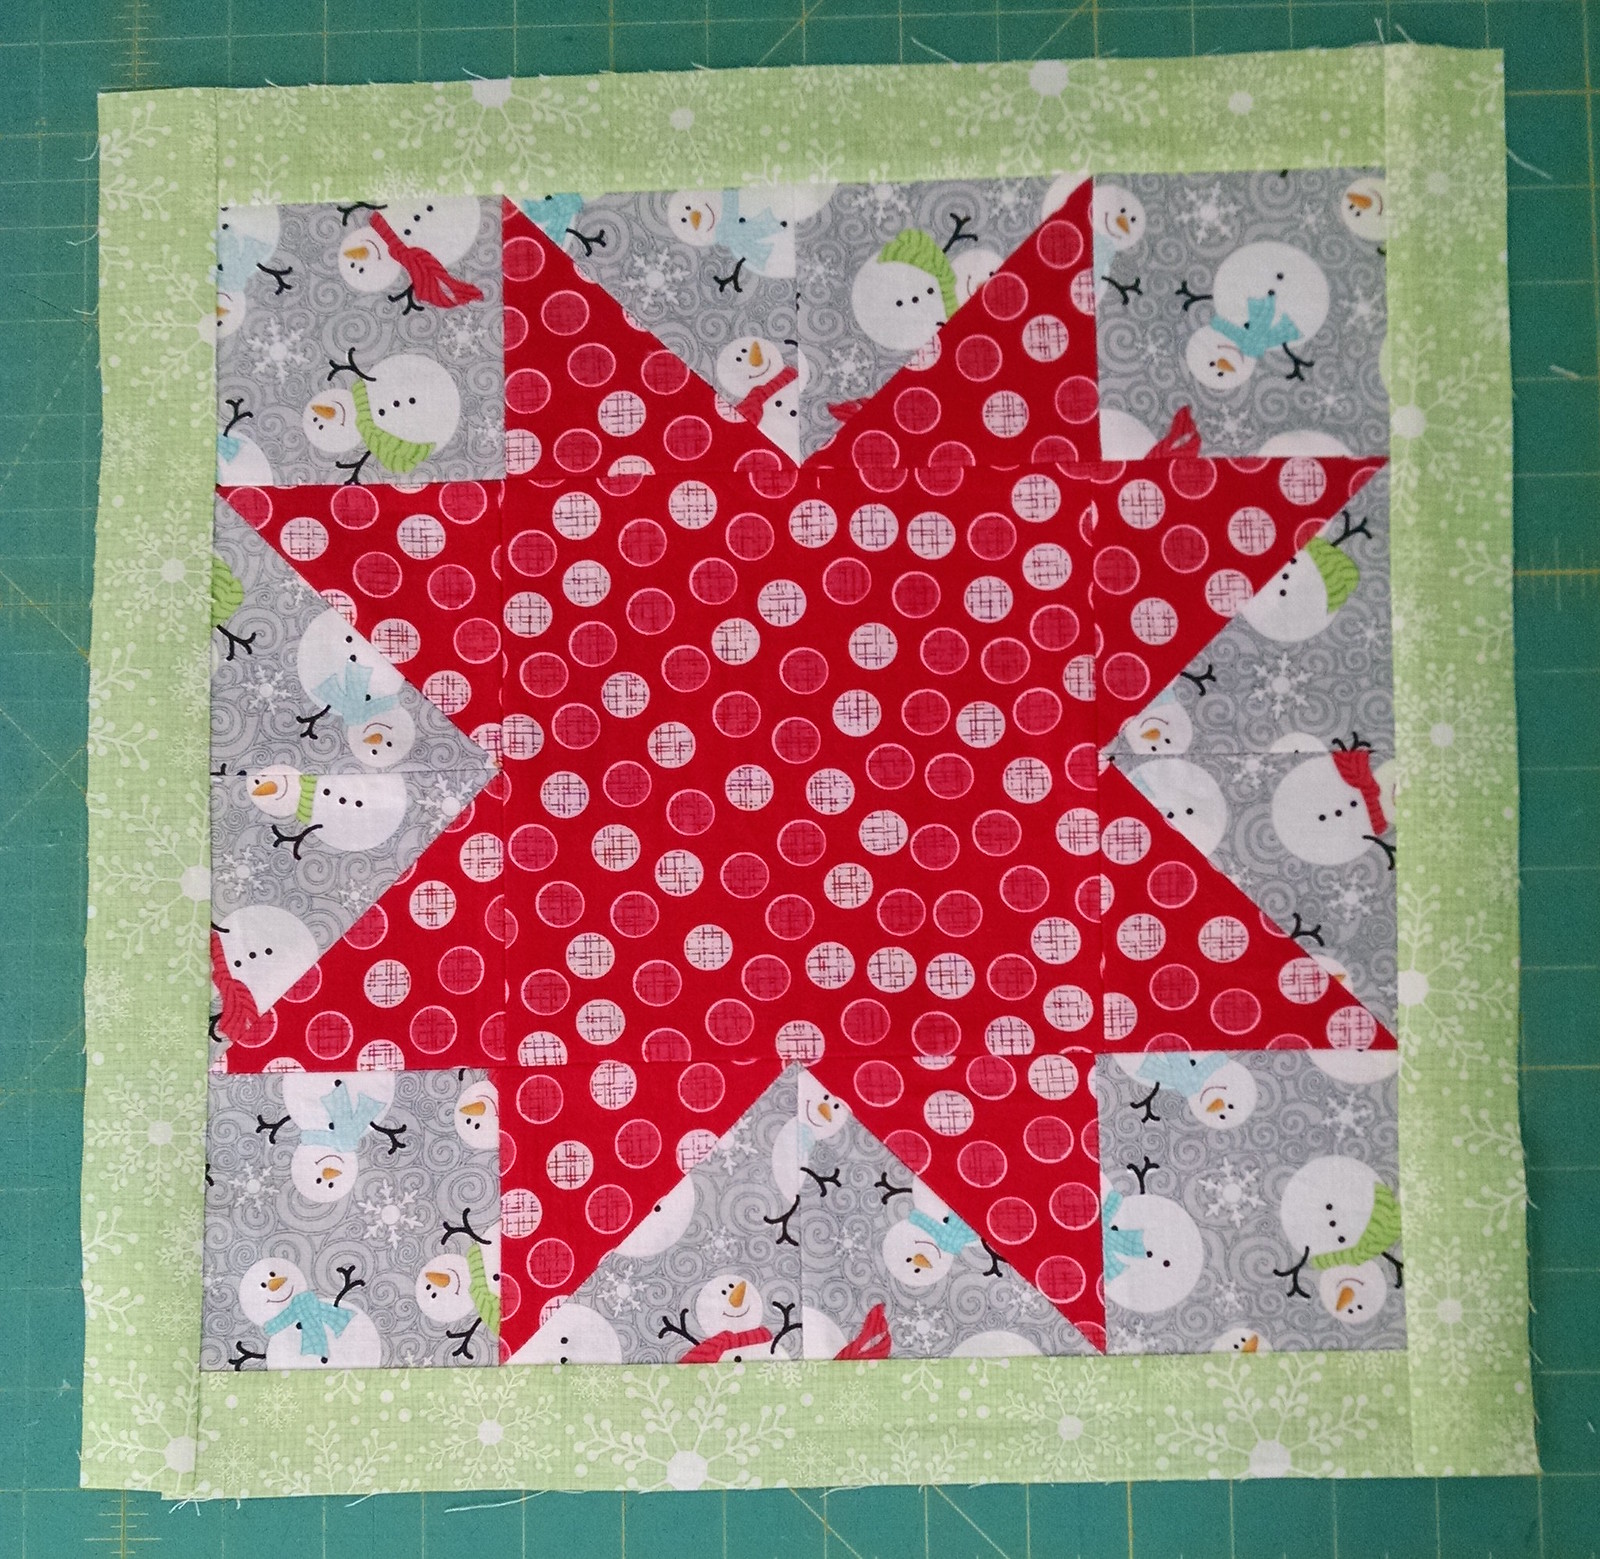
Now attach a 1 1/2" x 14 1/2" Frosty Snowflake Green strip to each side of the block. Press seams:
Repeat the above steps to create TWO blue/green blocks with red borders.
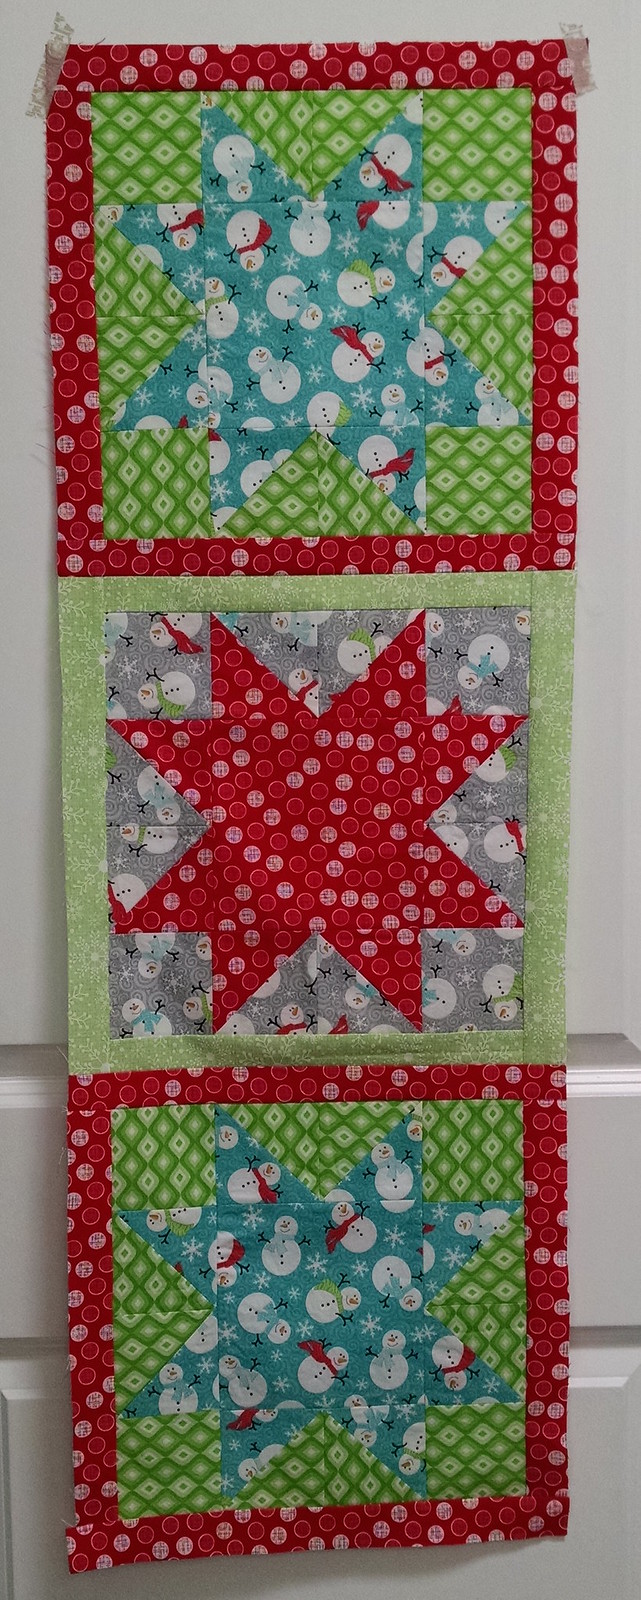
Stitch the 3 blocks together with the red/grey block in the center and press the seams:
For the backing, the remaining piece of Jubilee Geo Grey fabric must be cut into 2 pieces measuring approximately 28" x 20" and pieces together along the 20" sides to create a piece measuring approximately 55" x 20".
At this point you can finish your table runner with a simple backing or quilt it. I prefer to quilt my table runners.
To finish the table runner with a bound edge, sew together the 3 binding strips of Jubilee Geo Grey and bind using your favorite method!
Look at that, it's only July and you've got a Christmas decoration and/or gift all ready to go!

